DEV BLOG
SINCE JAN, 2025
1) Research and Planning (Jan 20-24)
This week is special because it is where I kick things off by writing my first blog.
During the week, I focused on researching and looking up examples of 3D architectural models and buildings. I explored various architectural designs, floor plans, photographs, and online architectural modeling tutorials such as those on Youtube and Udemy.
Reference 1
Reference 2
Satisfaction: 8/10
Stress Level: 2/10
Reference 1
Reference 2
Satisfaction: 8/10
Stress Level: 2/10
2) College visit and photography (Jan 27 - Feb 2)
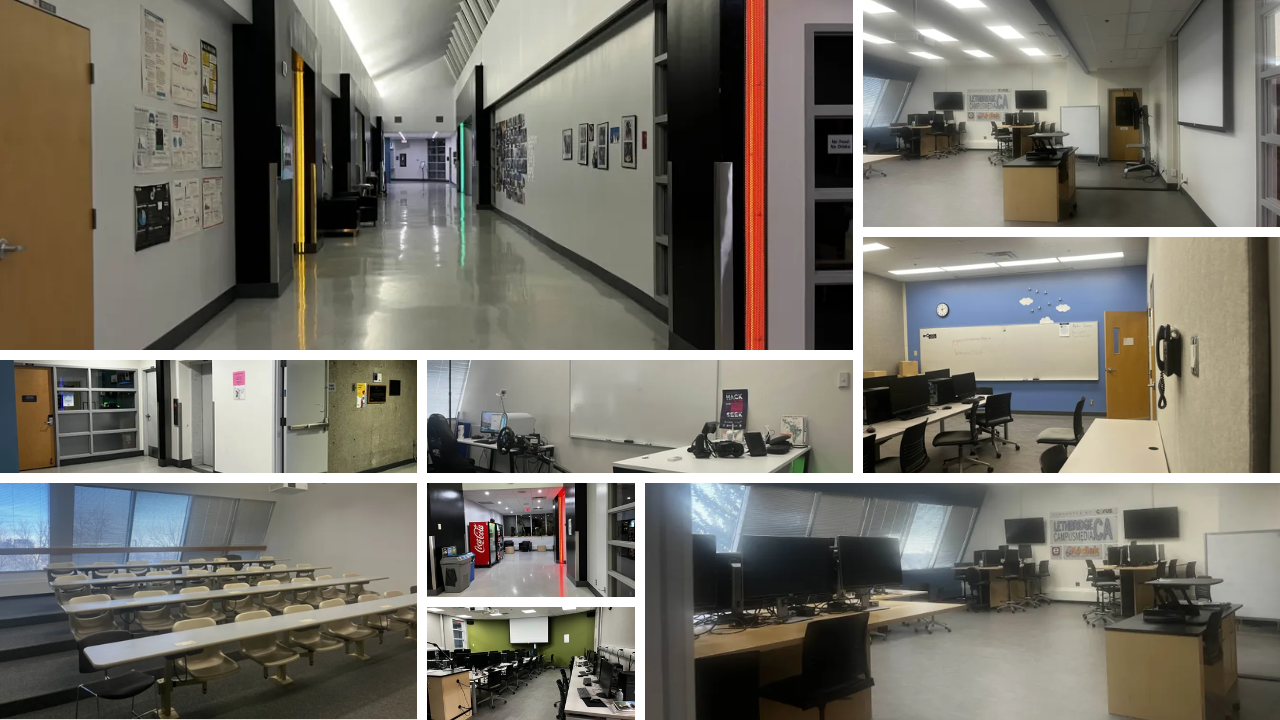
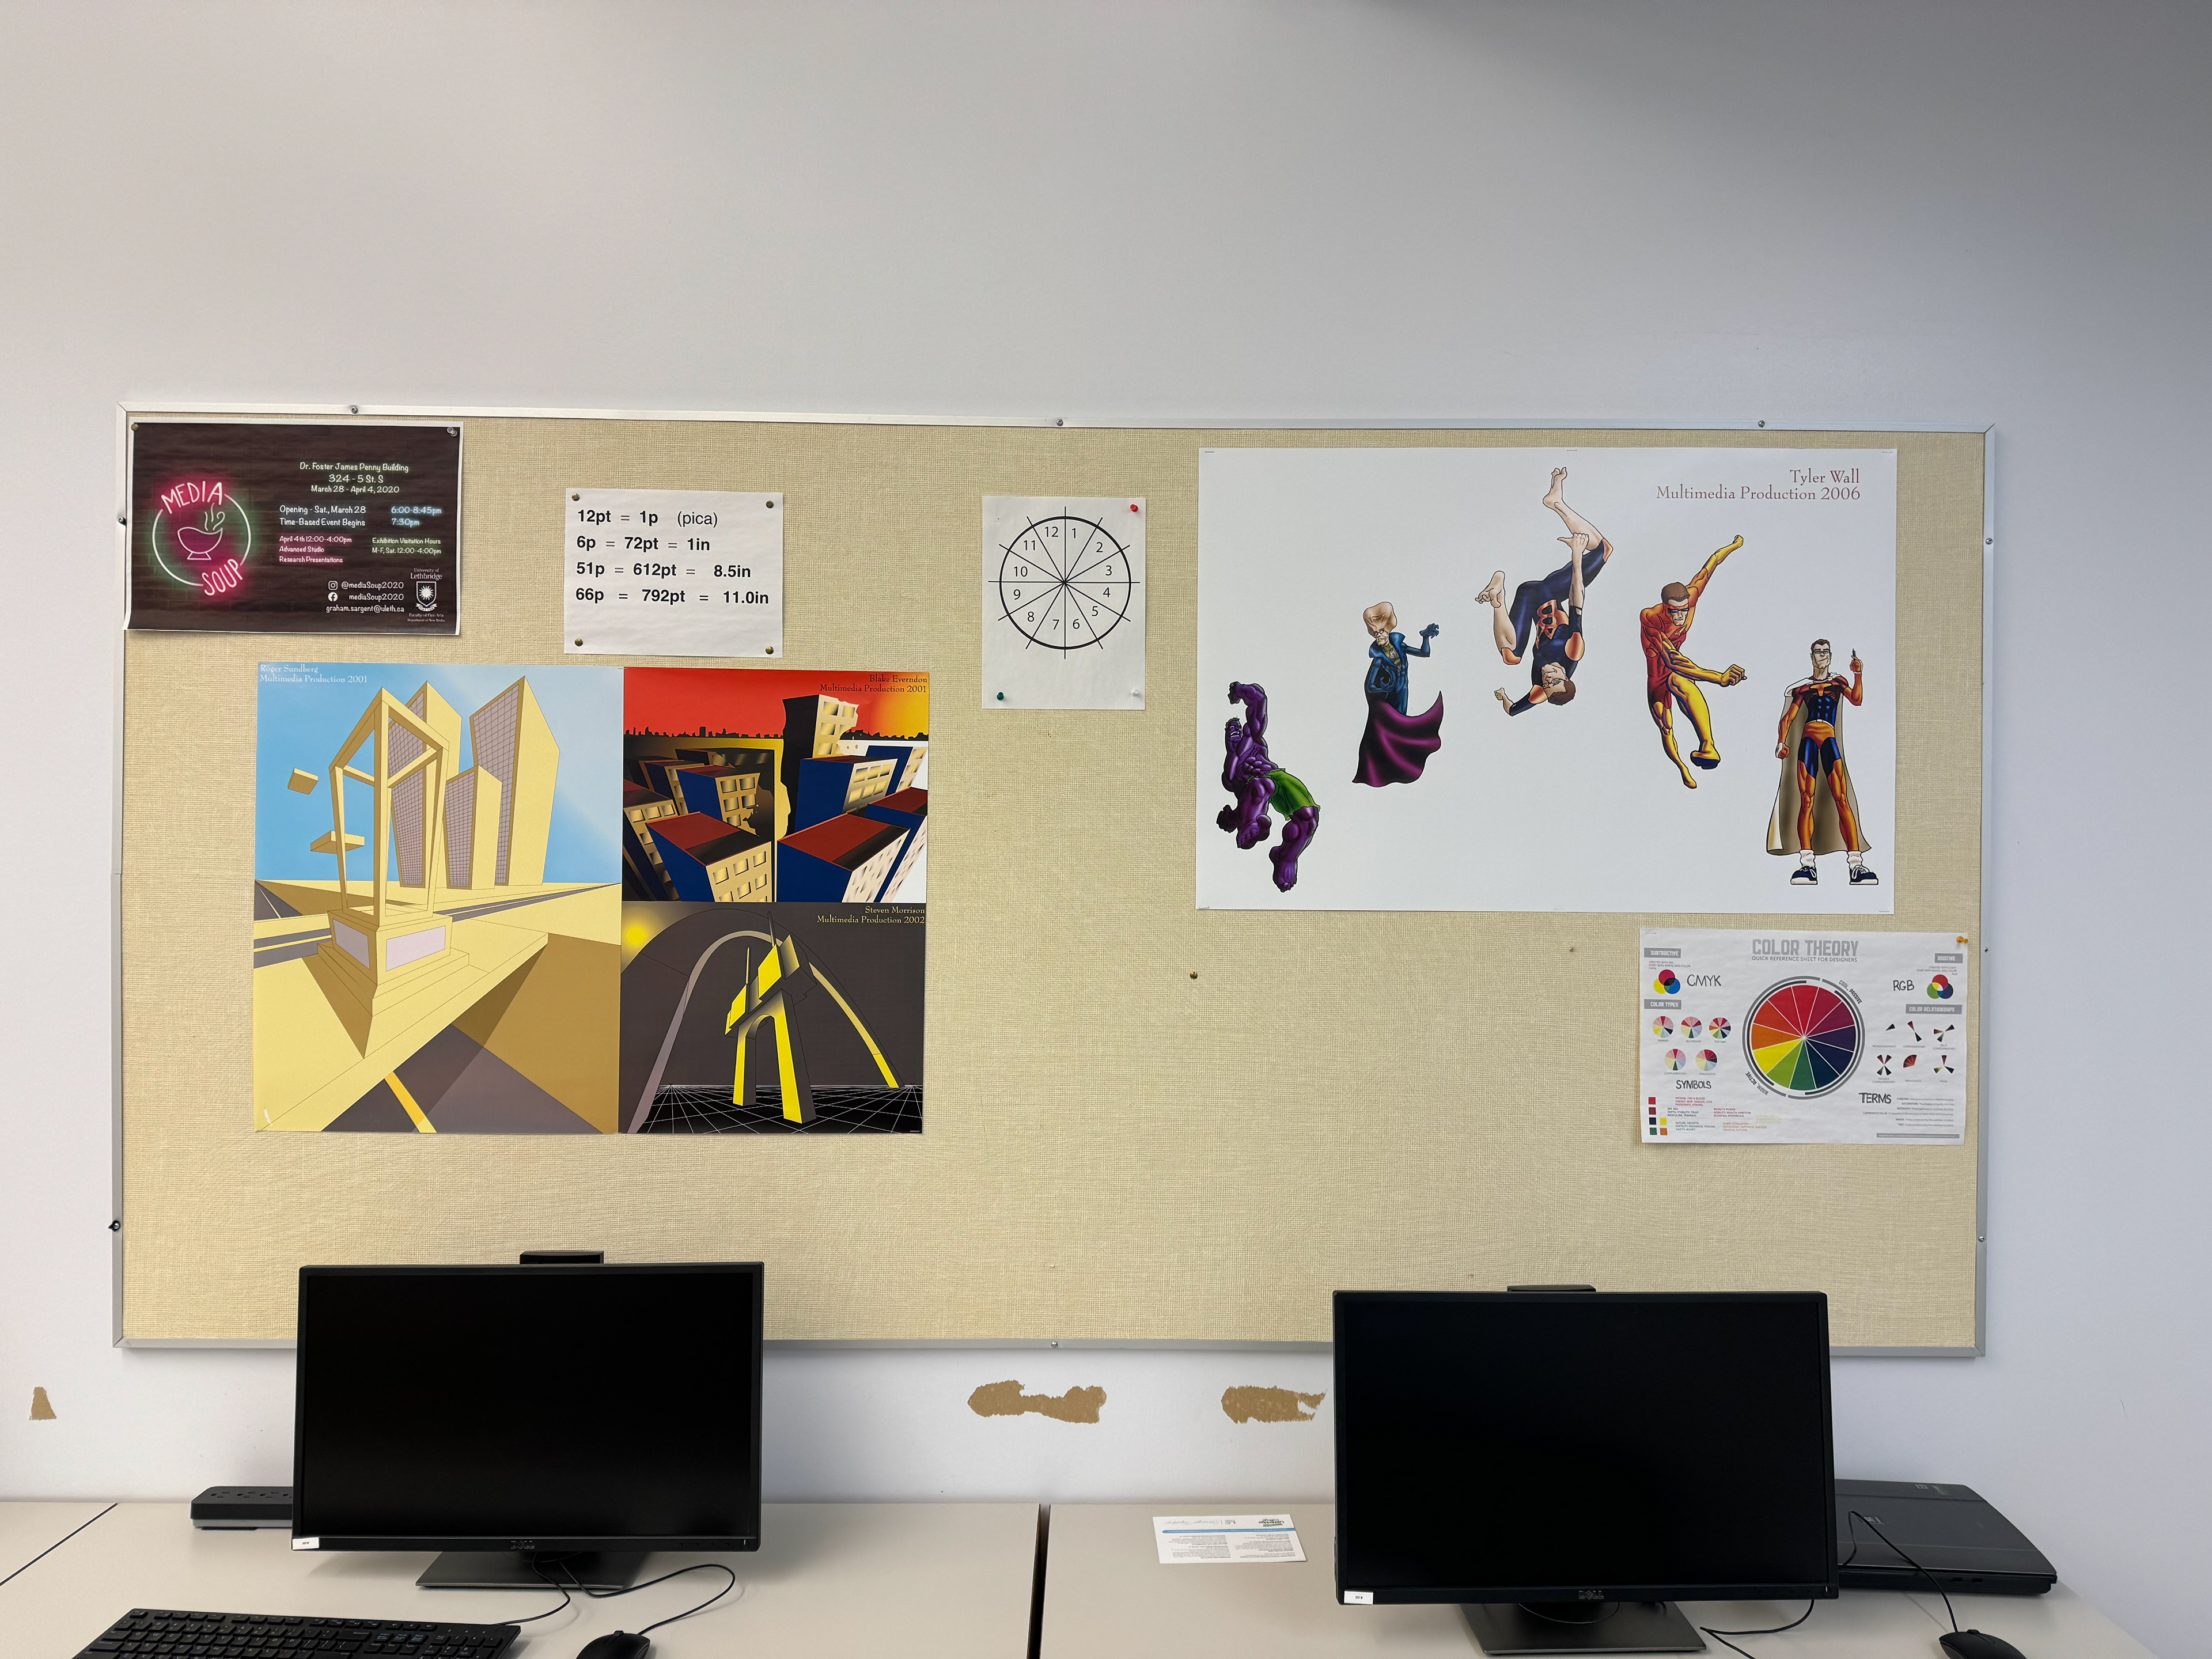
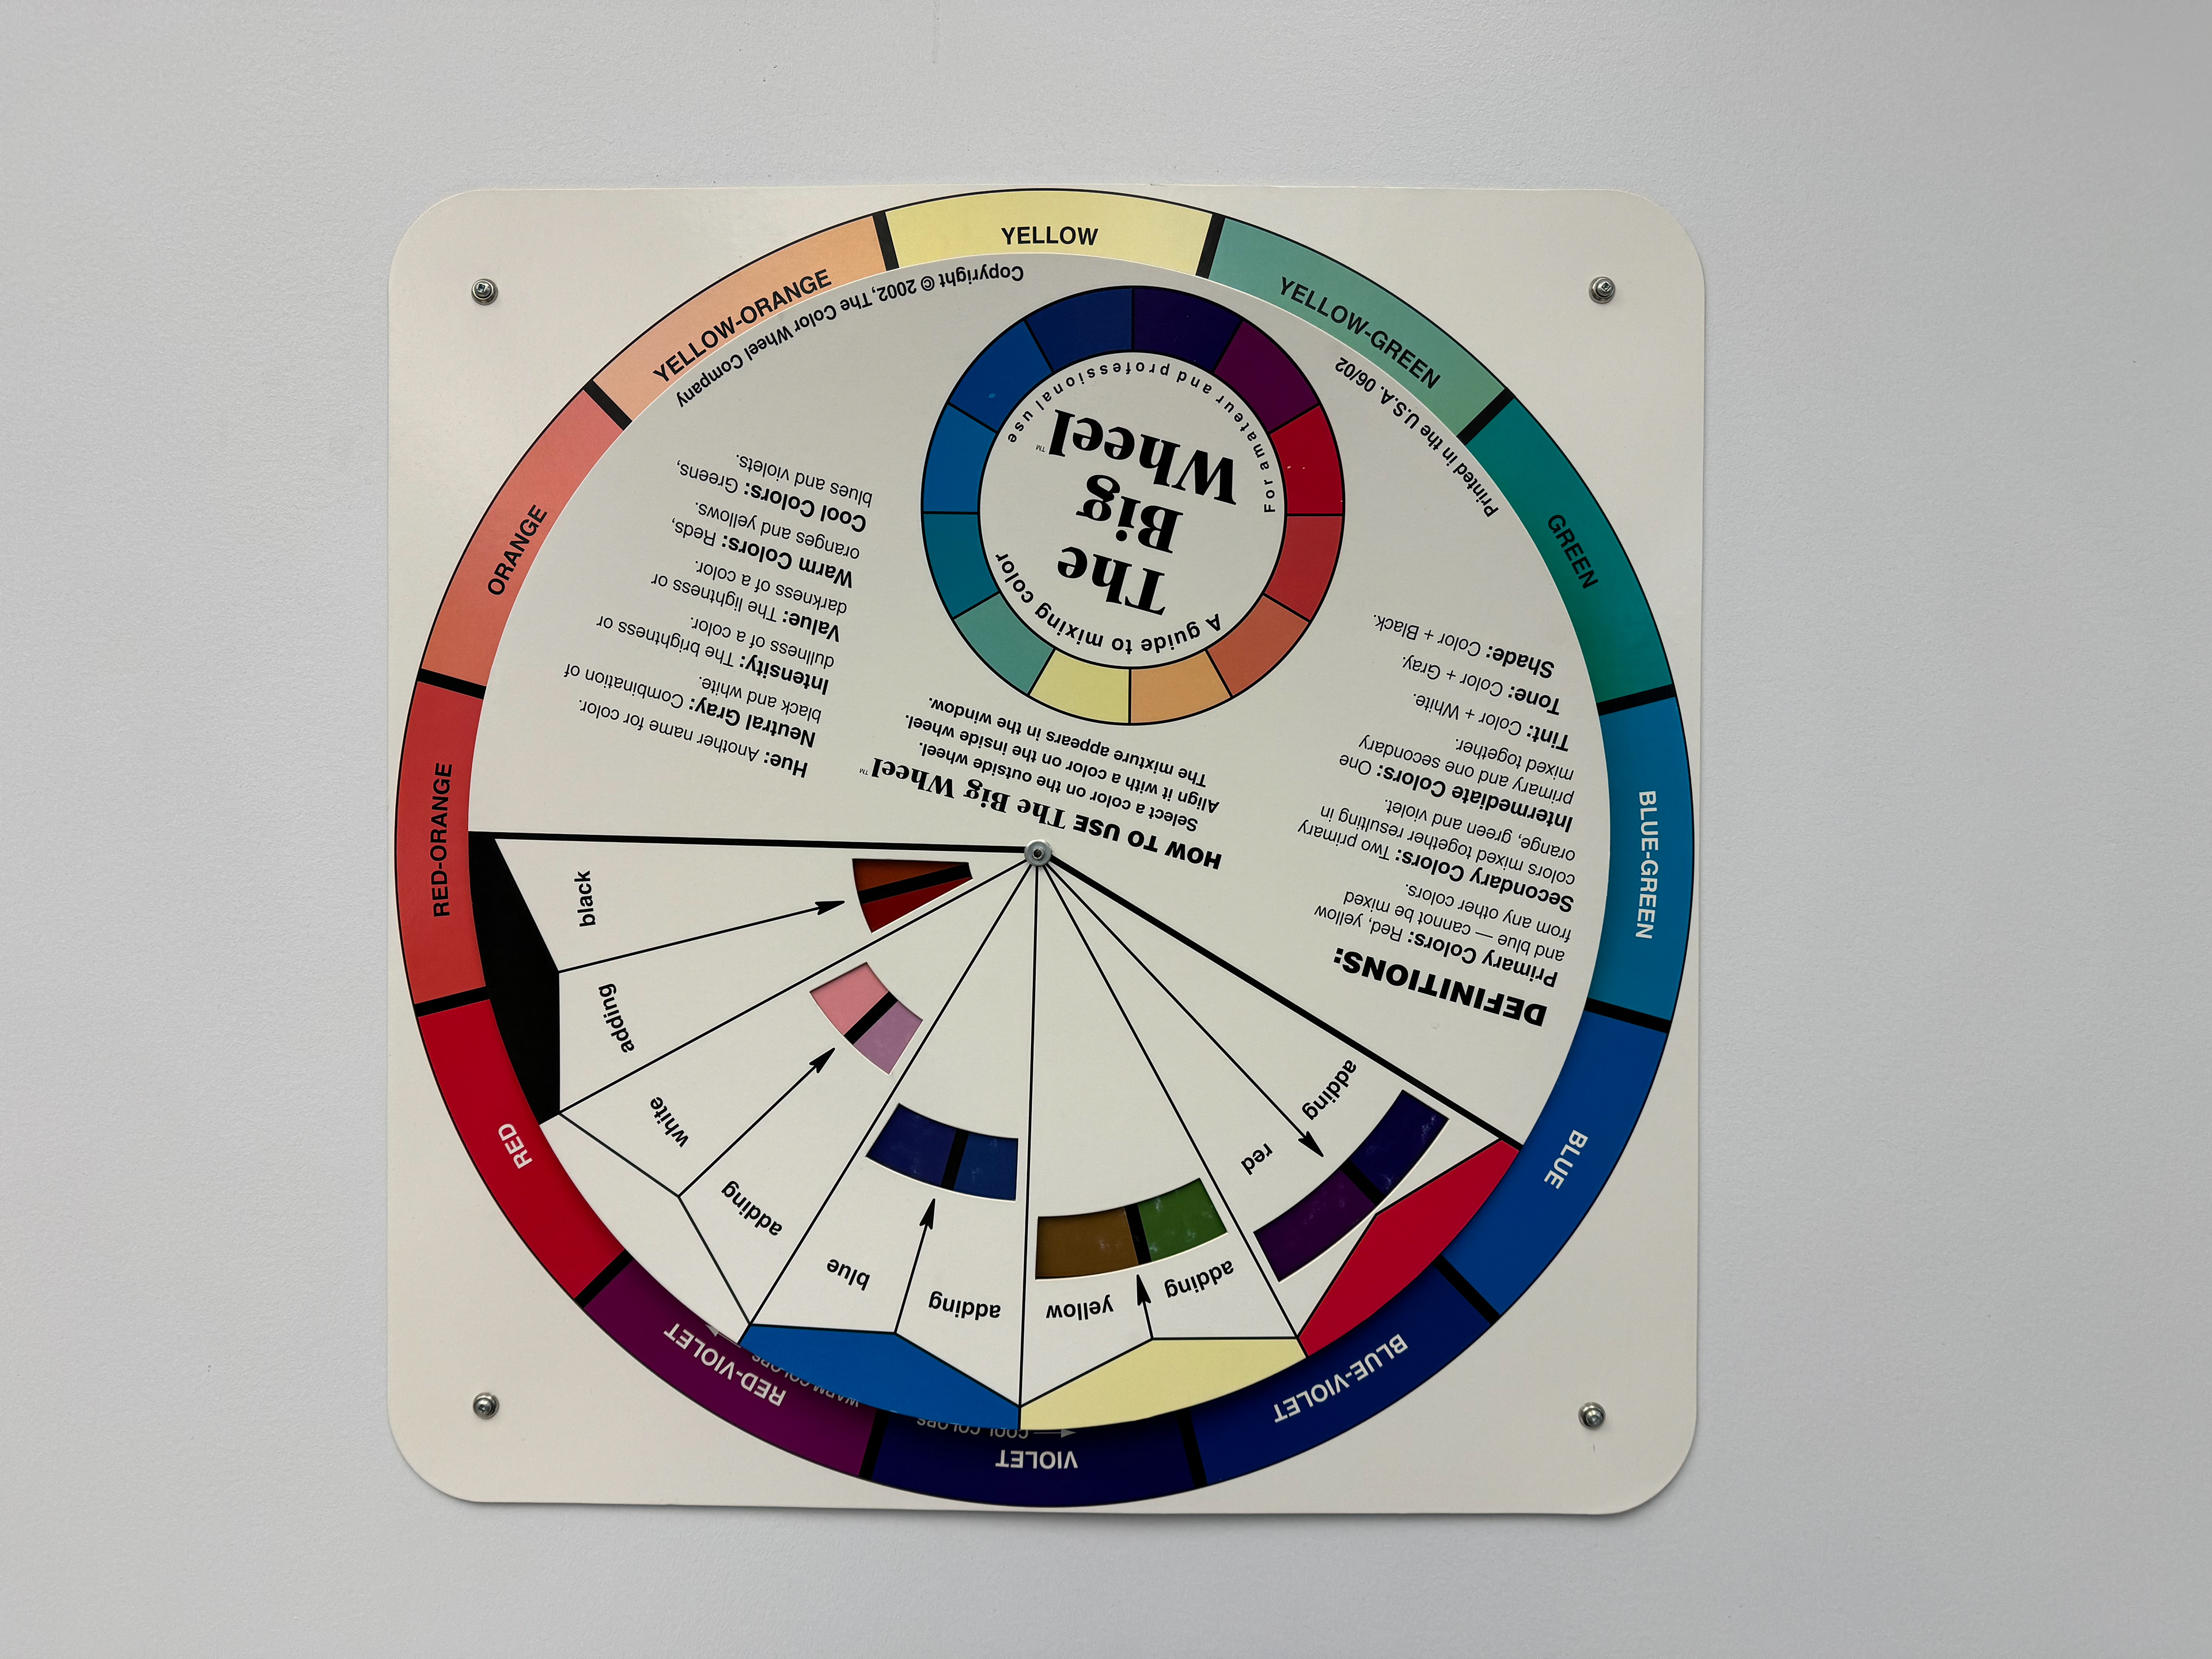
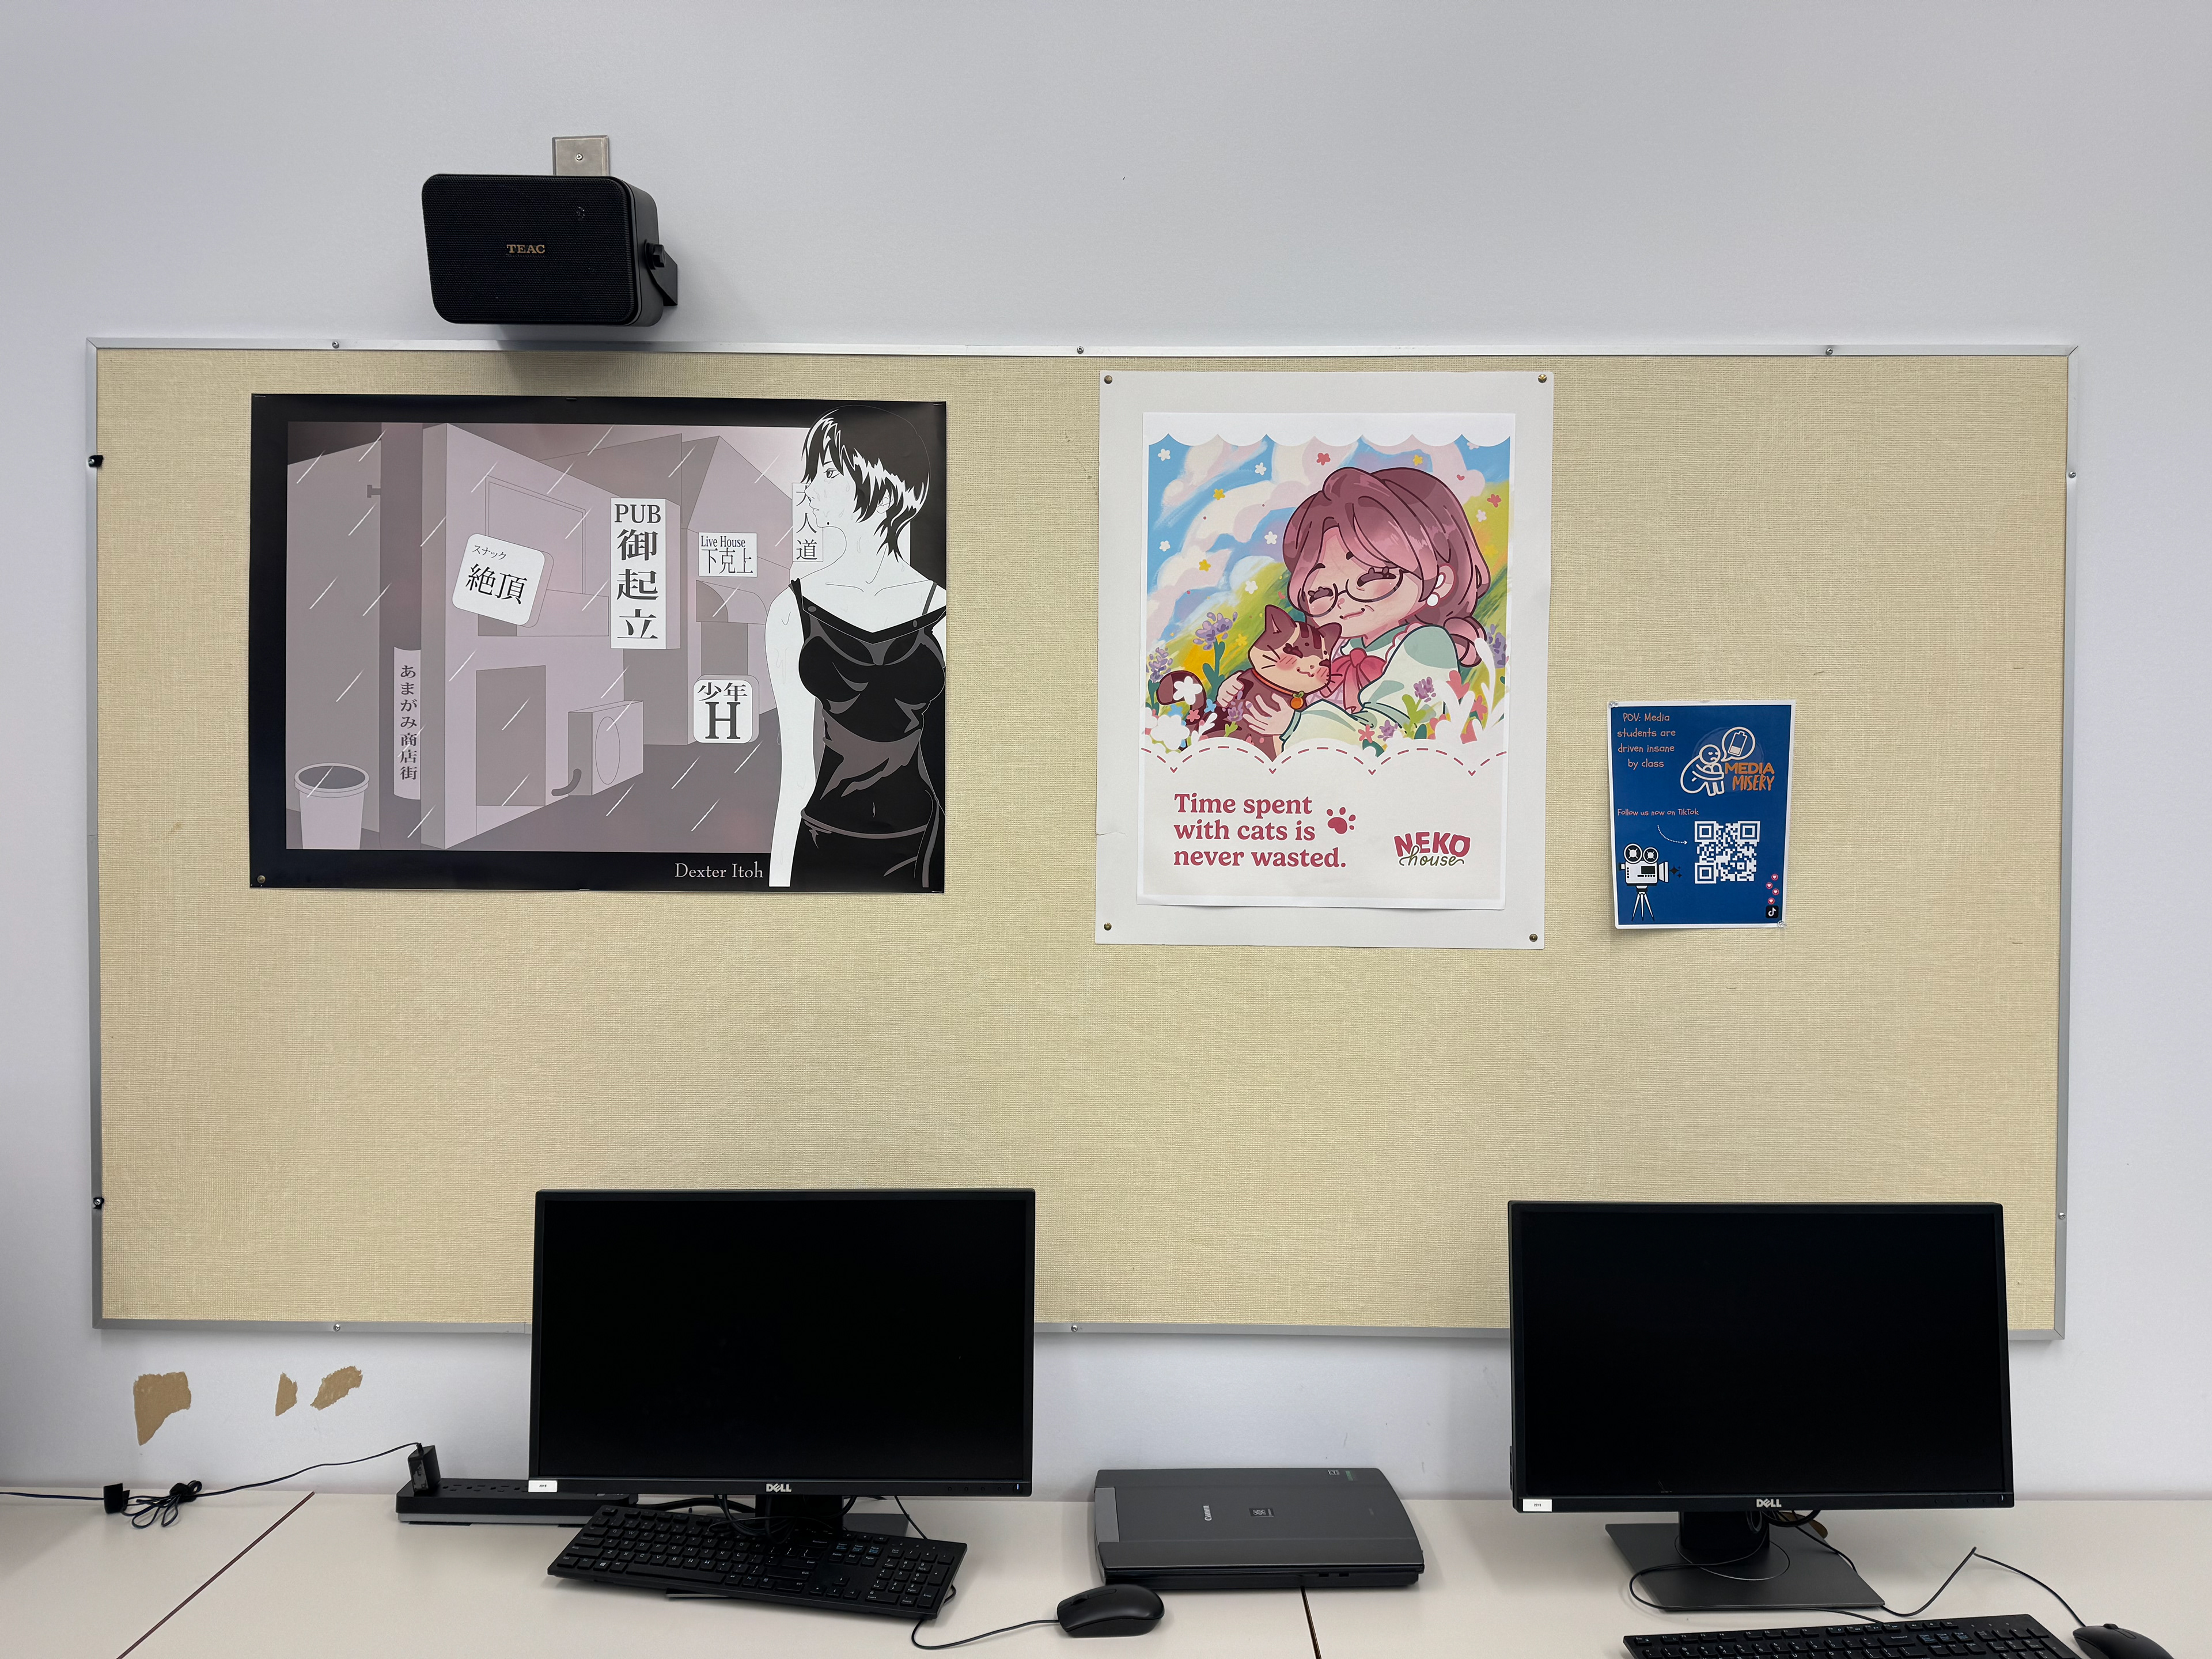
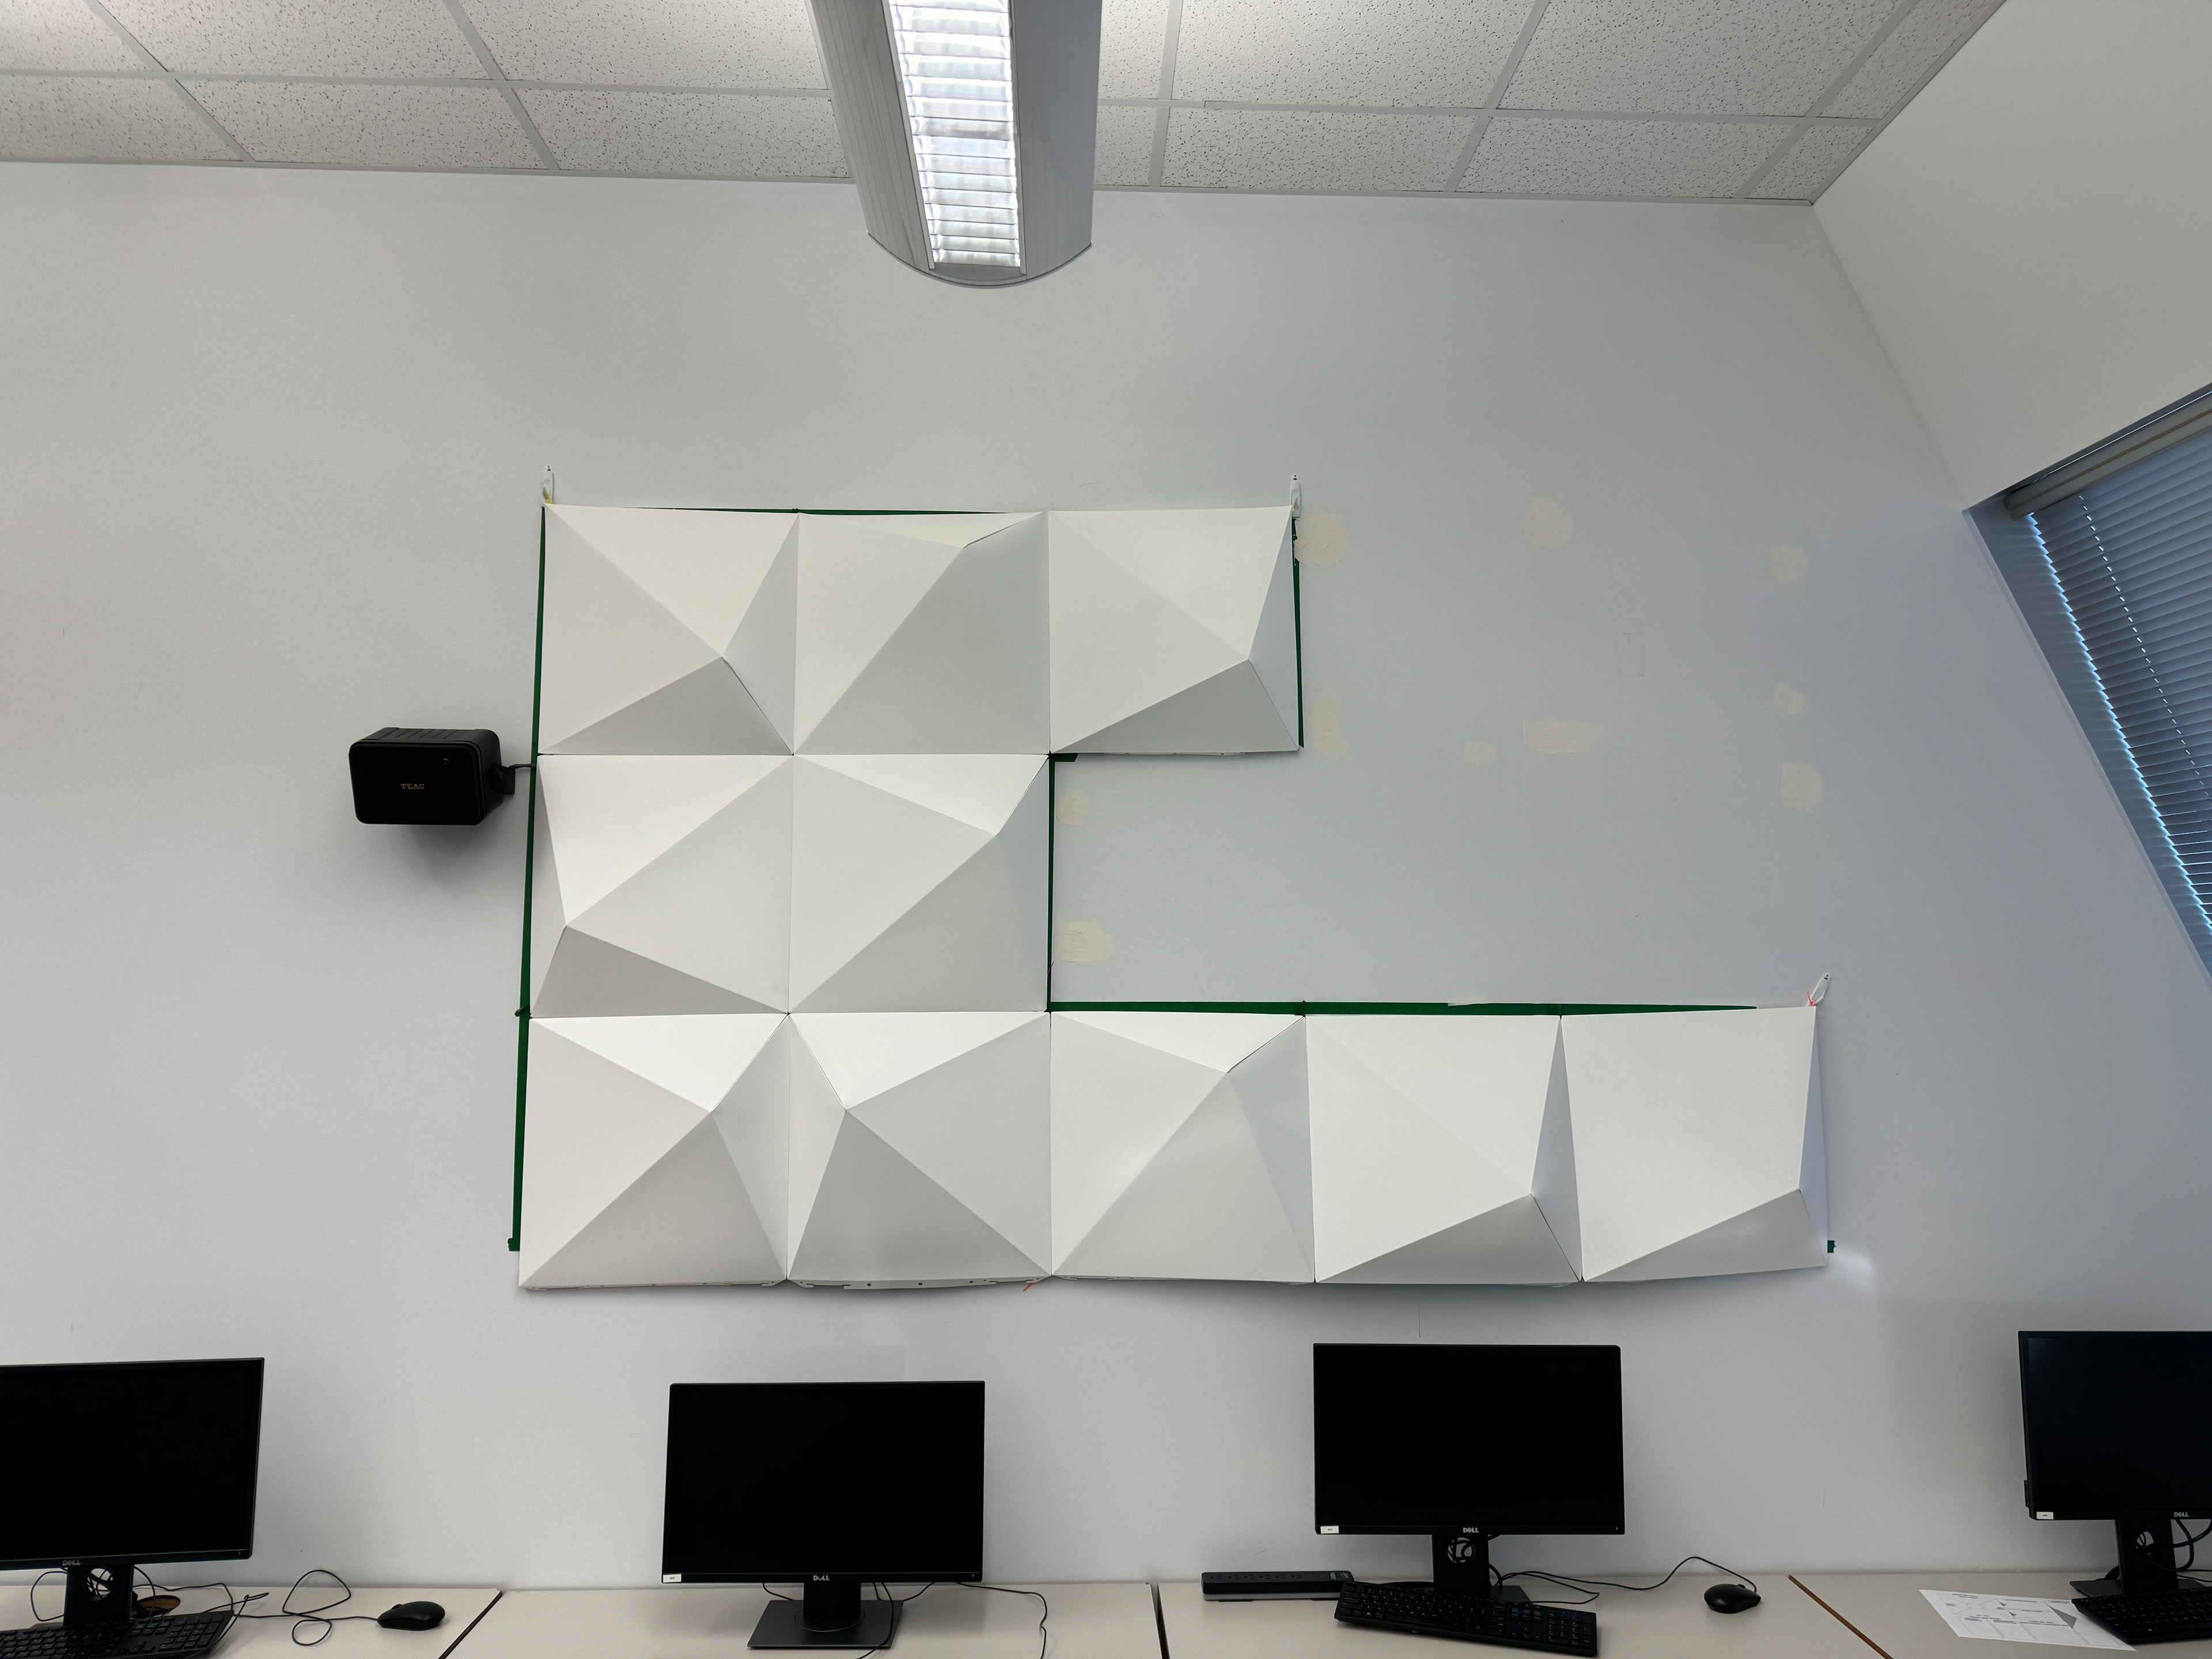
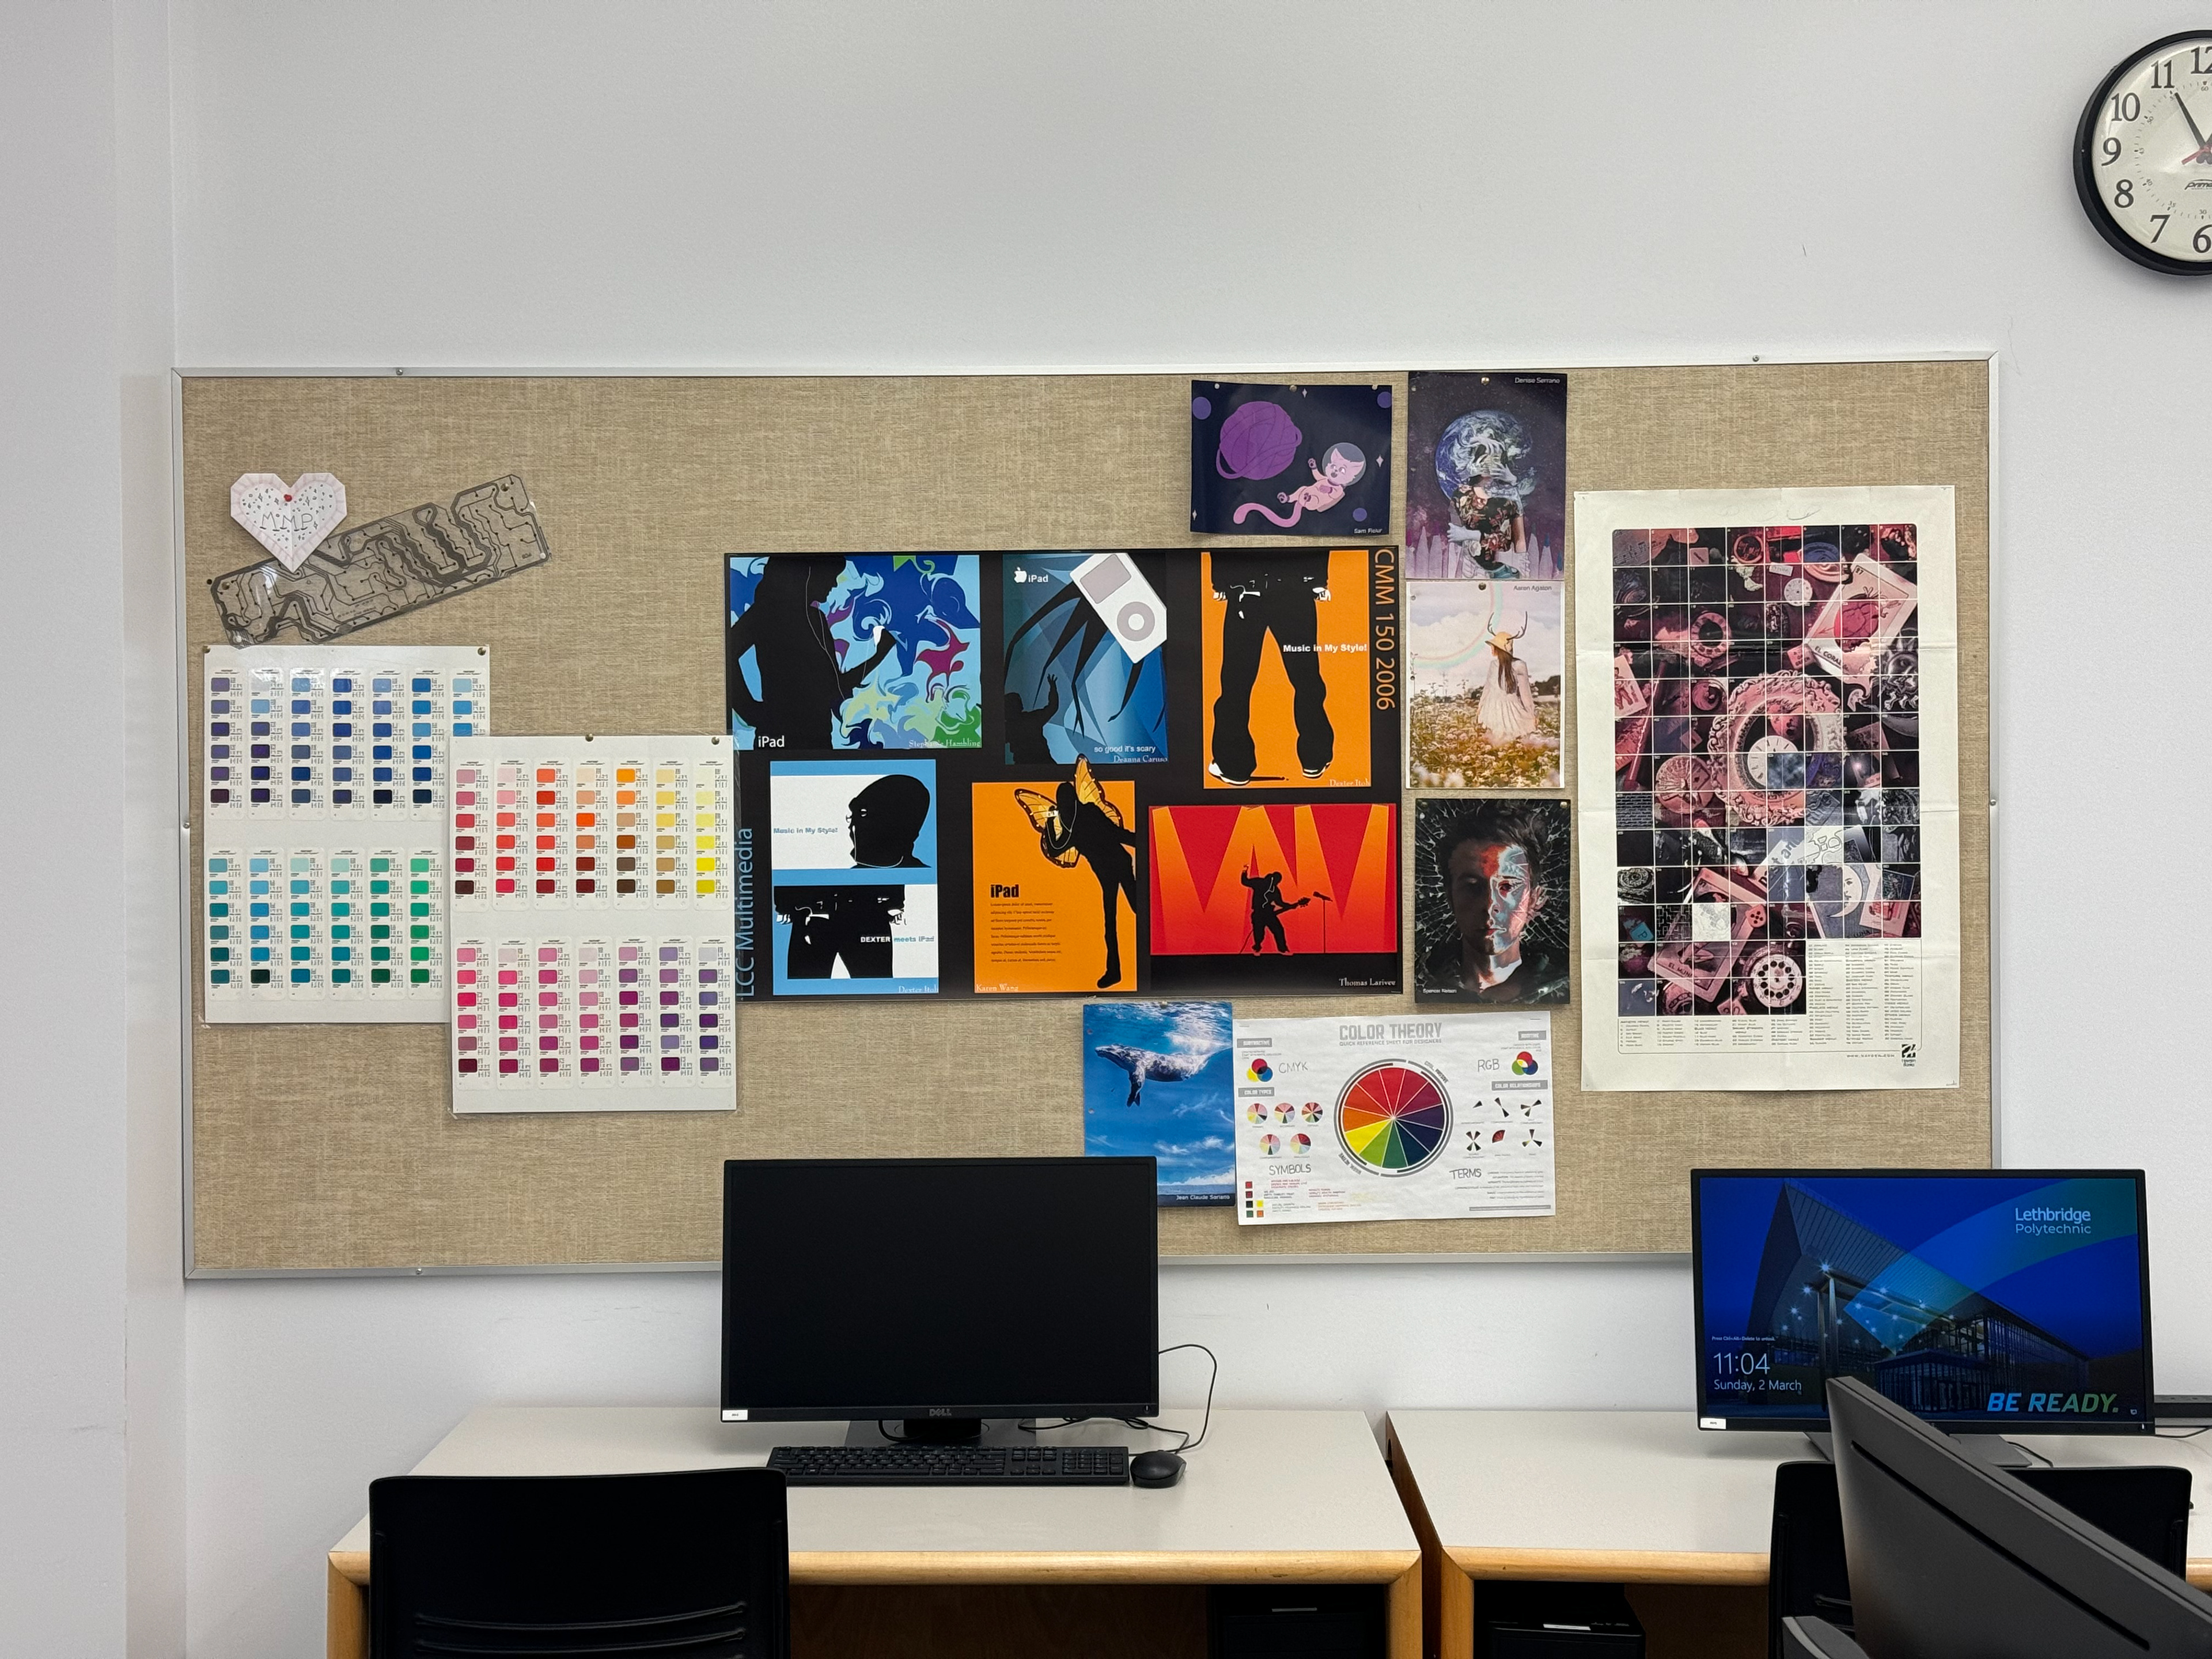
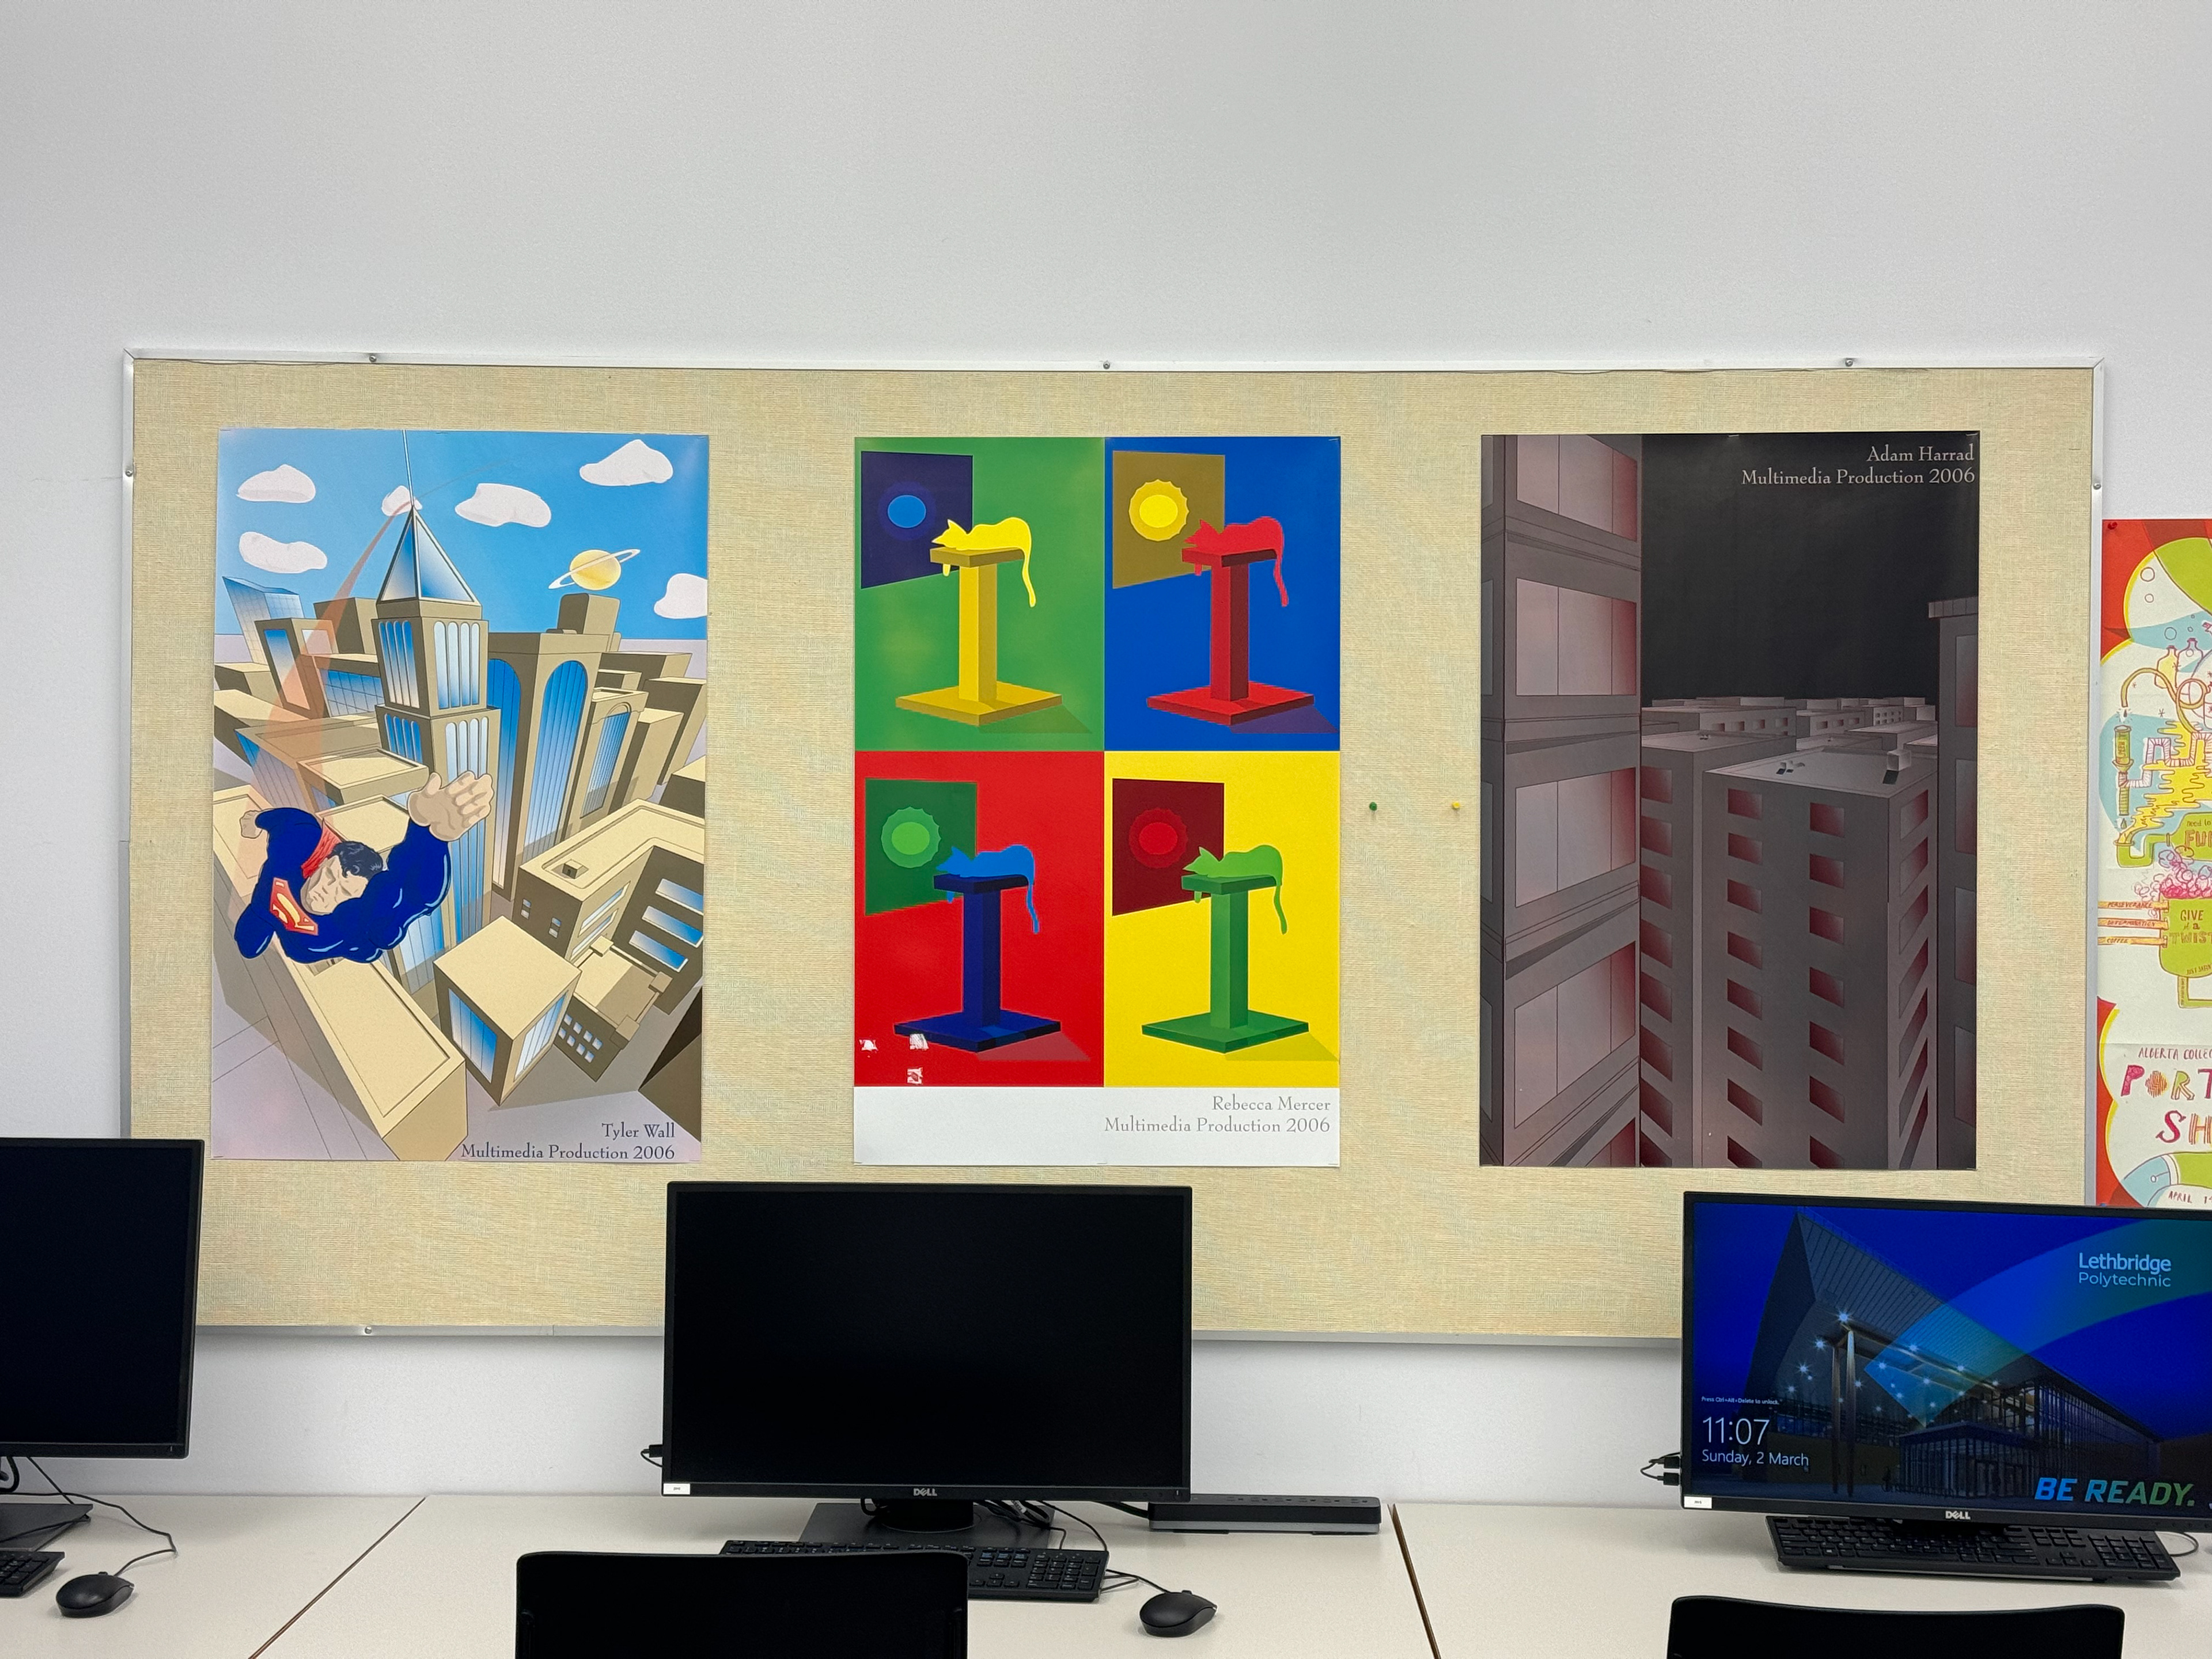
This week, I visited Lethbridge Polytechnic’s Technologies Building (3rd floor) to capture reference images and video, using my iPhone. Amelia also helped me with the pictures. I will utilize these photos as reference of my 3D architectural model, modeling according to the pics.
I covered Hallways, classrooms, offices, and doorways, vending machines, desks, restrooms and the elevator entrance.
The WIN of the week: I'm proud of being able to manage to cover all areas while dealing with low lighting.
Key Learning: I discovered that nobody should attempt to propose 3D modeling their school for their capstone projects.
Jokes aside, as someone who doesn't take building pictures that often, experimenting with taking pics from different angles was the key learning aspect of this process.
Satisfaction: 9/10
Stress Level: 1/10
Stress Level: 1/10
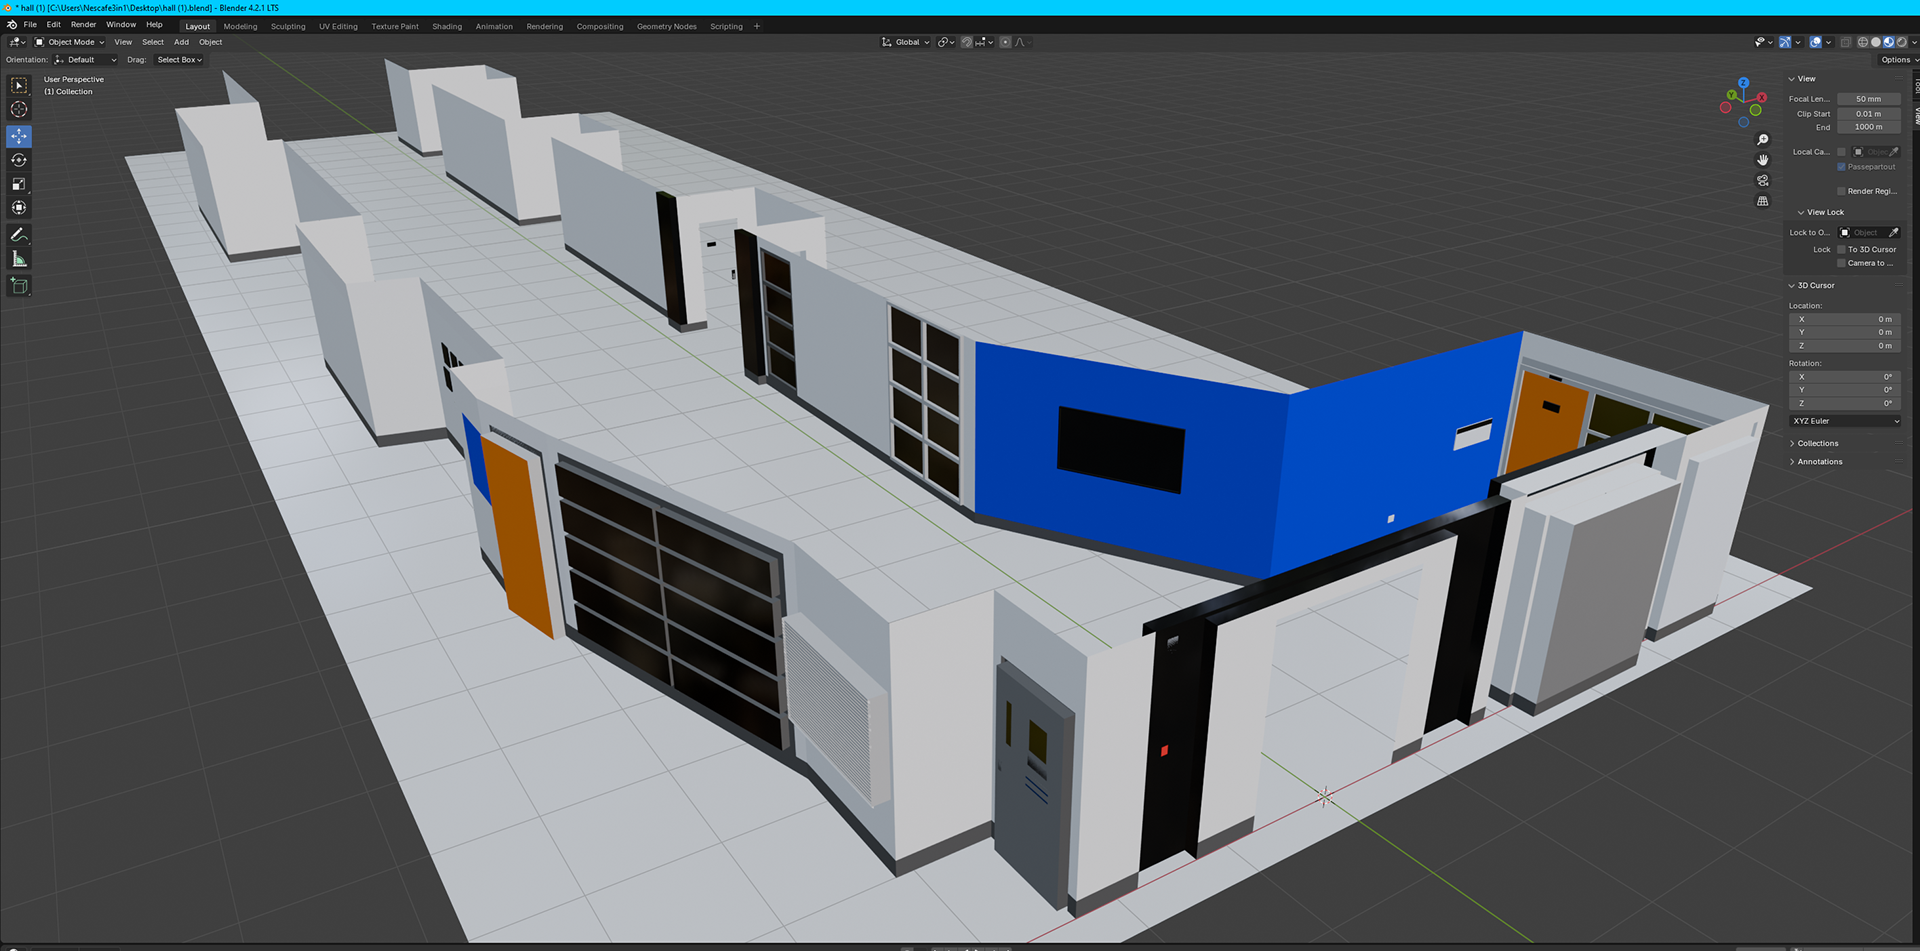
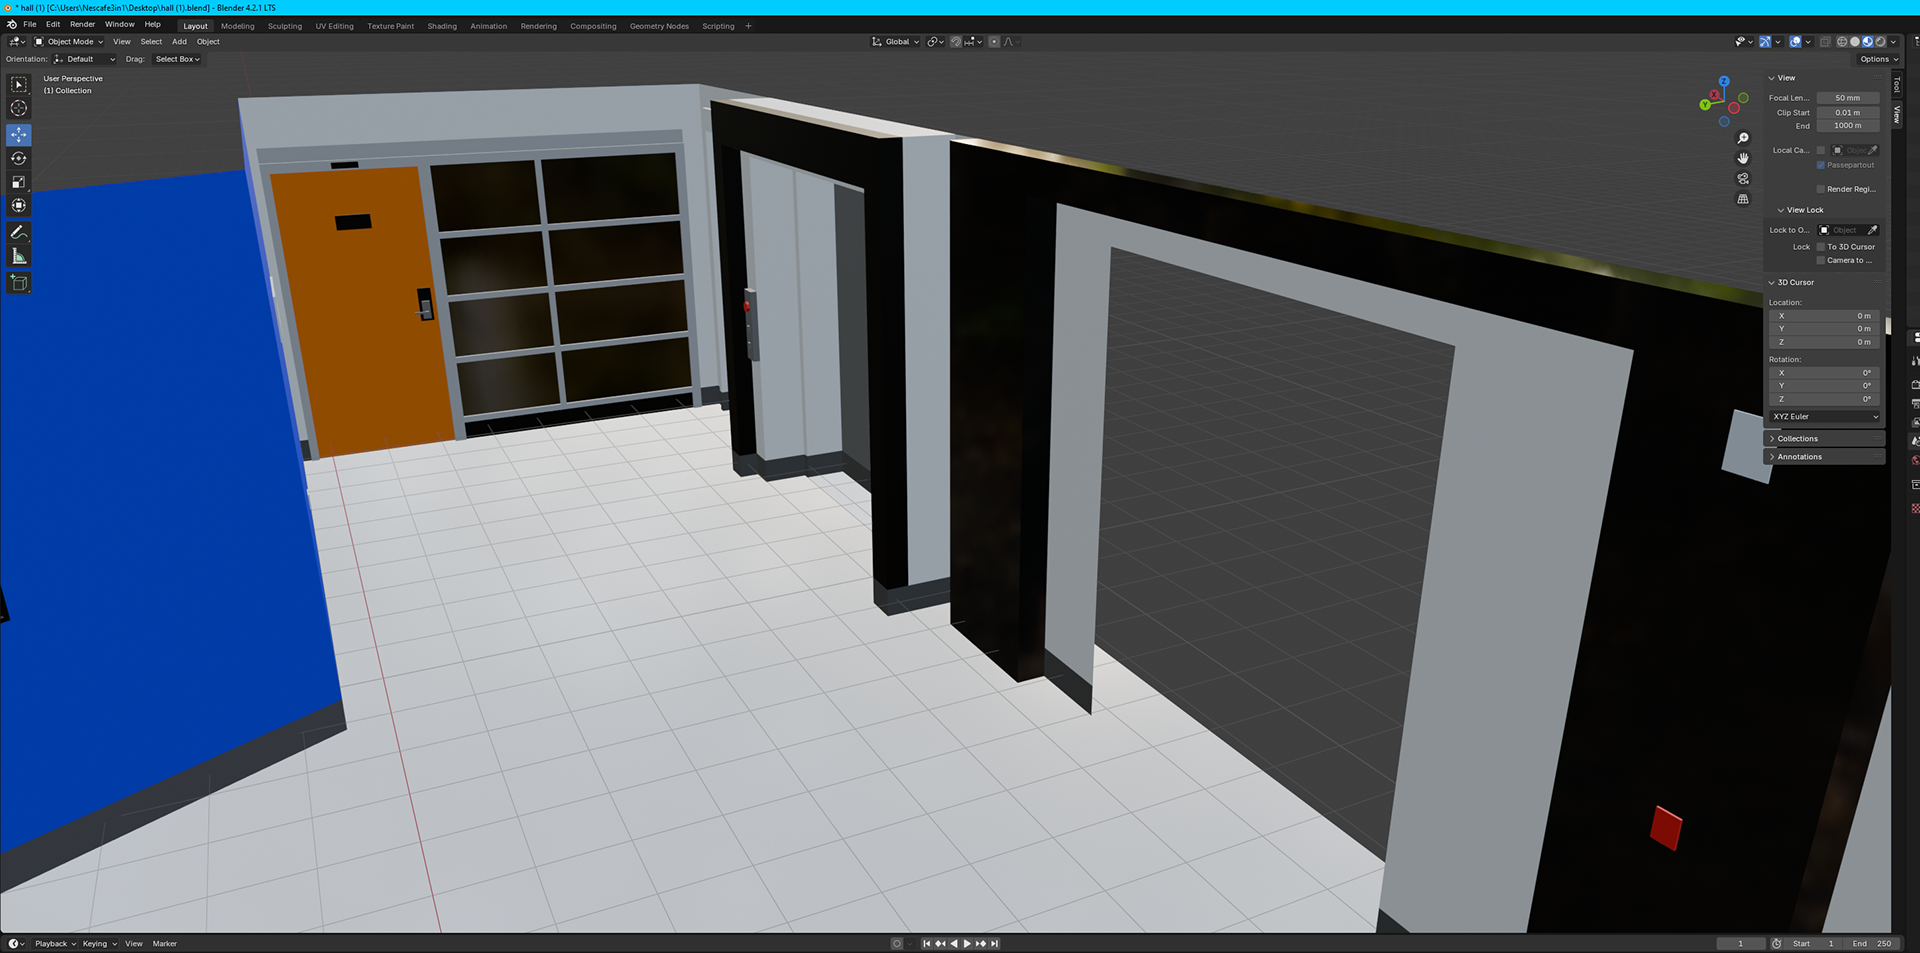
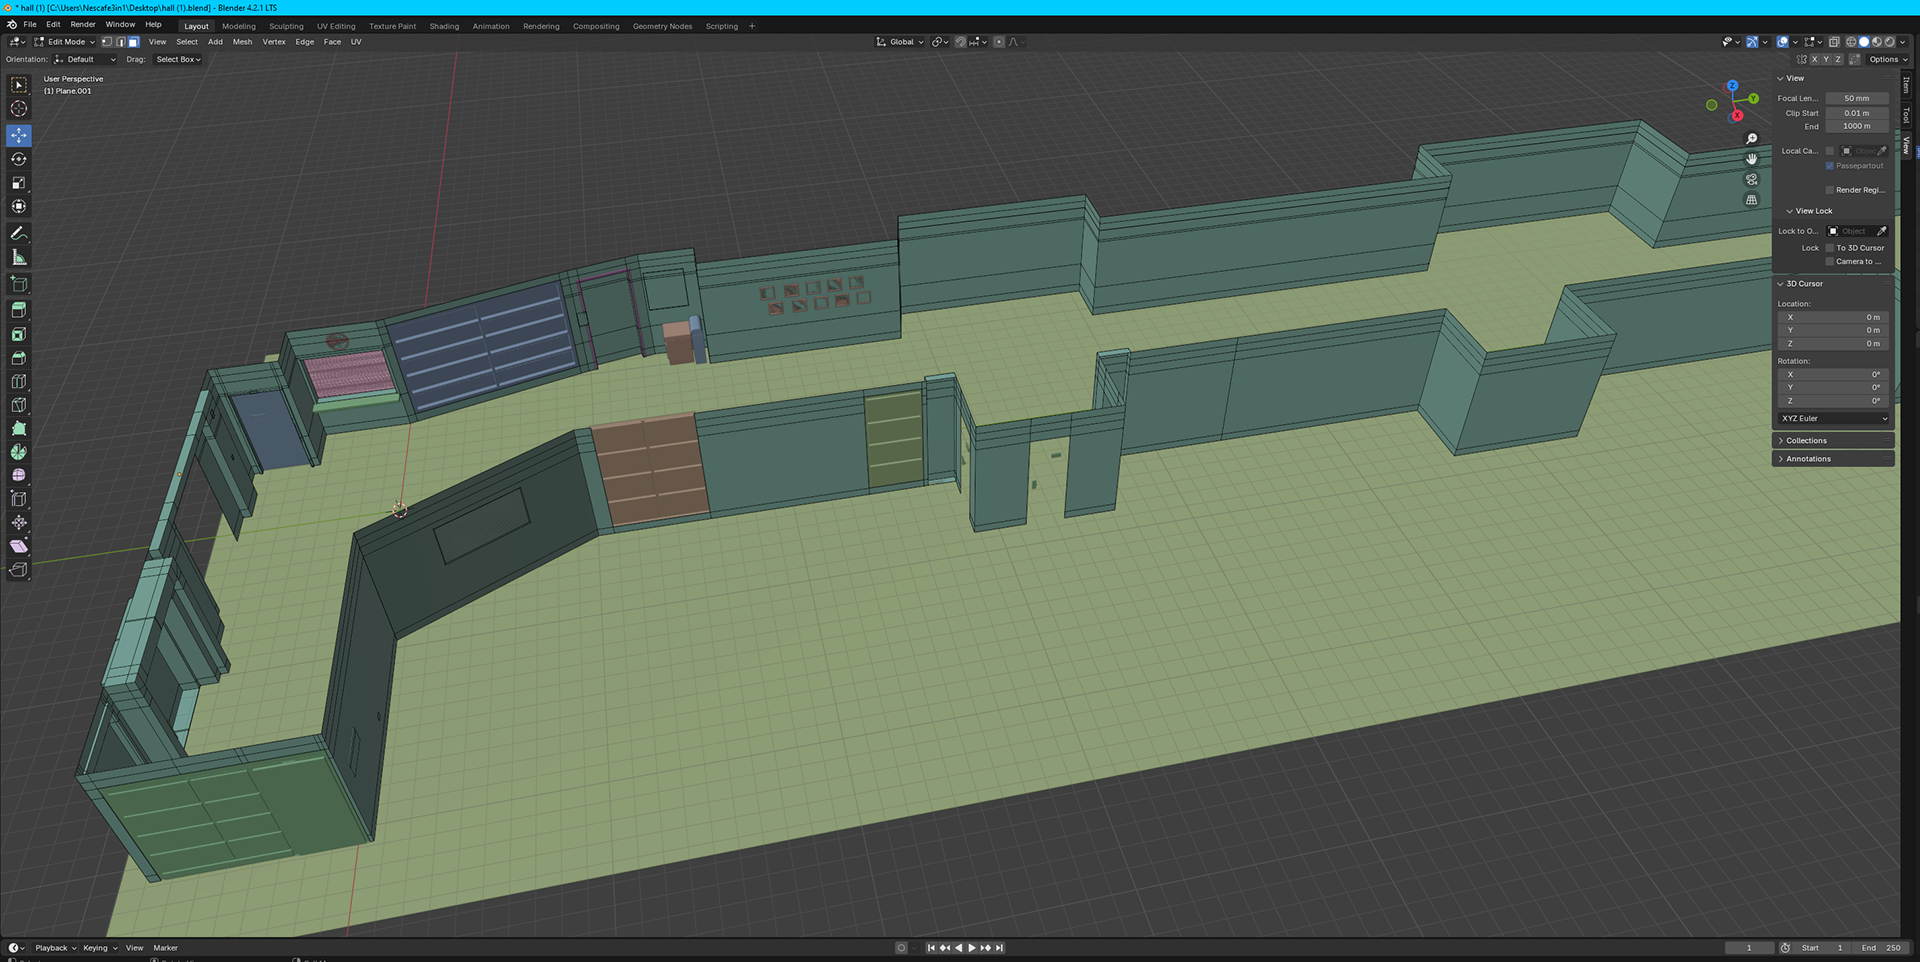
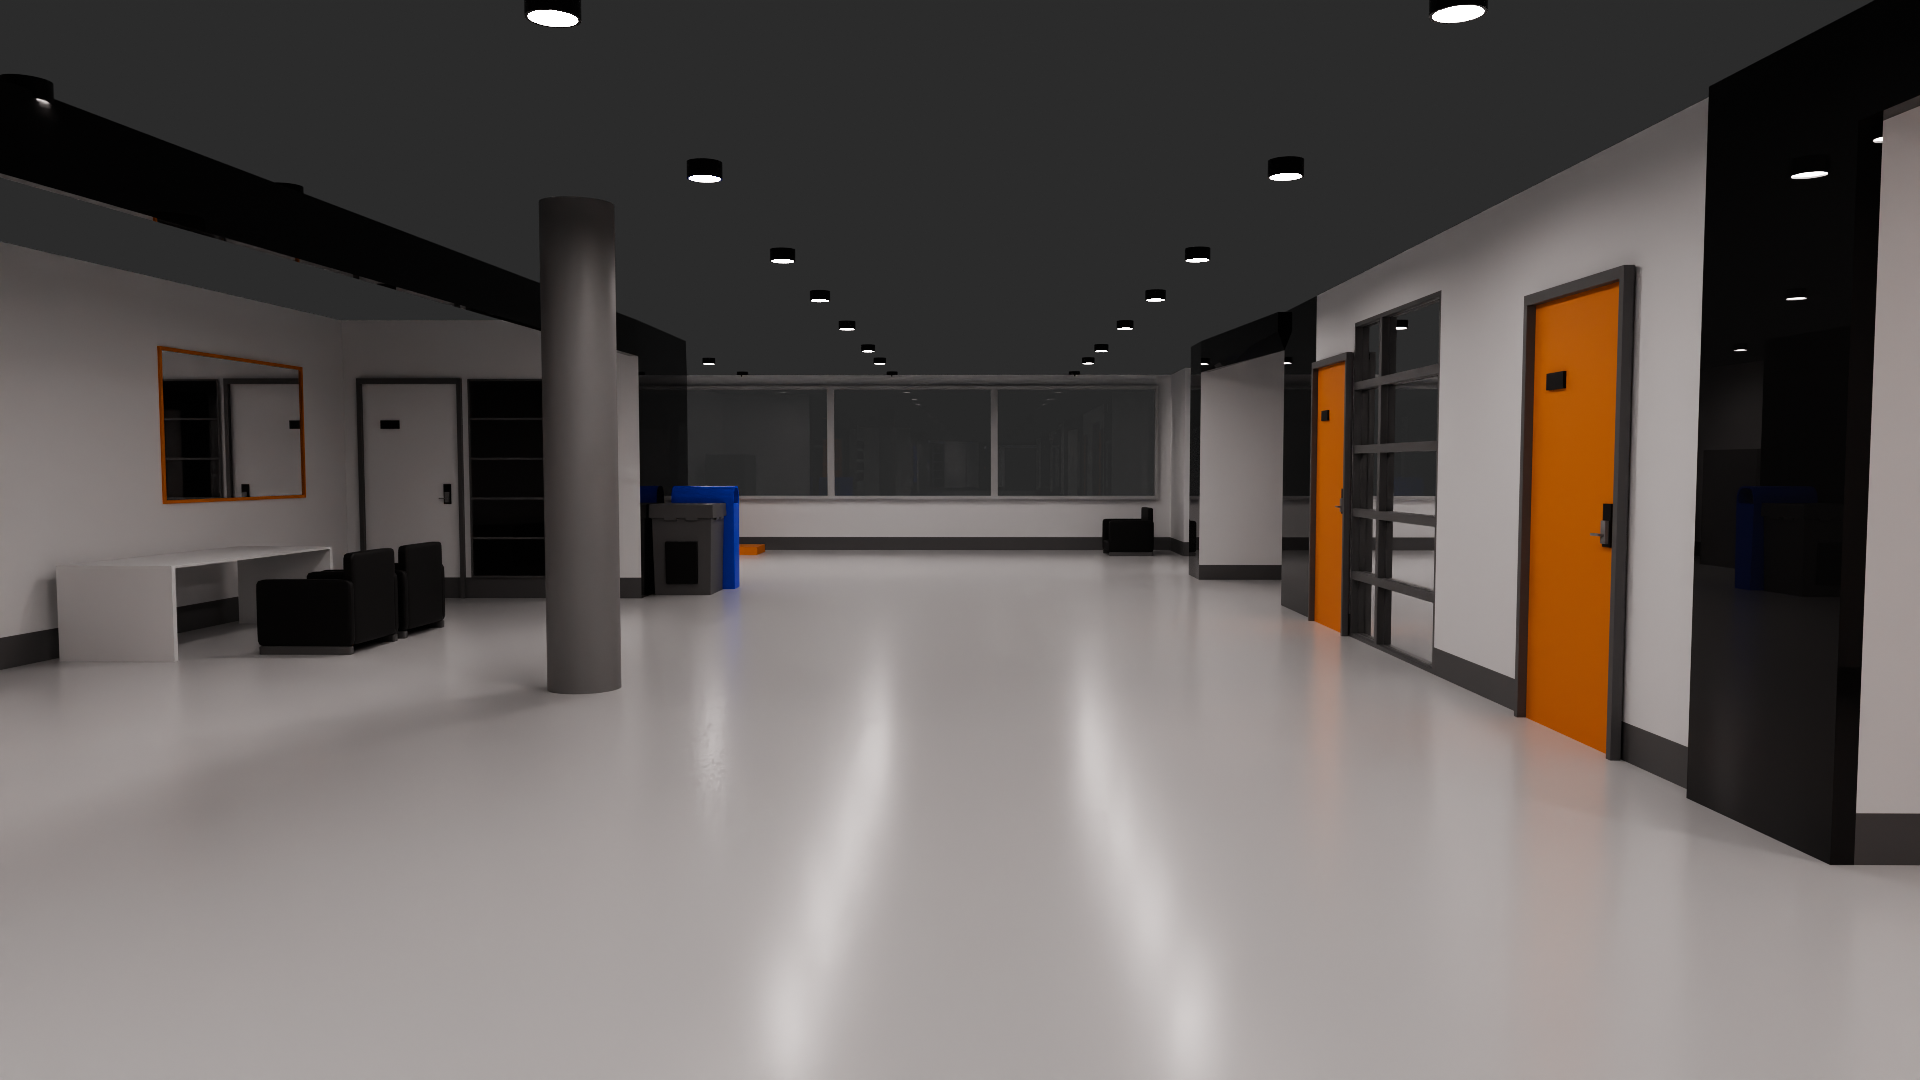
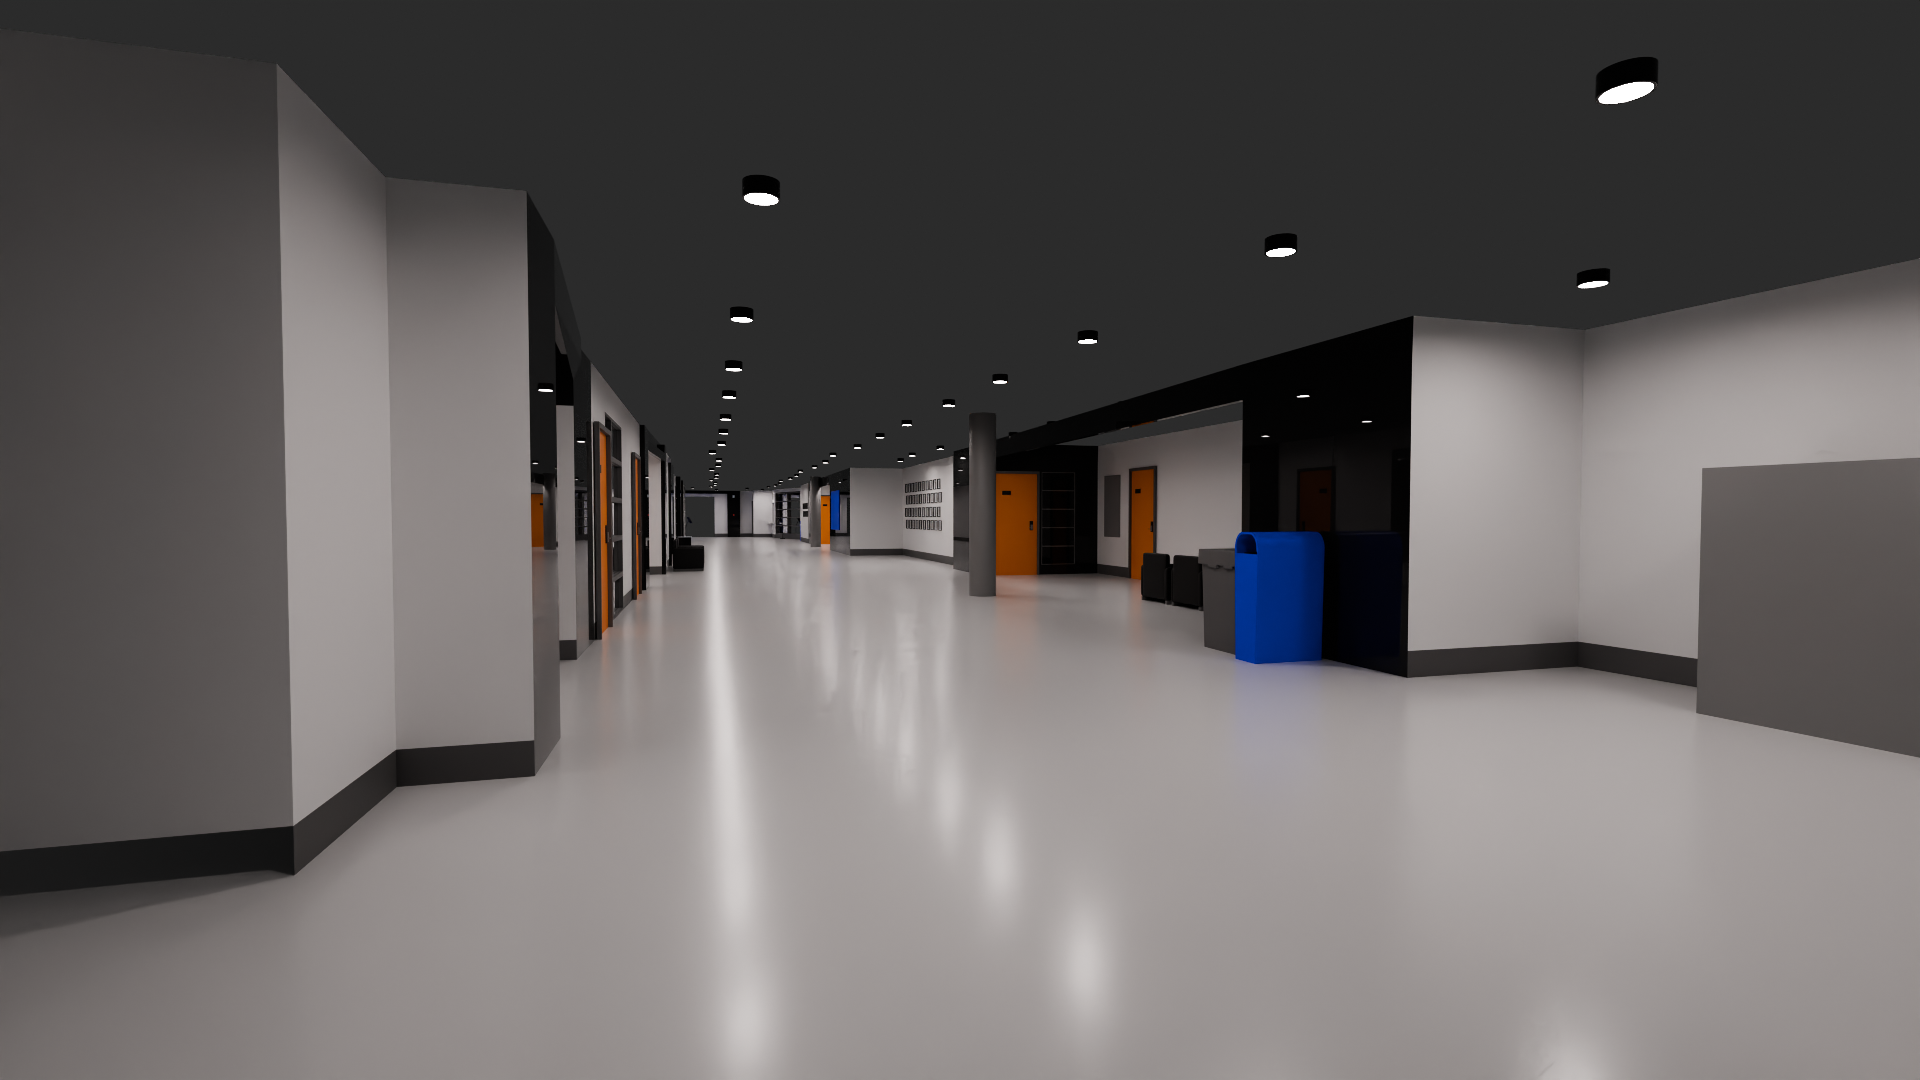
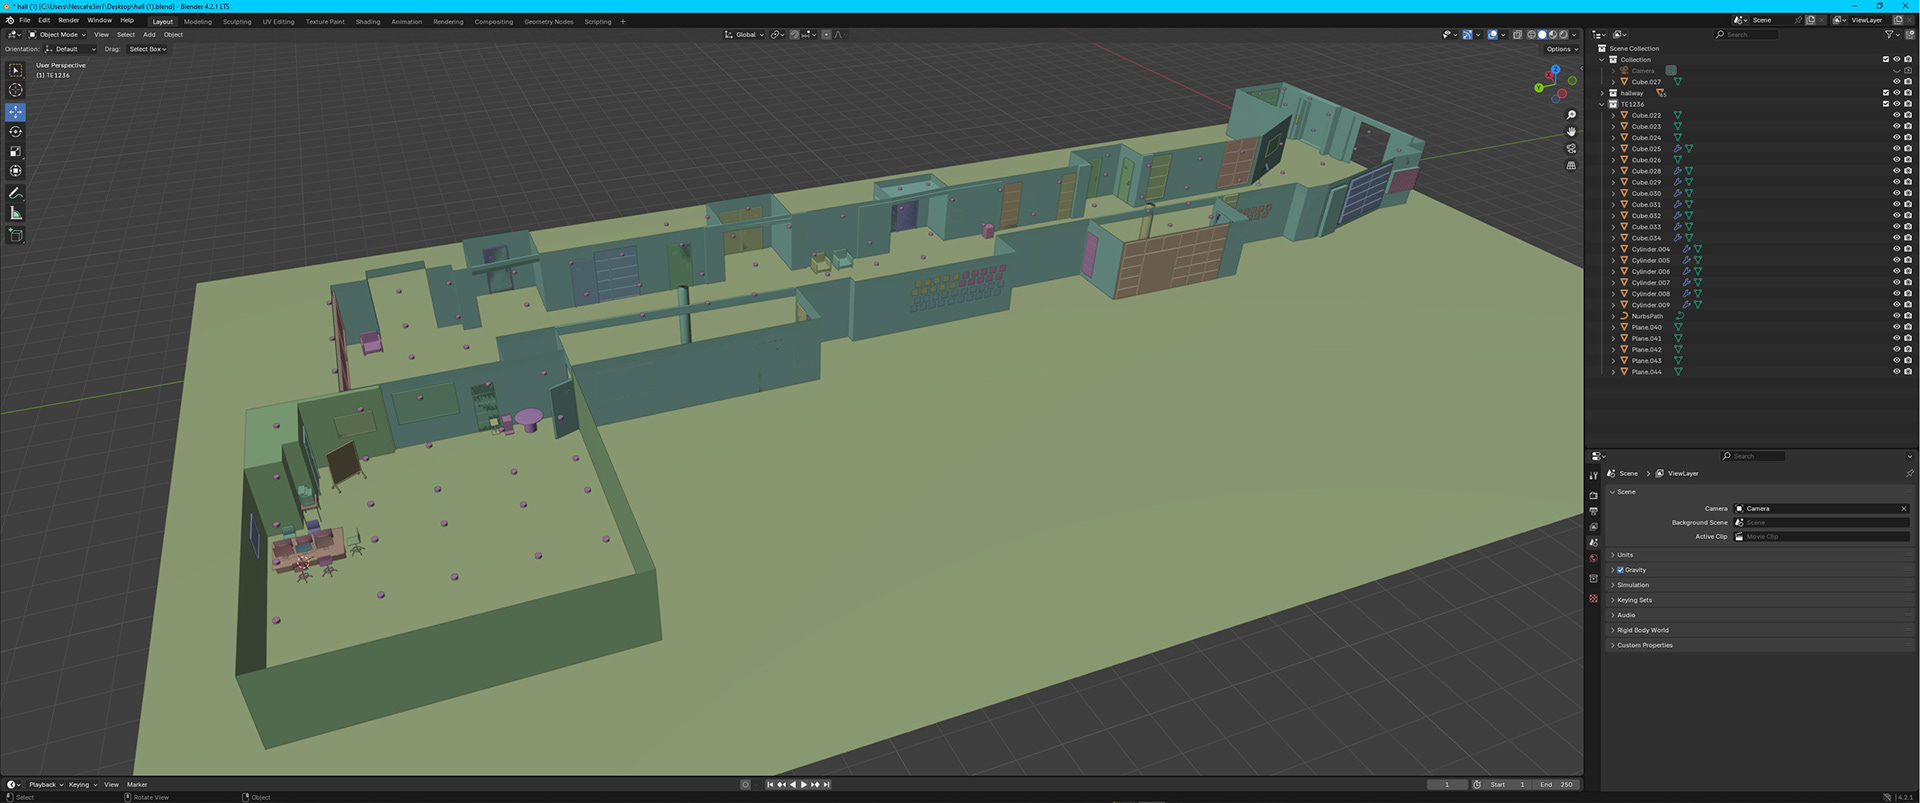
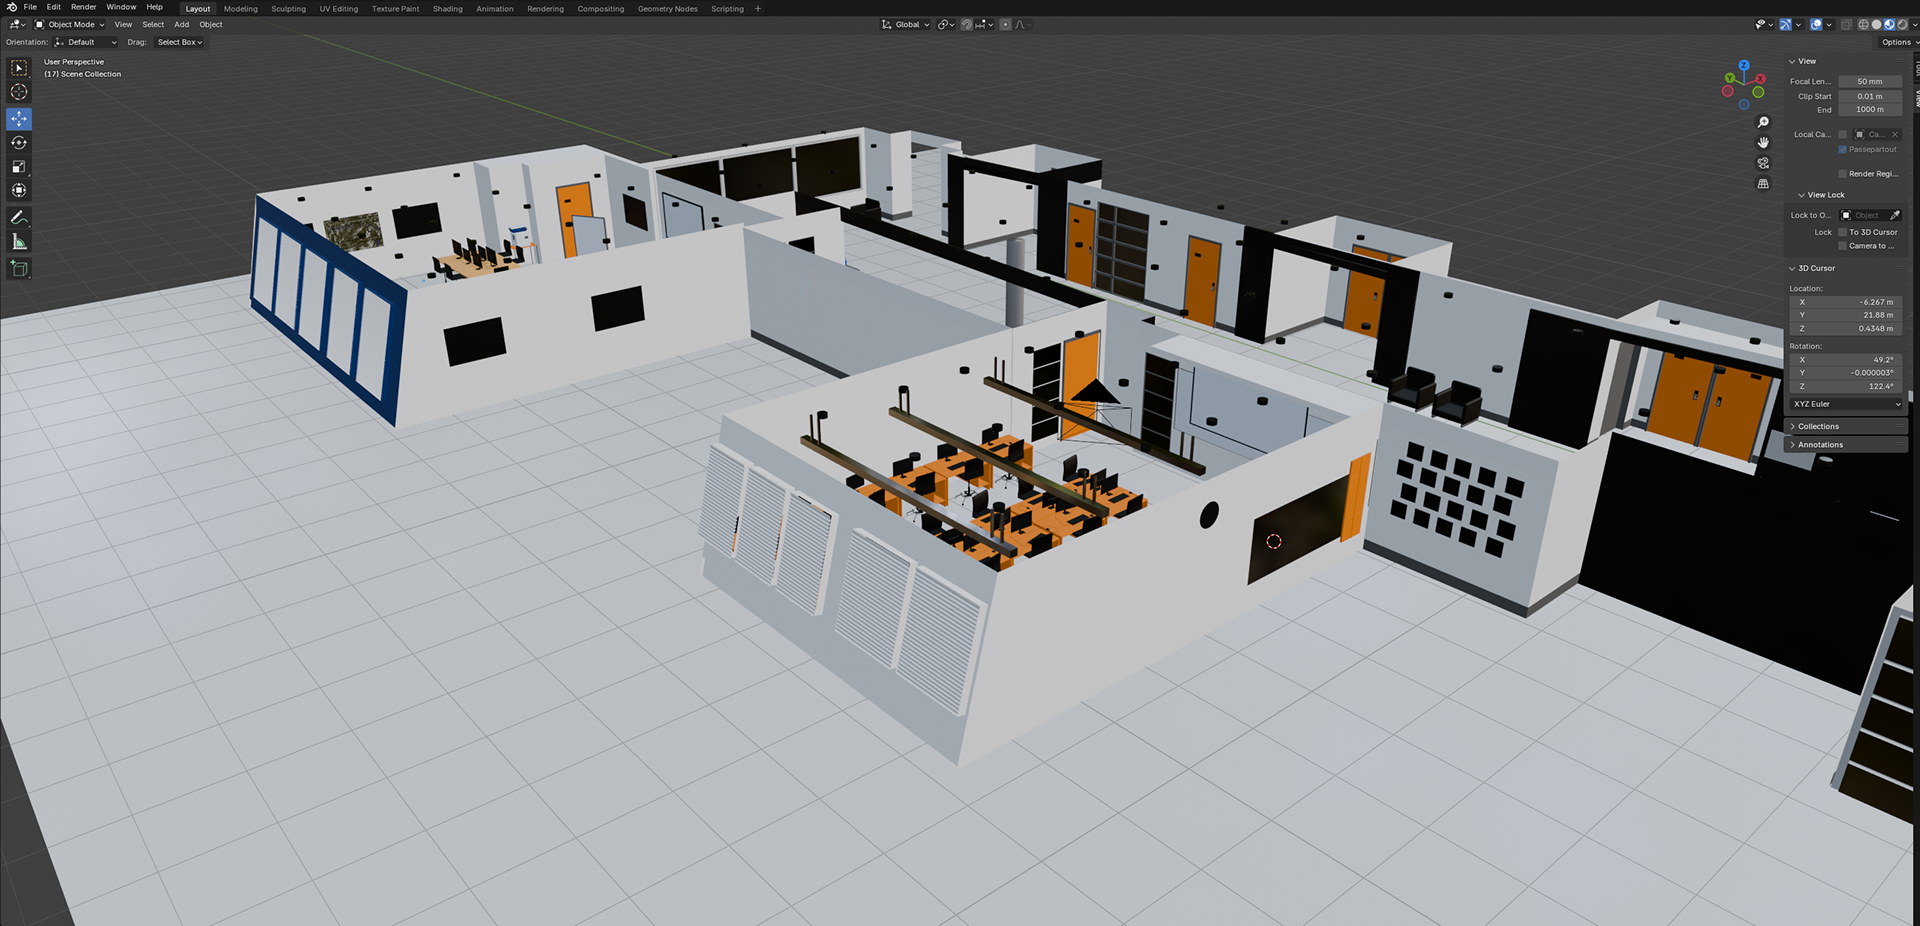
3) Modeling Hallway (Feb 3 - Feb 9)
This week, I modeled the hallway, elevator, doors, entrances, and windows of the 3rd floor in Blender.
- Designed the walls, referencing the layout from floorplan and my video recording
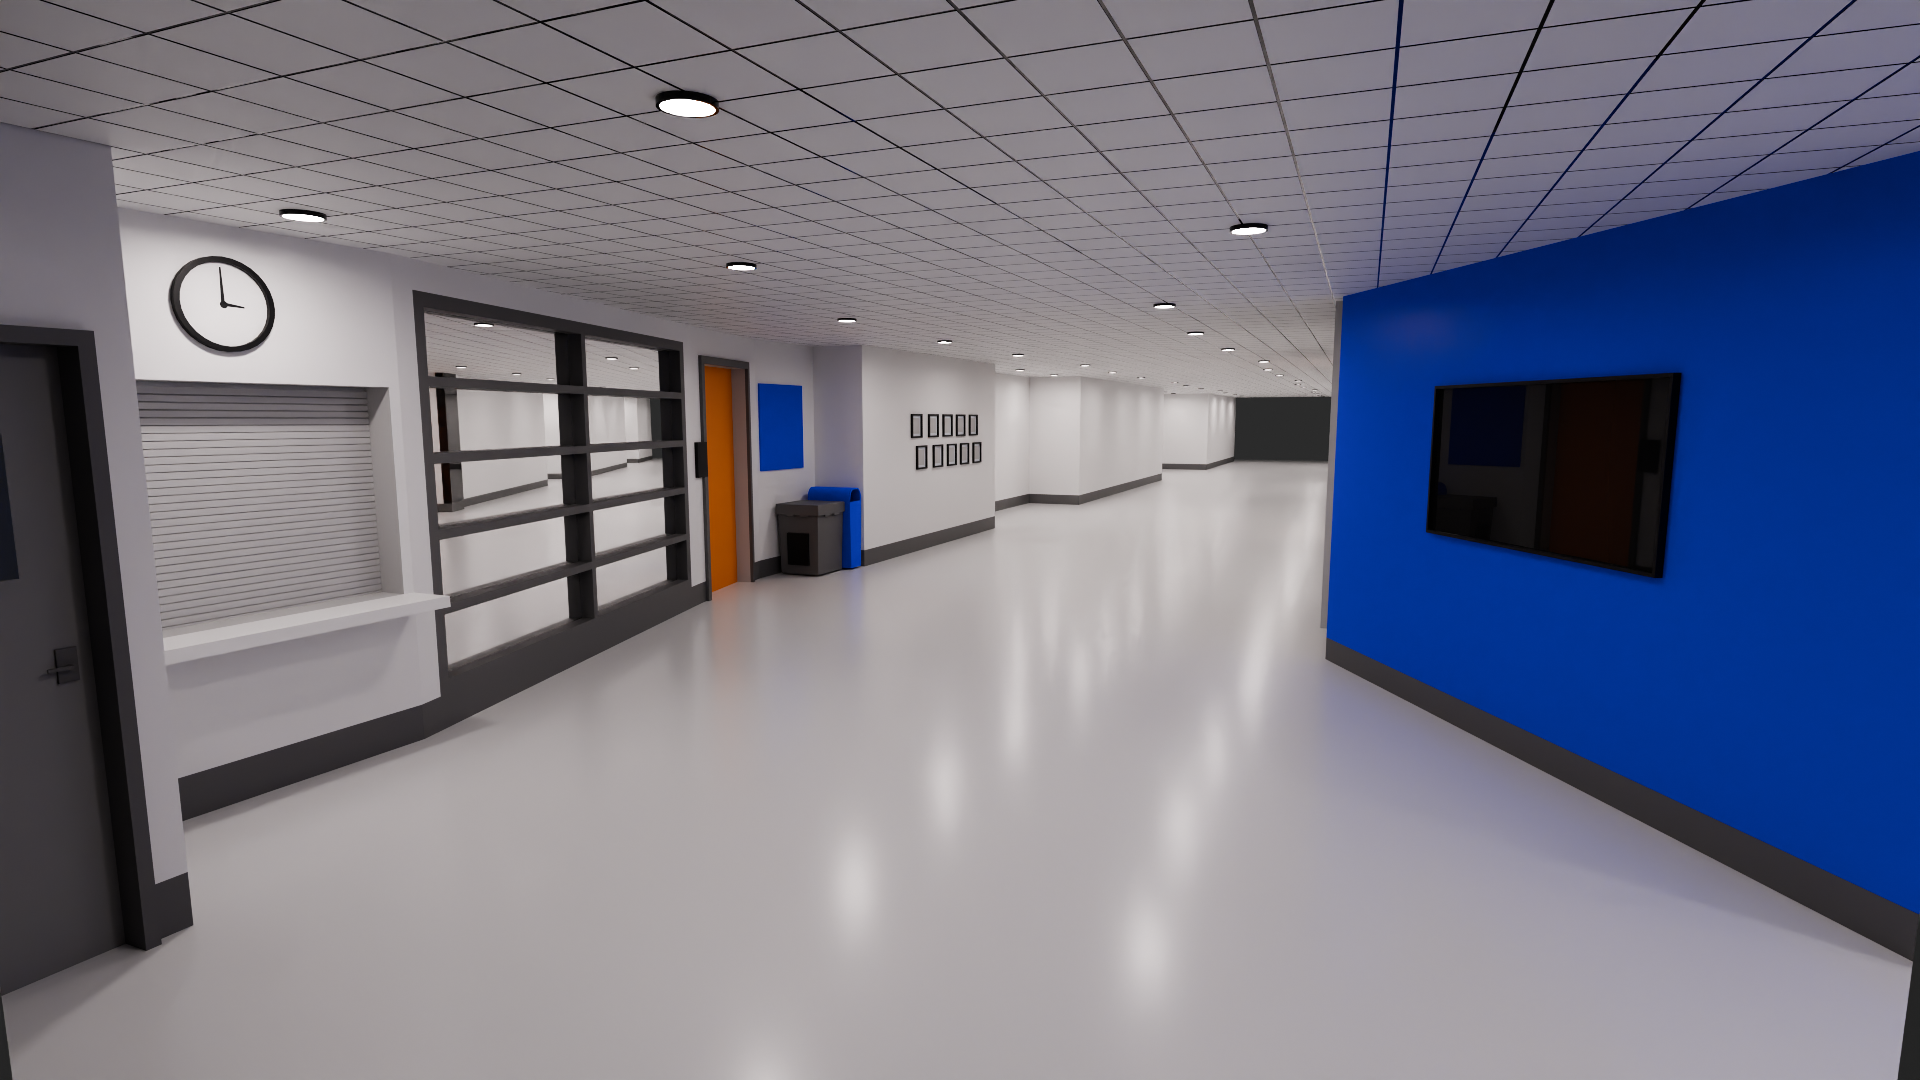
- Designed the doors and entrance of elevator (Loop Cut, Excrude)
- Added Elevator panel/big red button
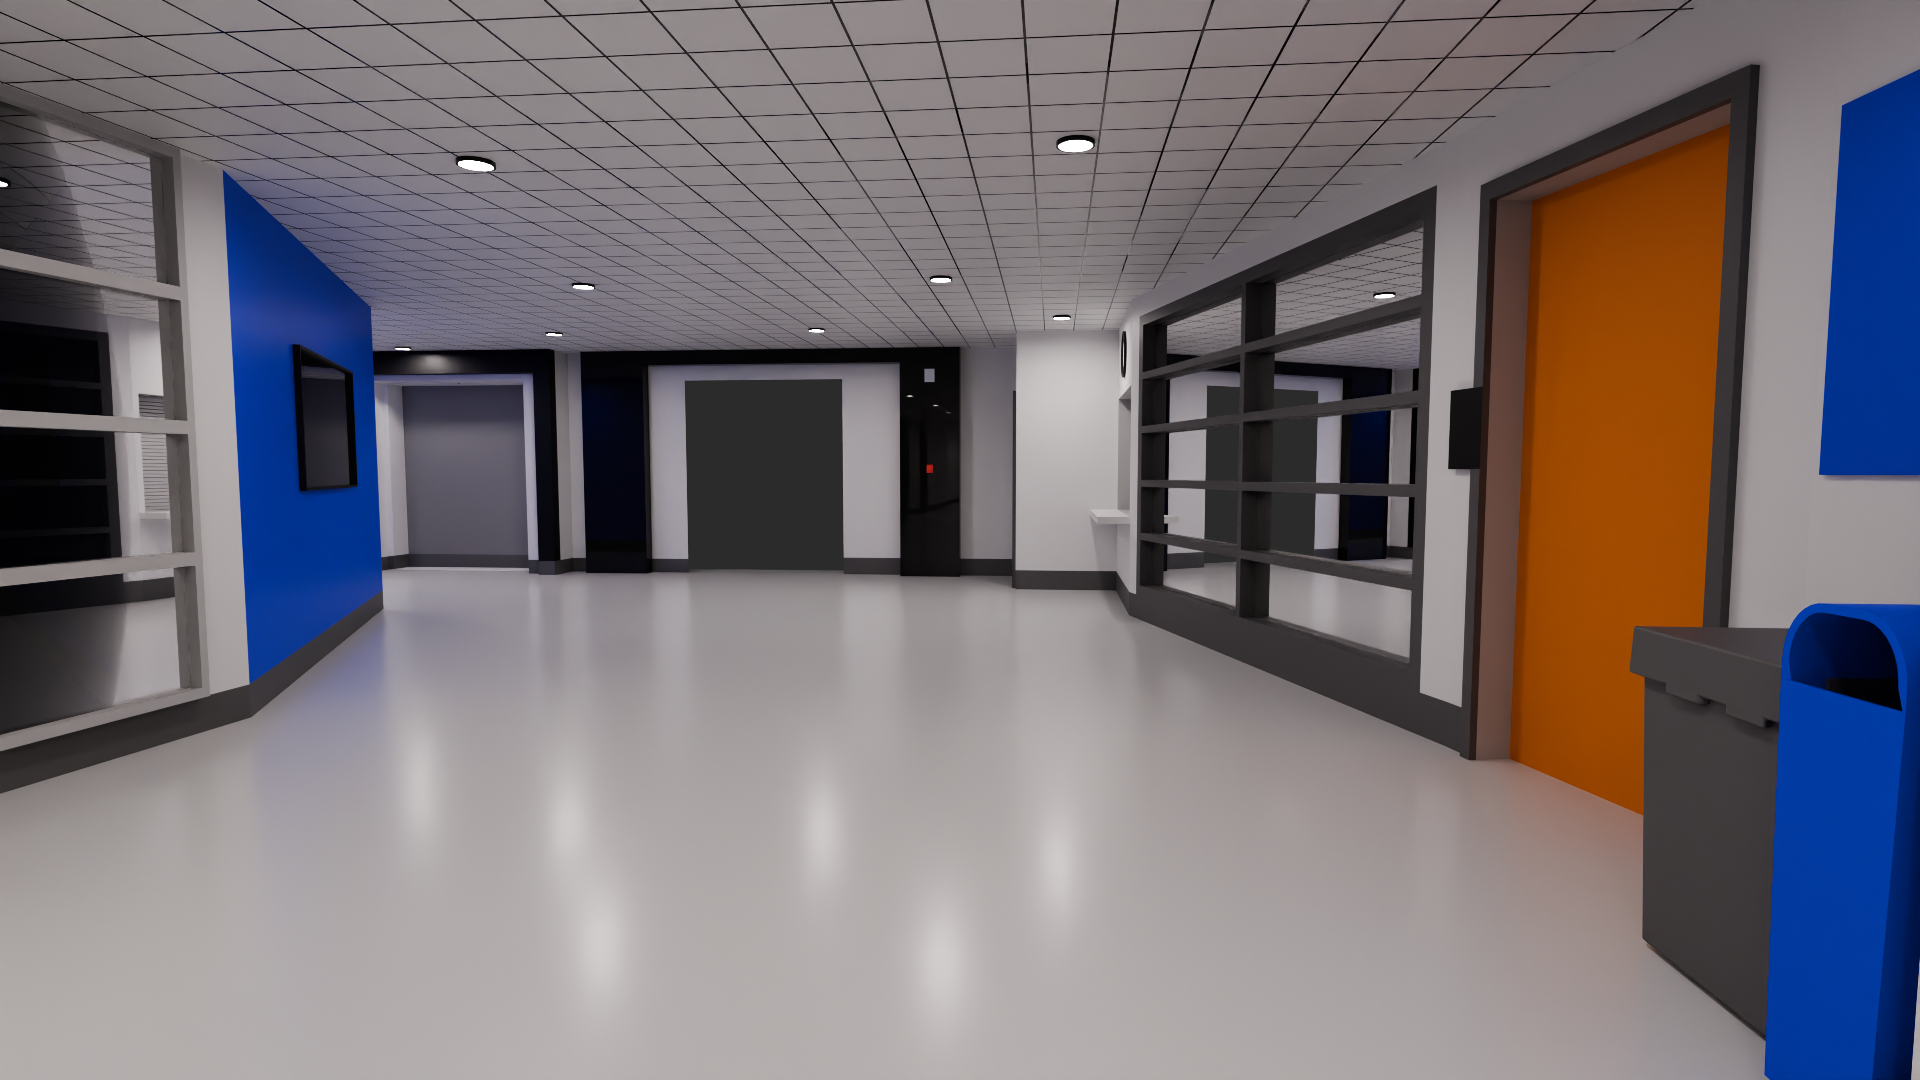
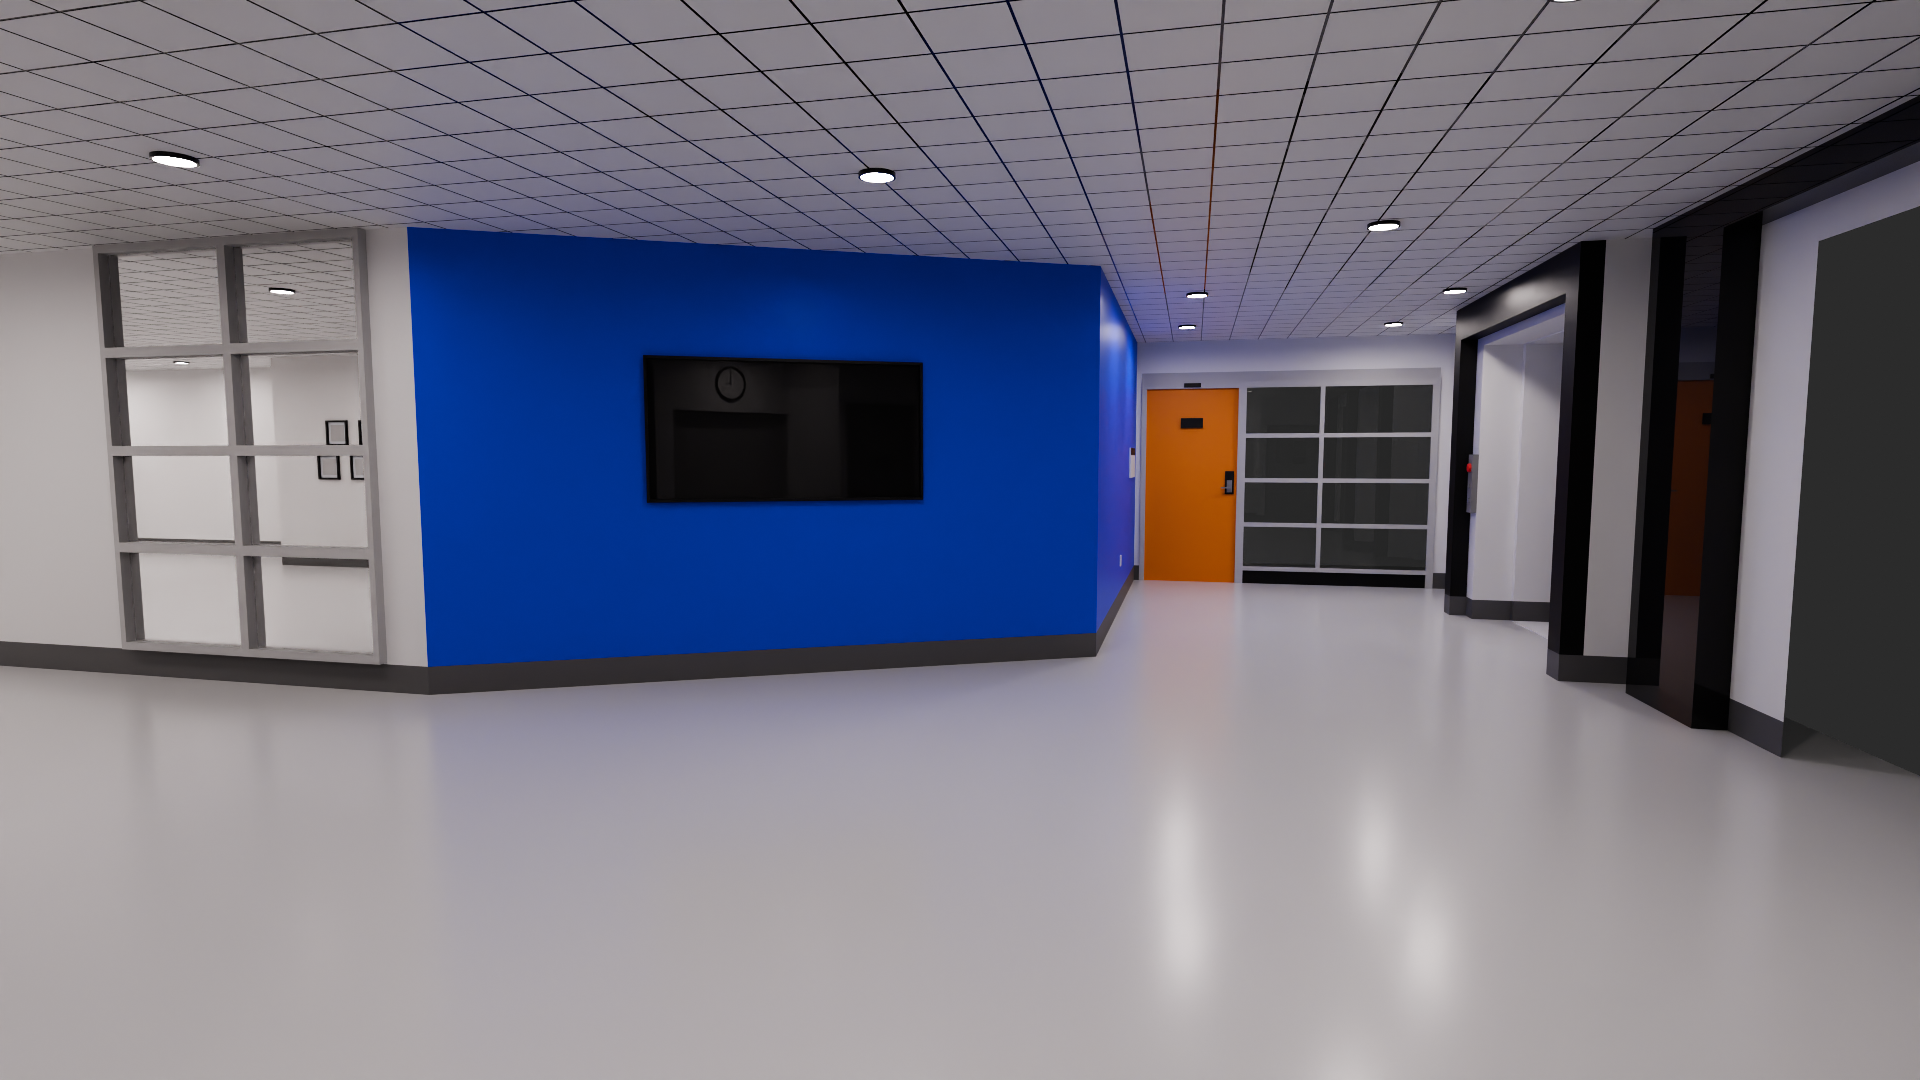
- Designed doors / Windows / TV / Glass (0 roughness for reflection)
- Added blue color on the wall with TV
- Designed door / window / clock of Isaiah's office (Loop Cut, Excrude)
- Designed trash bins (regular/recycle)
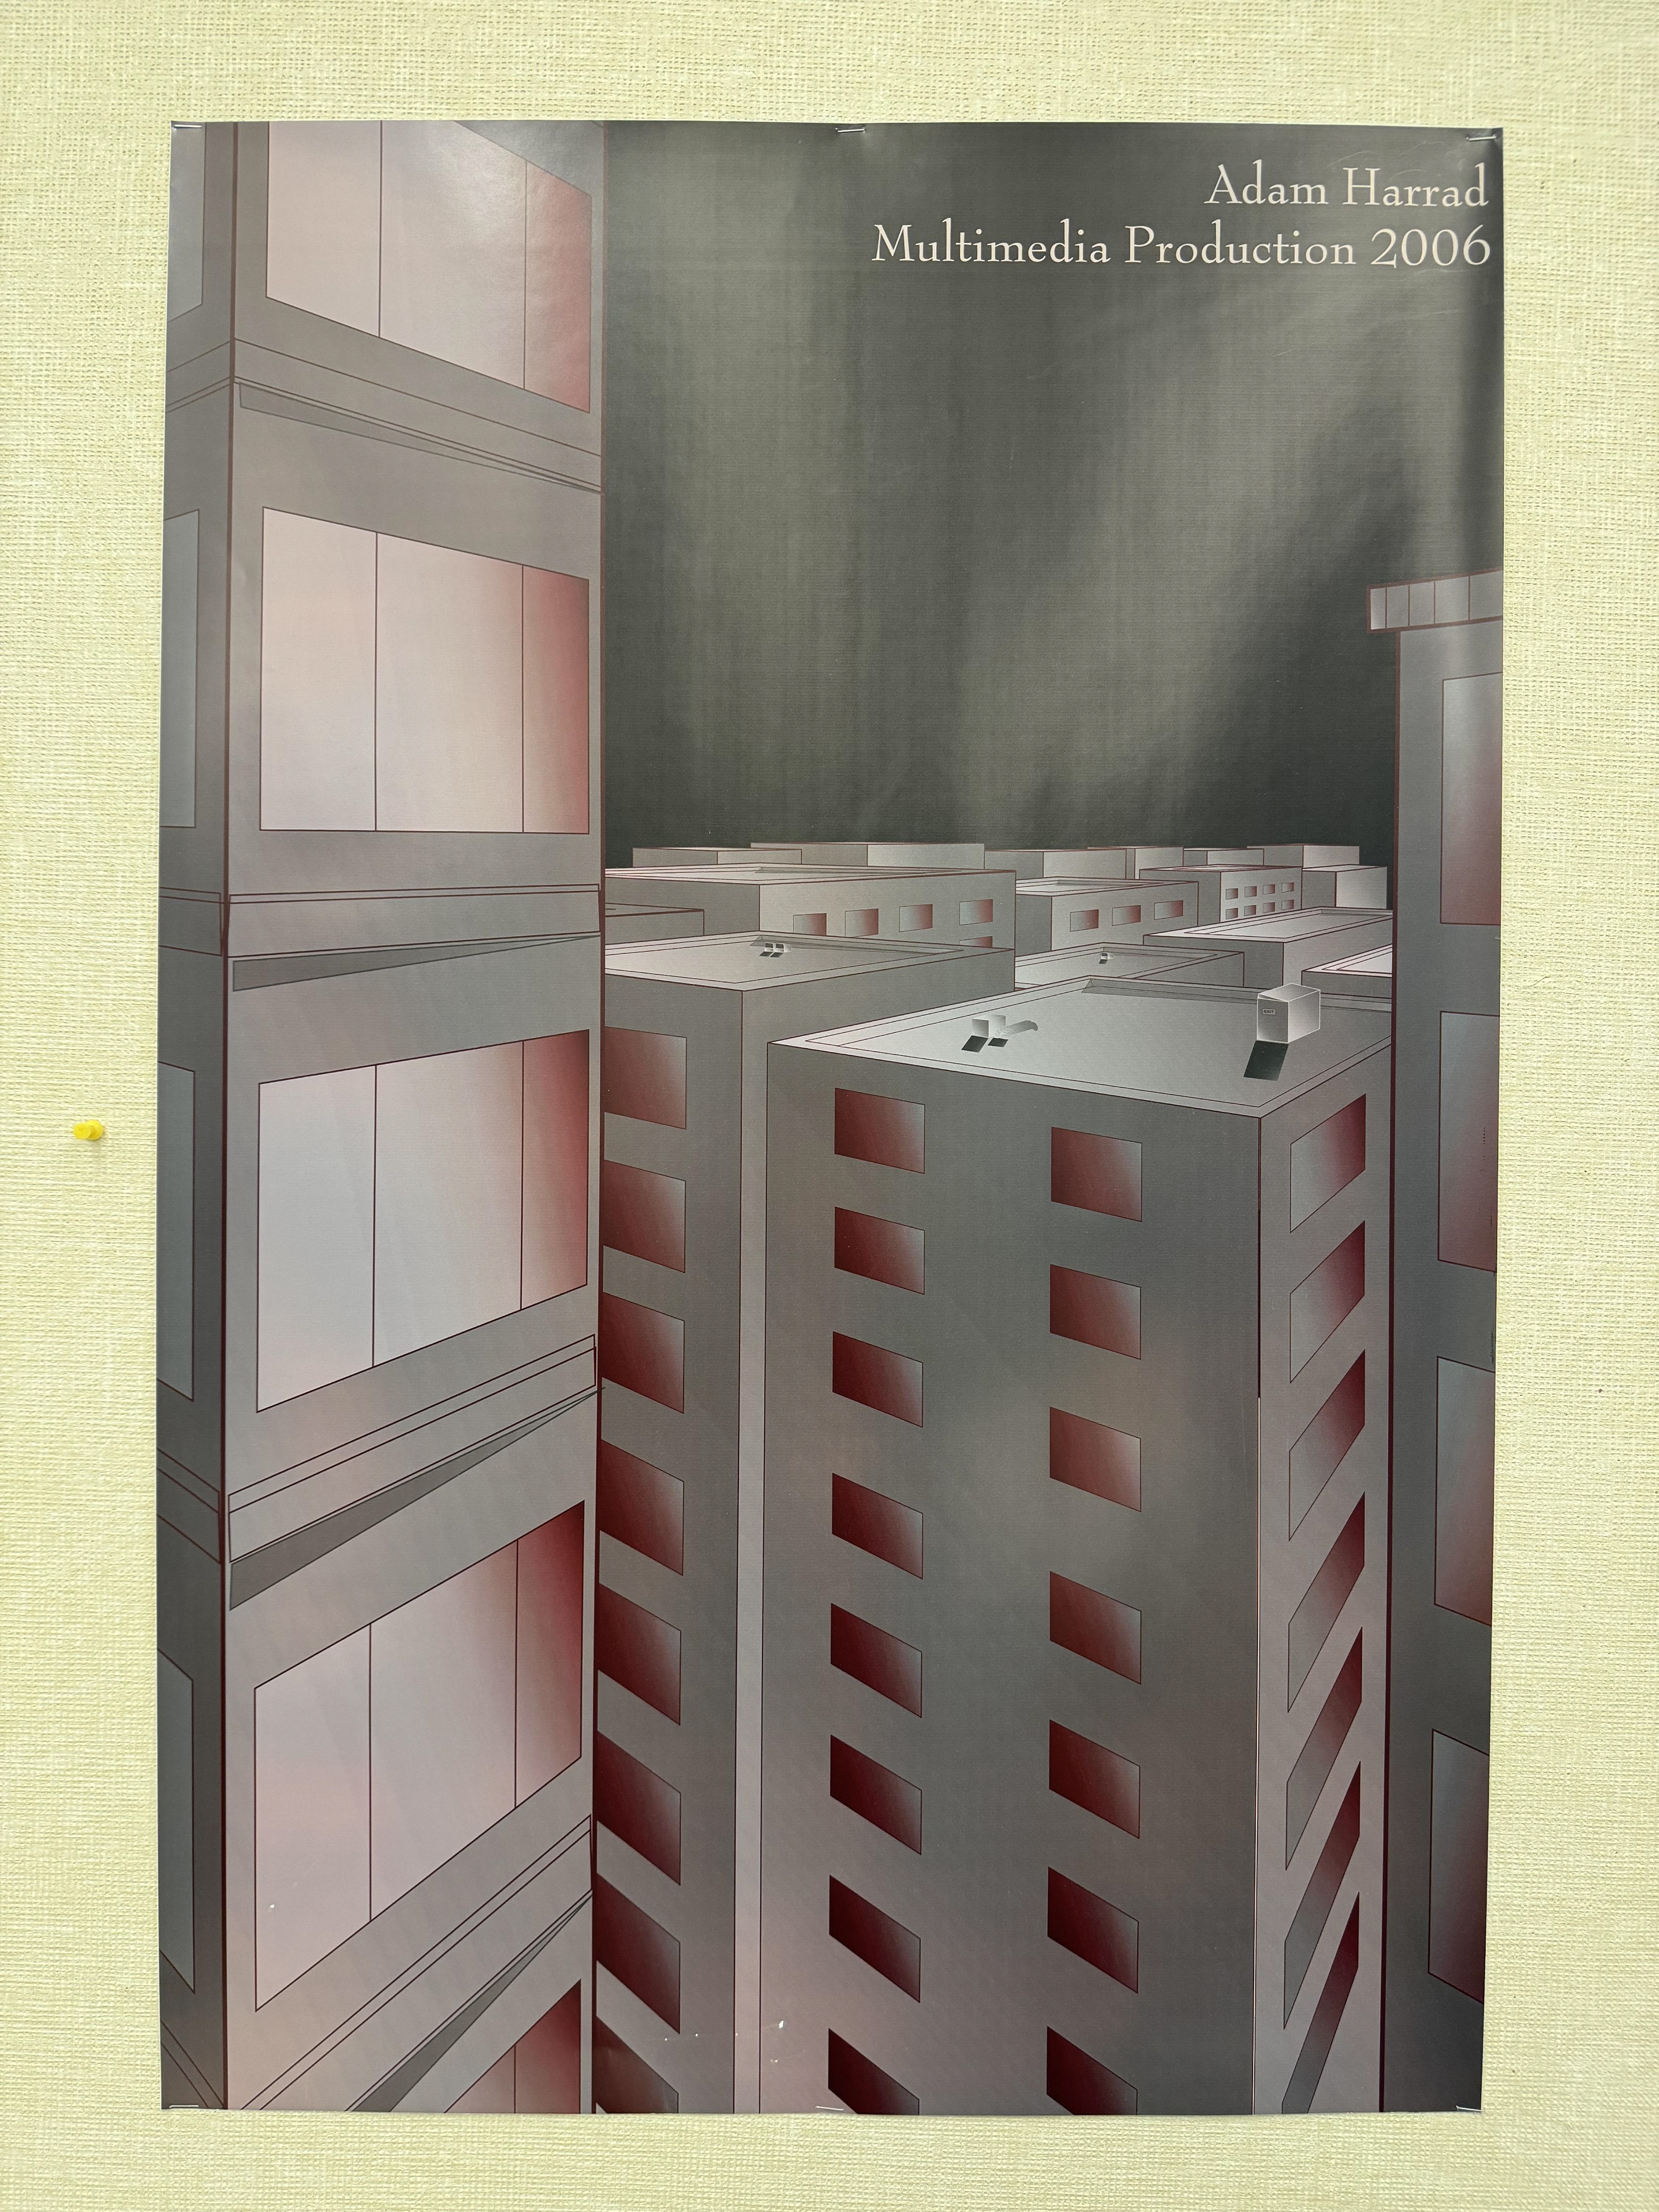
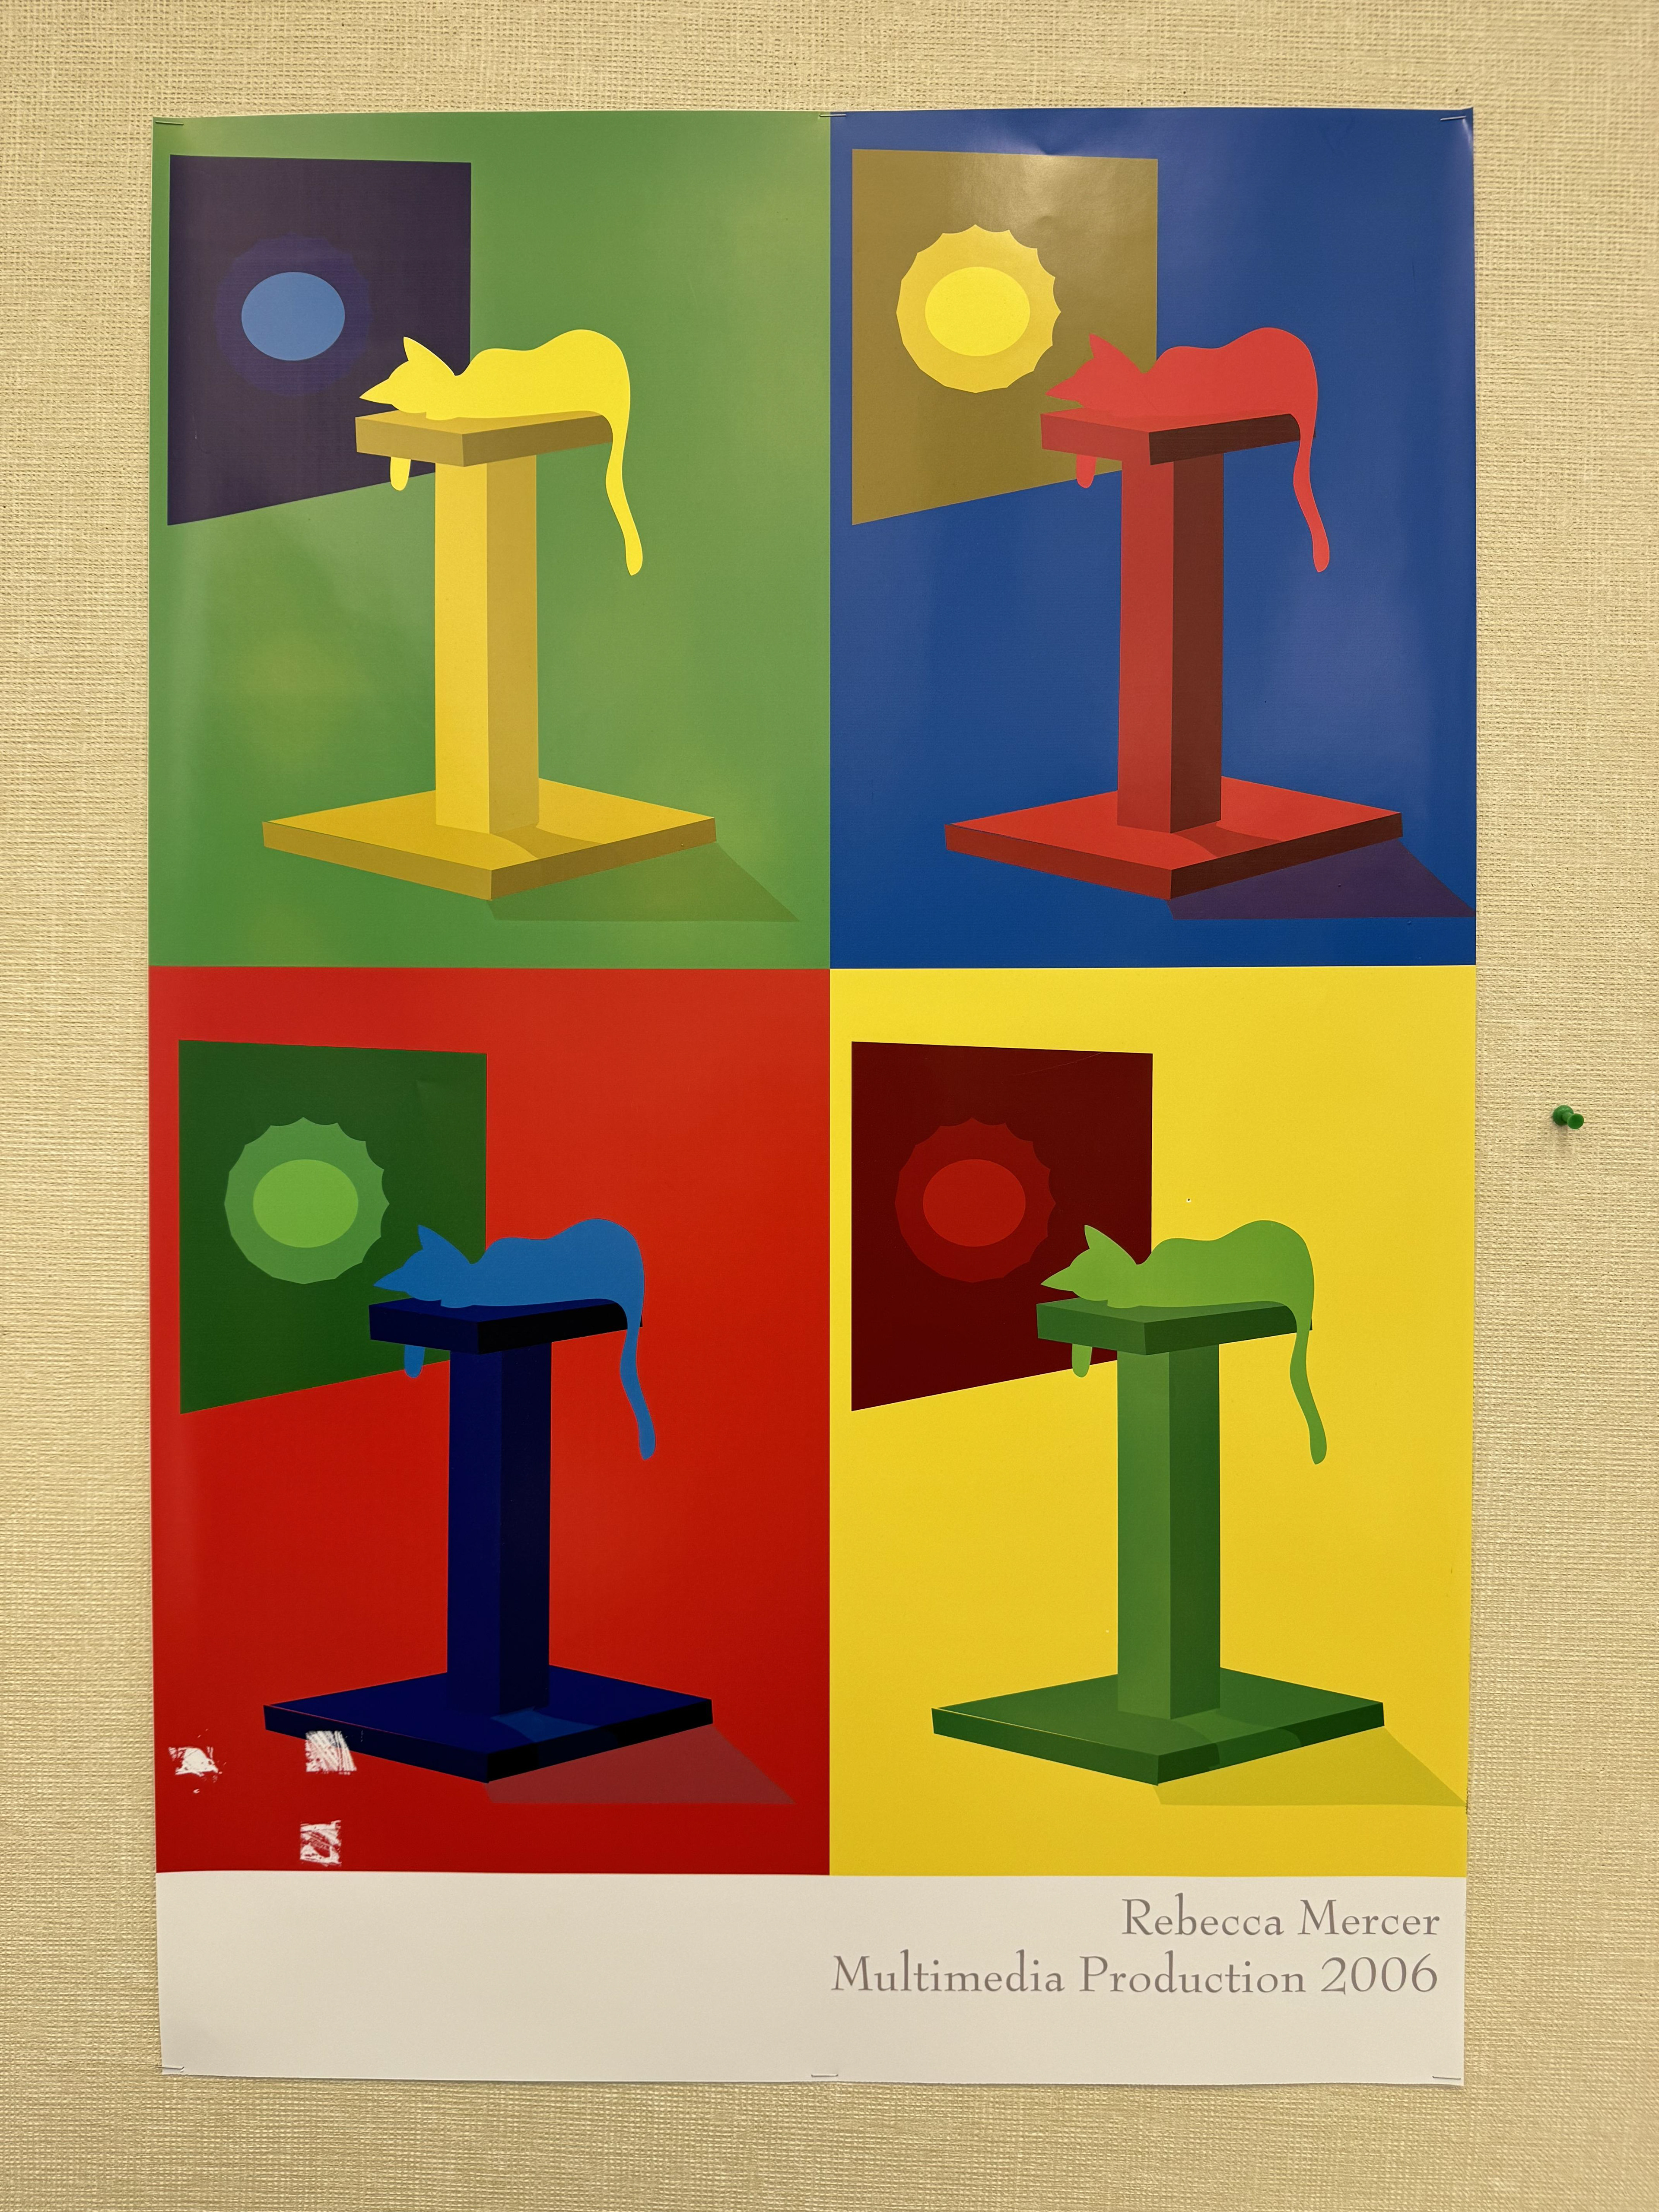
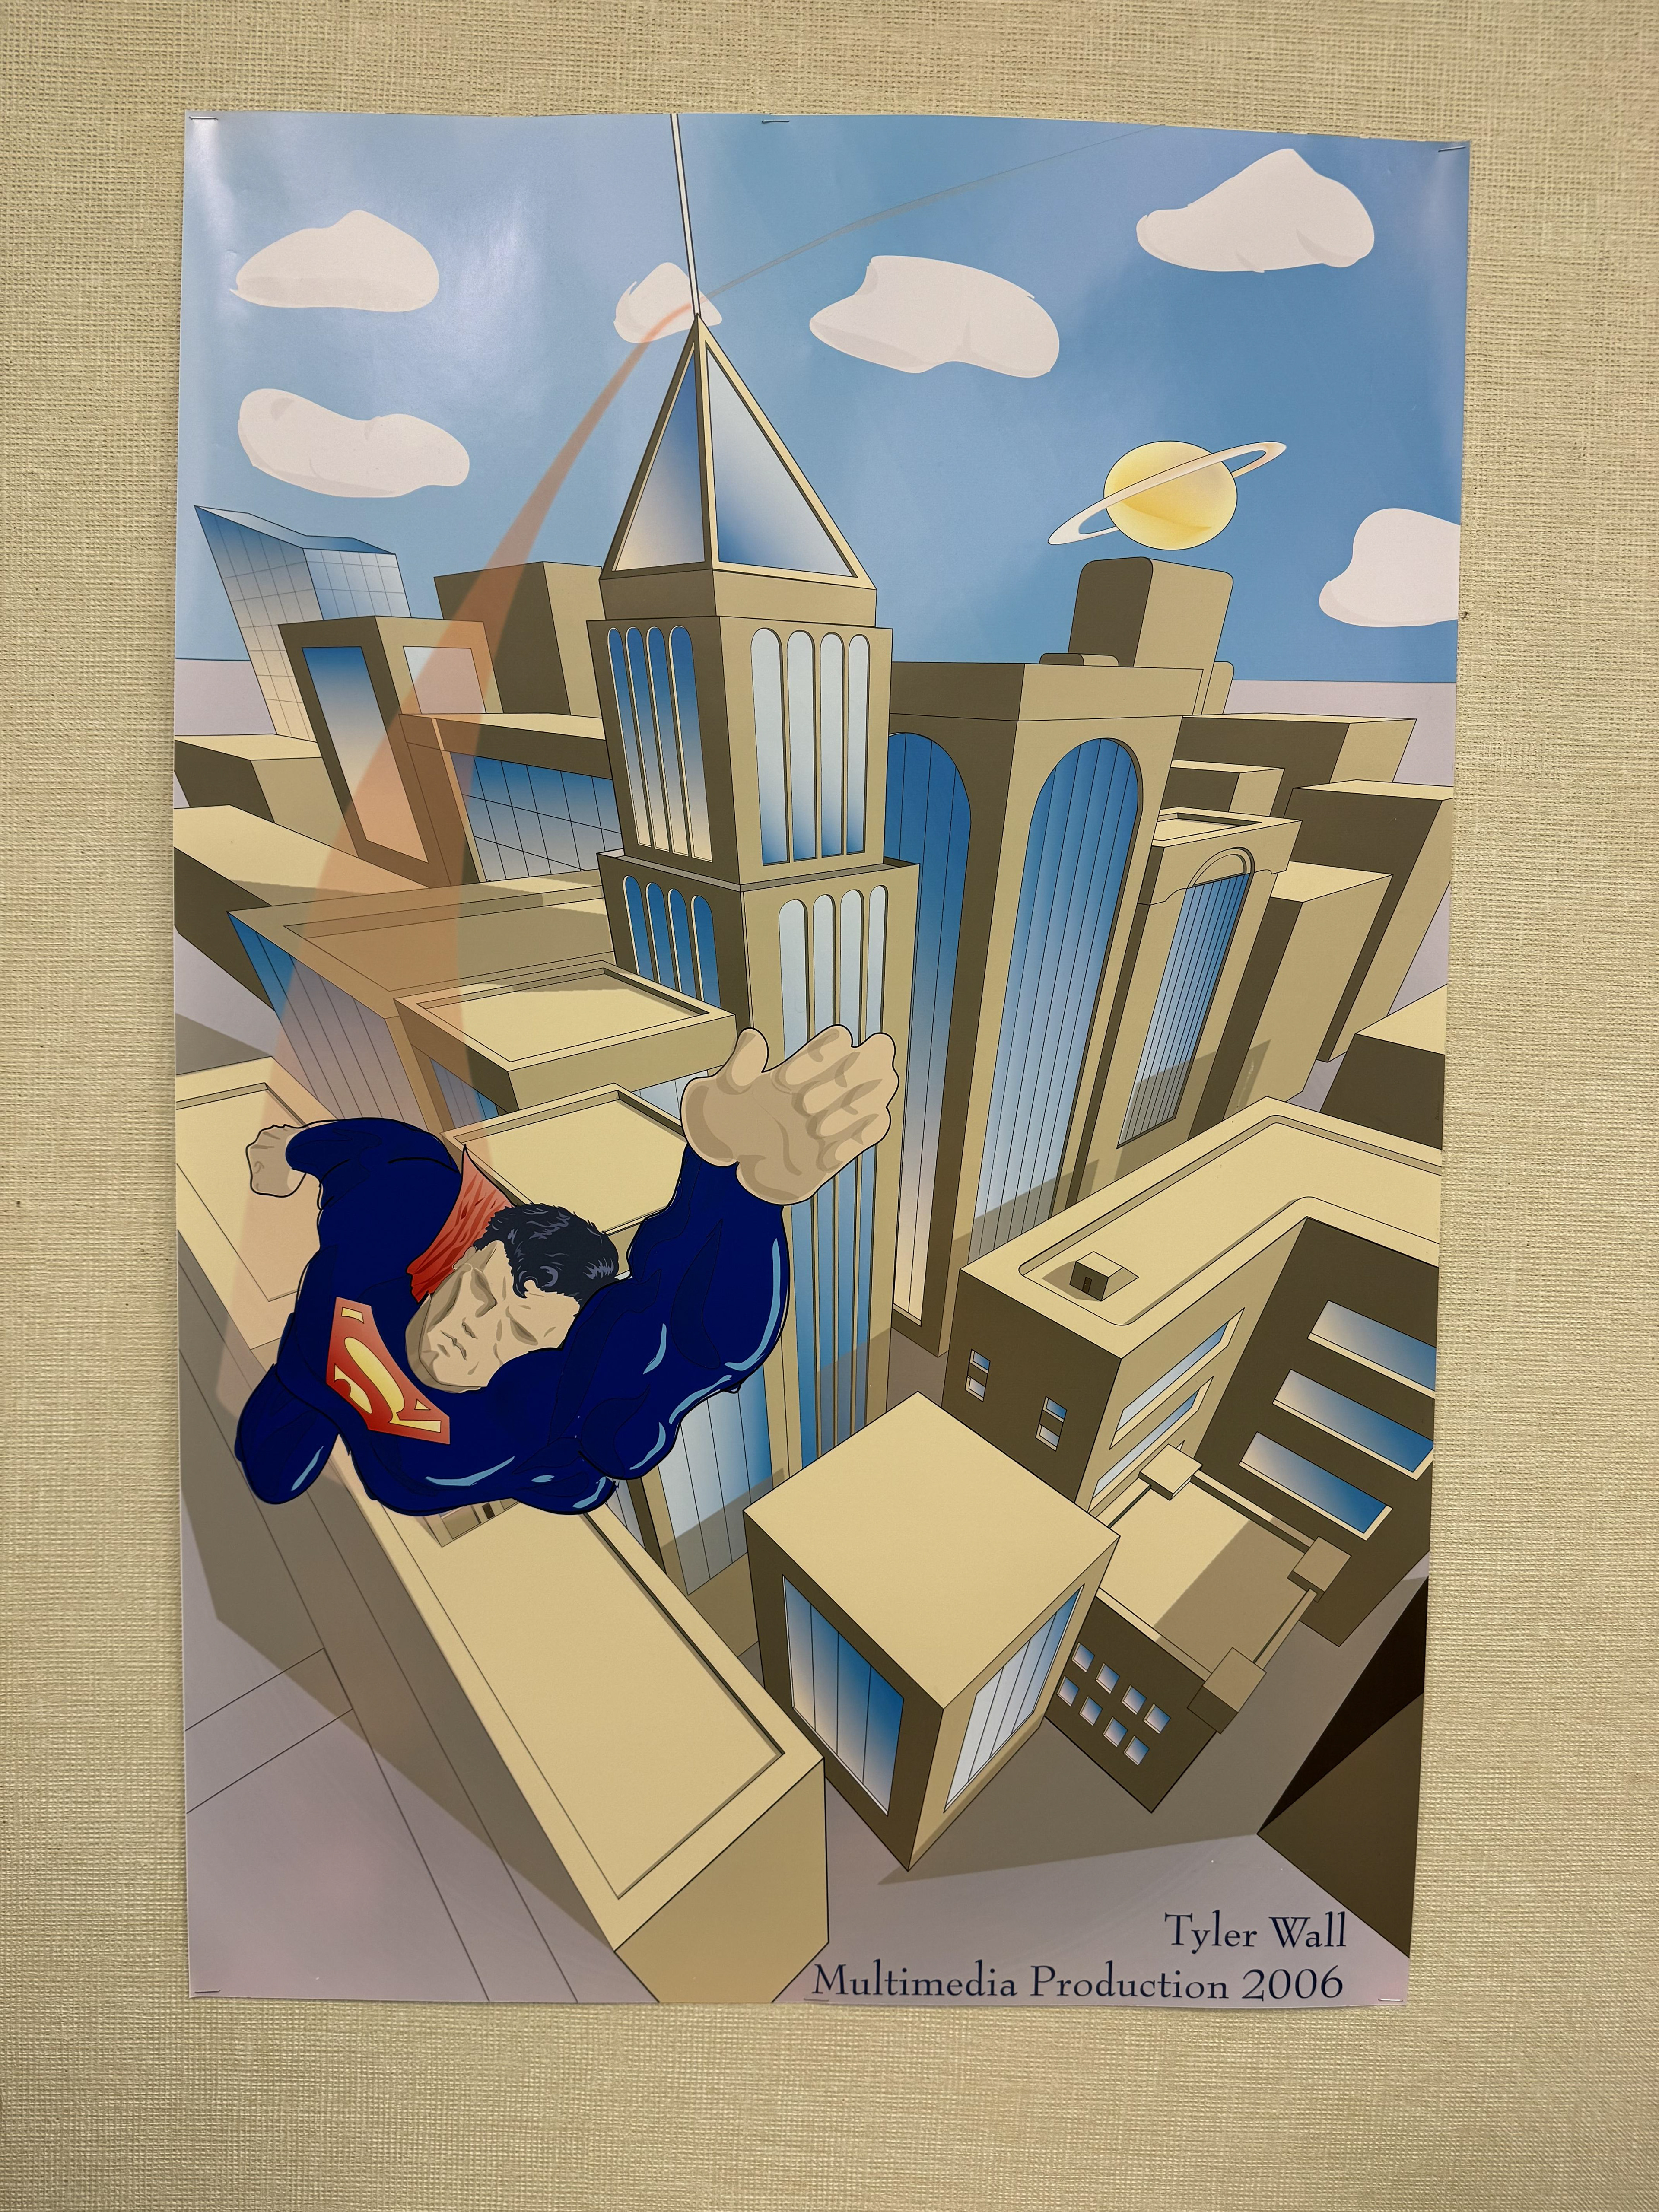
- Designed picture frames, placed on wall
- Designed doors, windows for other classes/rooms up until DCM area
- Added basic plane floor (Gray)
- Designed a grid pattern ceiling, added lights (Gray + Array modifier + 6000 temp)
- Backed up .blend file (Google drive)
- Kept the colors consistent (Assigning metal grey - black)
- Designed the doors and entrance of elevator (Loop Cut, Excrude)
- Added Elevator panel/big red button
- Designed doors / Windows / TV / Glass (0 roughness for reflection)
- Added blue color on the wall with TV
- Designed door / window / clock of Isaiah's office (Loop Cut, Excrude)
- Designed trash bins (regular/recycle)
- Designed picture frames, placed on wall
- Designed doors, windows for other classes/rooms up until DCM area
- Added basic plane floor (Gray)
- Designed a grid pattern ceiling, added lights (Gray + Array modifier + 6000 temp)
- Backed up .blend file (Google drive)
- Kept the colors consistent (Assigning metal grey - black)
The WIN of the week: As someone who doesn't like bringing work home, finding time to dedicate to this project was my biggest accomplishment.
Key Learning: Not having measurements of the hall was a challenge in terms of accuracy, however the floor plan I snatched from lethpolytech.ca somehow helped.
Satisfaction: 8/10
Stress Level: 6/10
Stress Level: 6/10


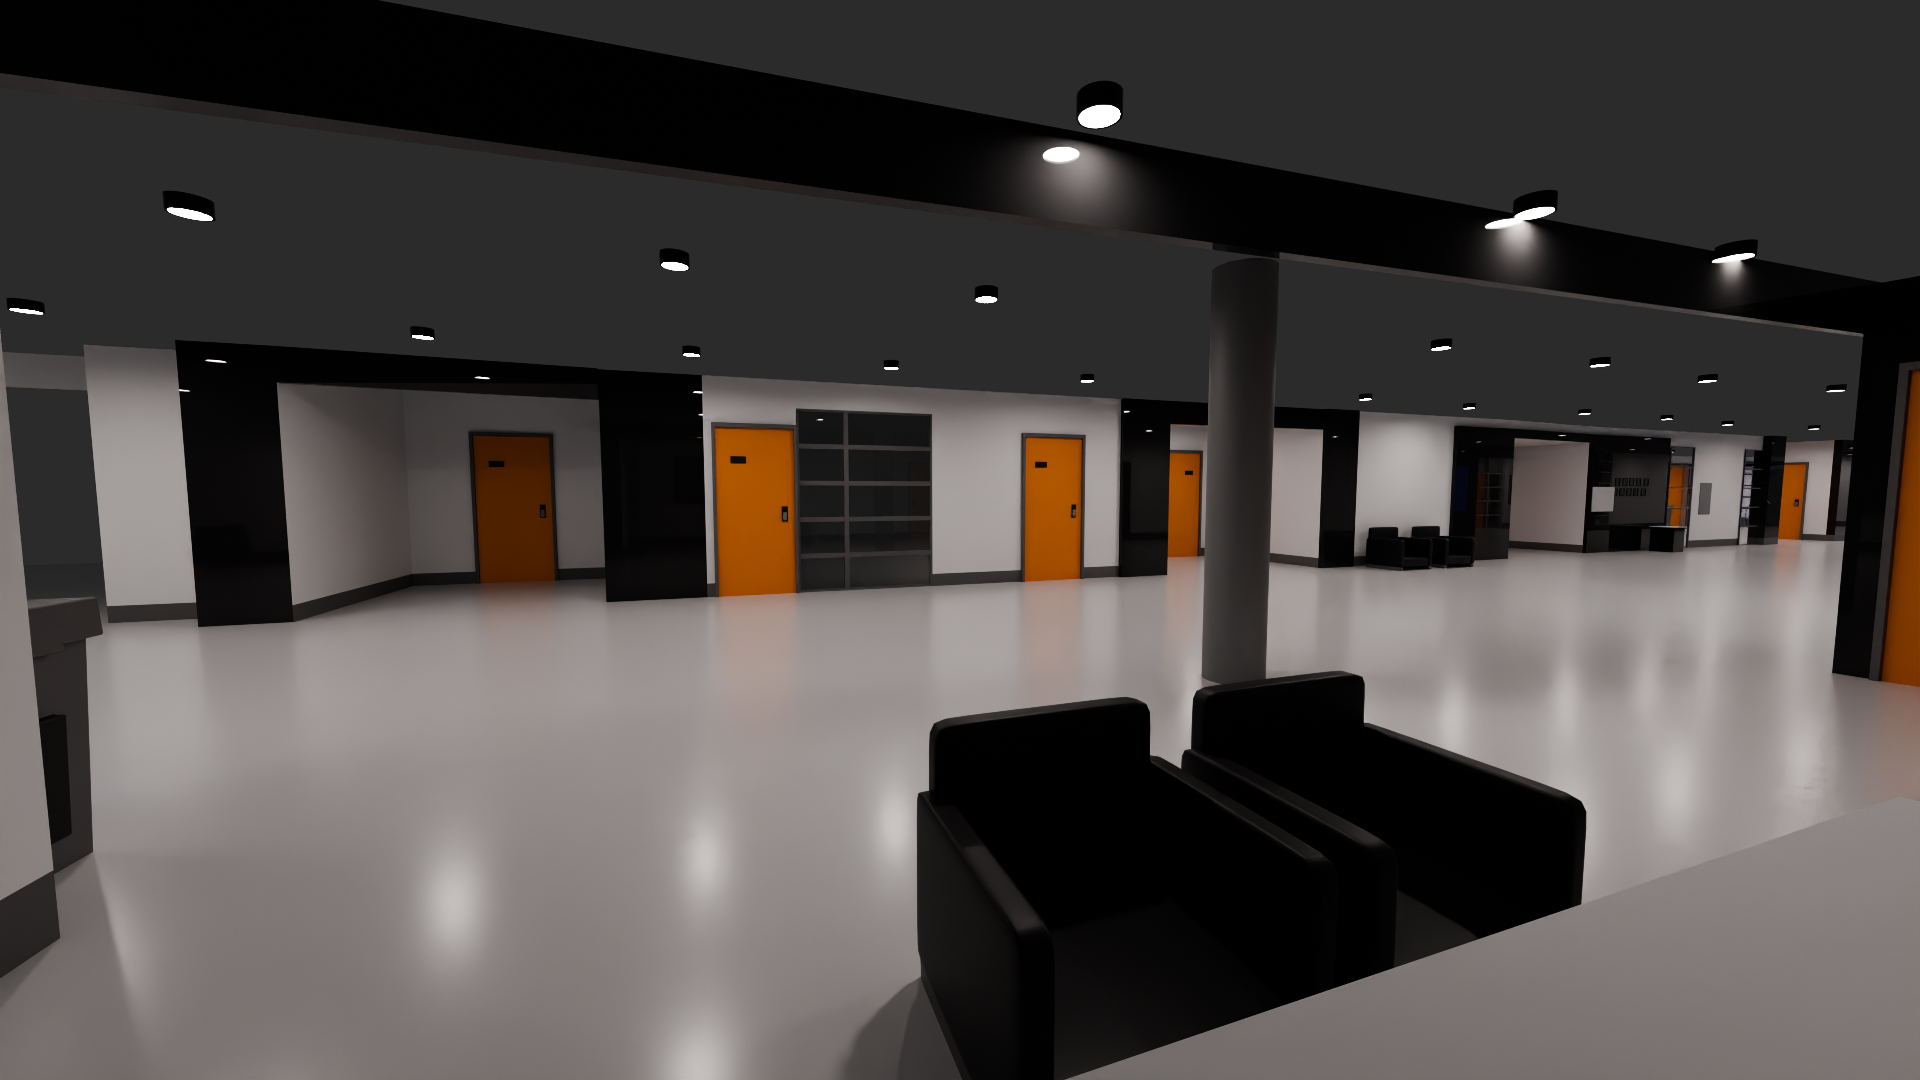
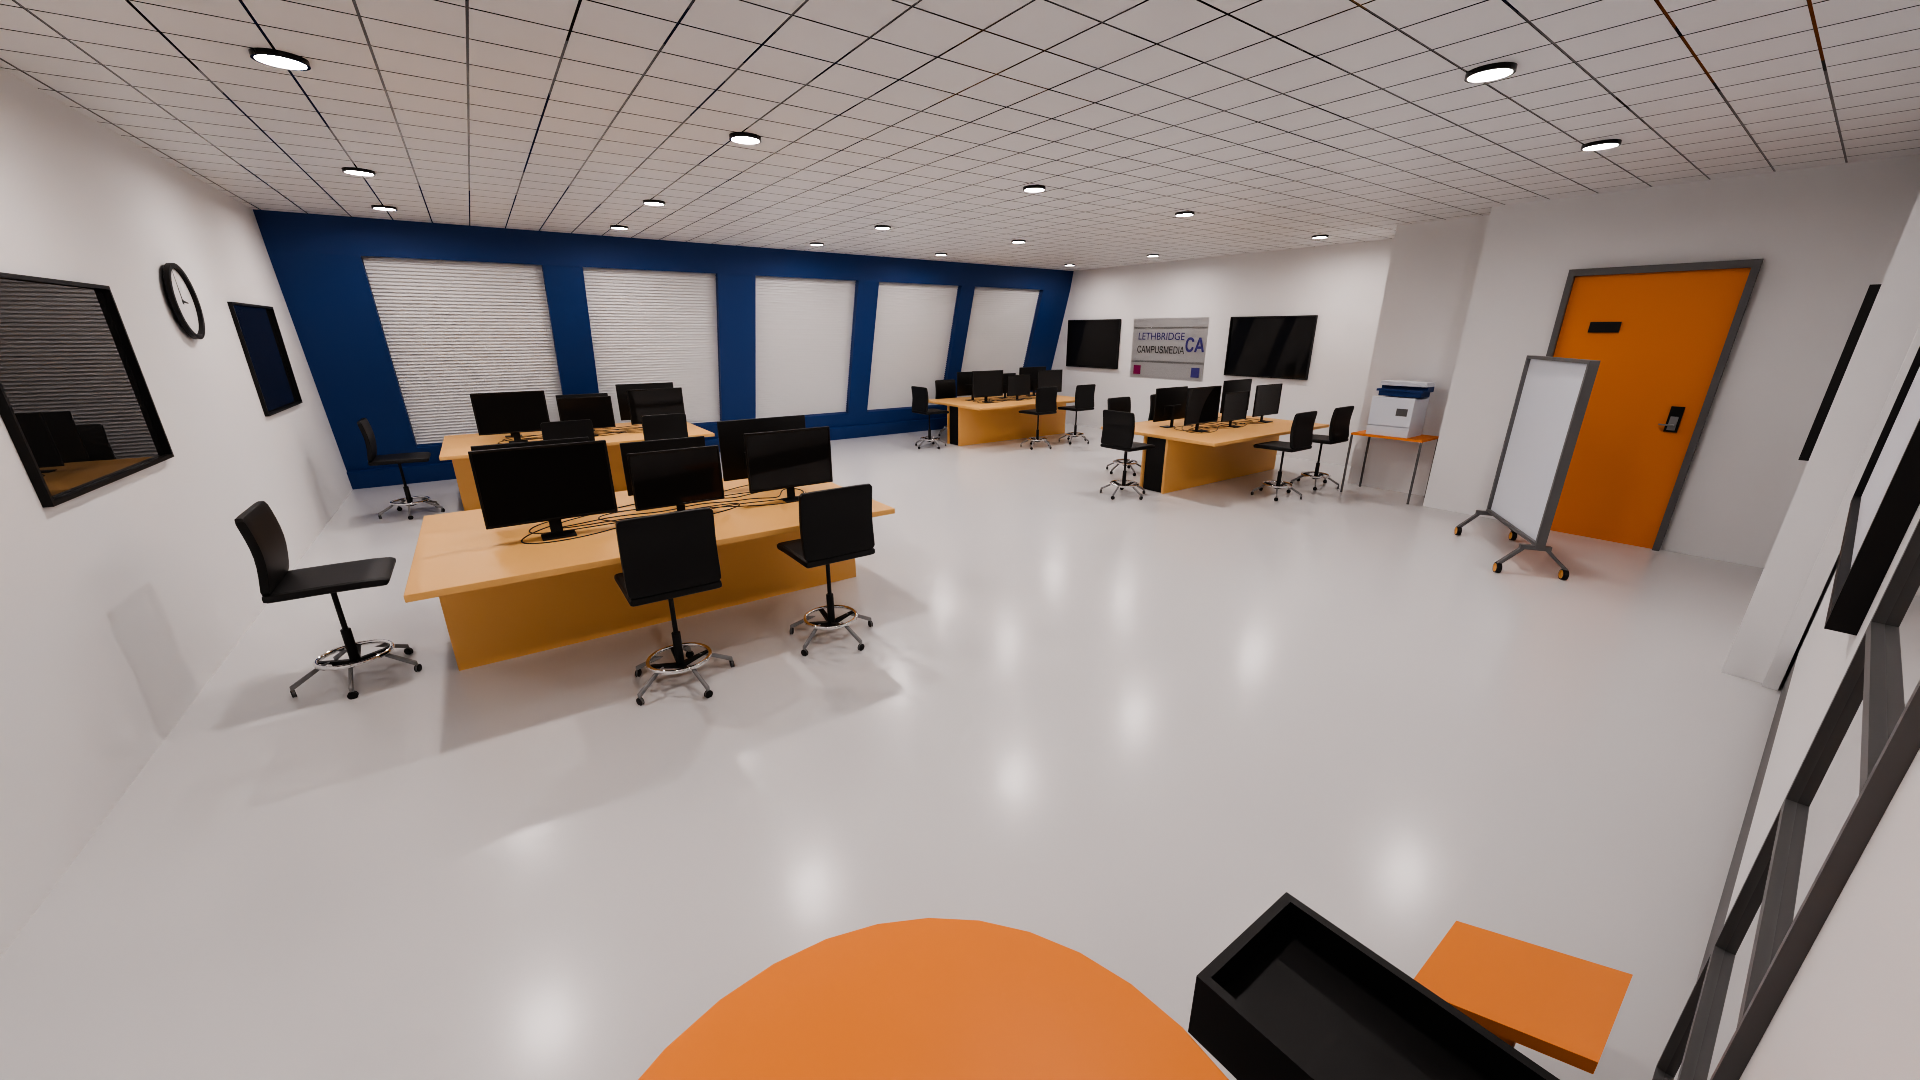
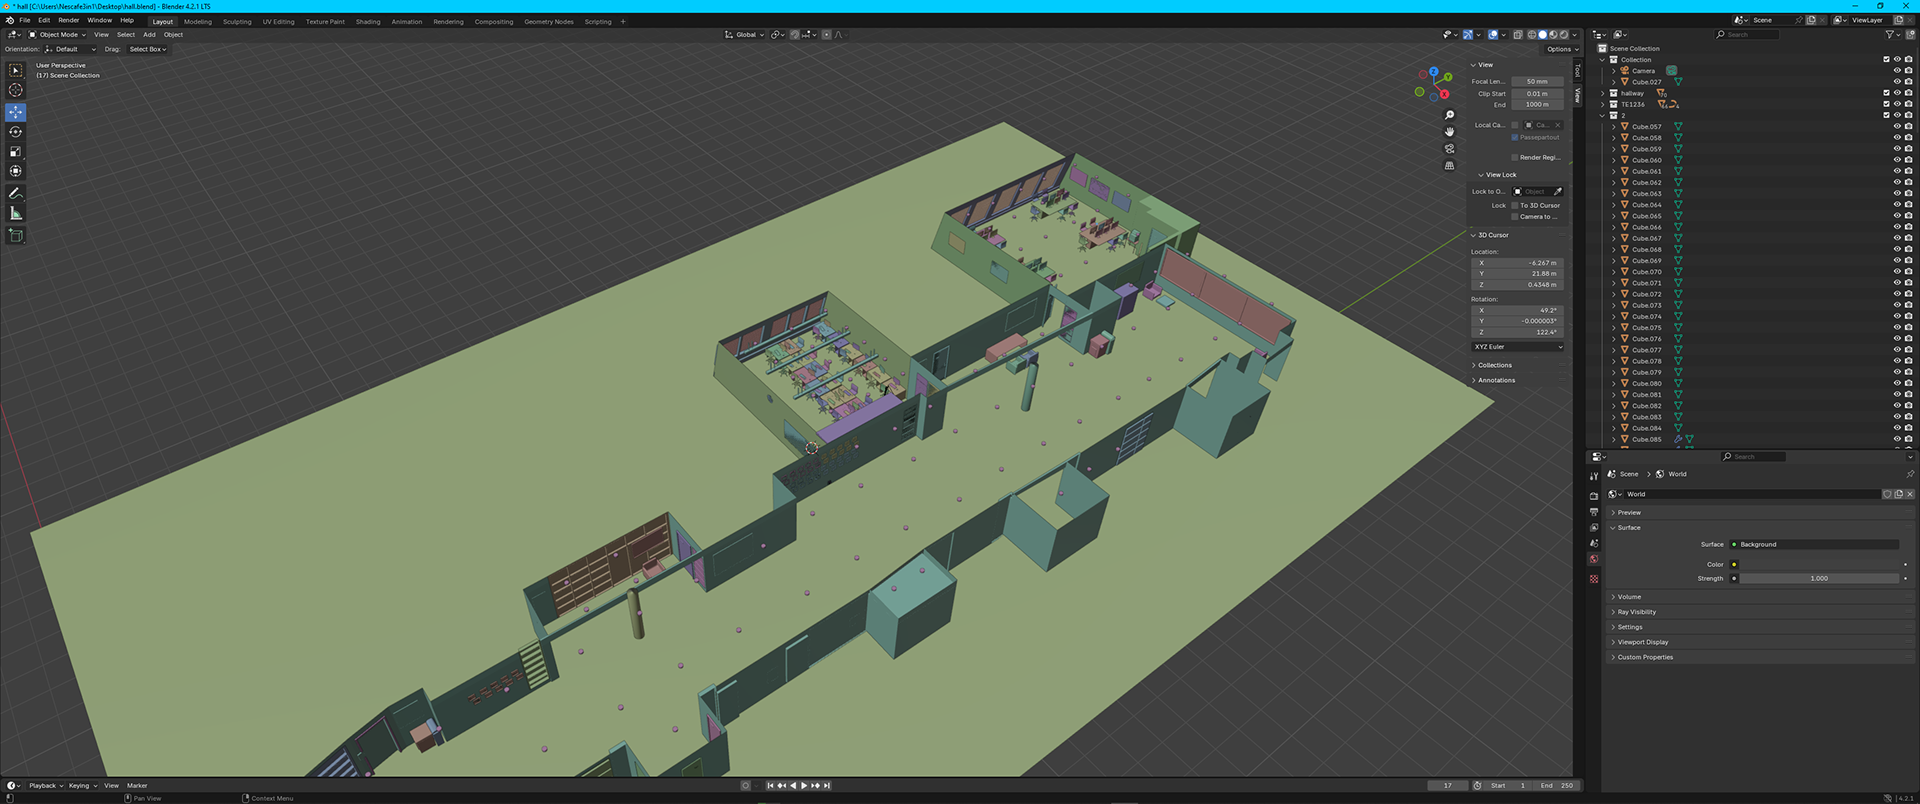
4) Modeling Hallway Part 2 - DCM (Feb 10 - Feb 16)
This week, I continued and finished modeling the remaining DCM part of the hallway.
- Designed picture frames, placed on wall
- Designed walls, doors, entrance of classes
- Designed tables, chairs and trash bins
- Designed windows
- Backed up .blend file (Google drive)
- Kept the colors consistent (Assigning metal grey - black)
- Designed walls, doors, entrance of classes
- Designed tables, chairs and trash bins
- Designed windows
- Backed up .blend file (Google drive)
- Kept the colors consistent (Assigning metal grey - black)
The WIN of the week: The biggest accomplishment of this week was completing the final modeling phase of hallway- DCM part. I tried my best to make every detail realistic, from the picture frames on the walls to the furniture, referencing my video recording. The vending machine is not there yet but will be soon.
Key Learning: I love the fact that as I build/design more elements, implementing the remaining parts progressively get easier. Also, discovering and working with array/mirror modifiers was a game changer.
Note; Rendered pictures might look a little pale because I removed the ceiling to overlook and browse through the scene more easily. I'll put it back in the end :)
Satisfaction: 7/10
Stress Level: 5/10
Stress Level: 5/10

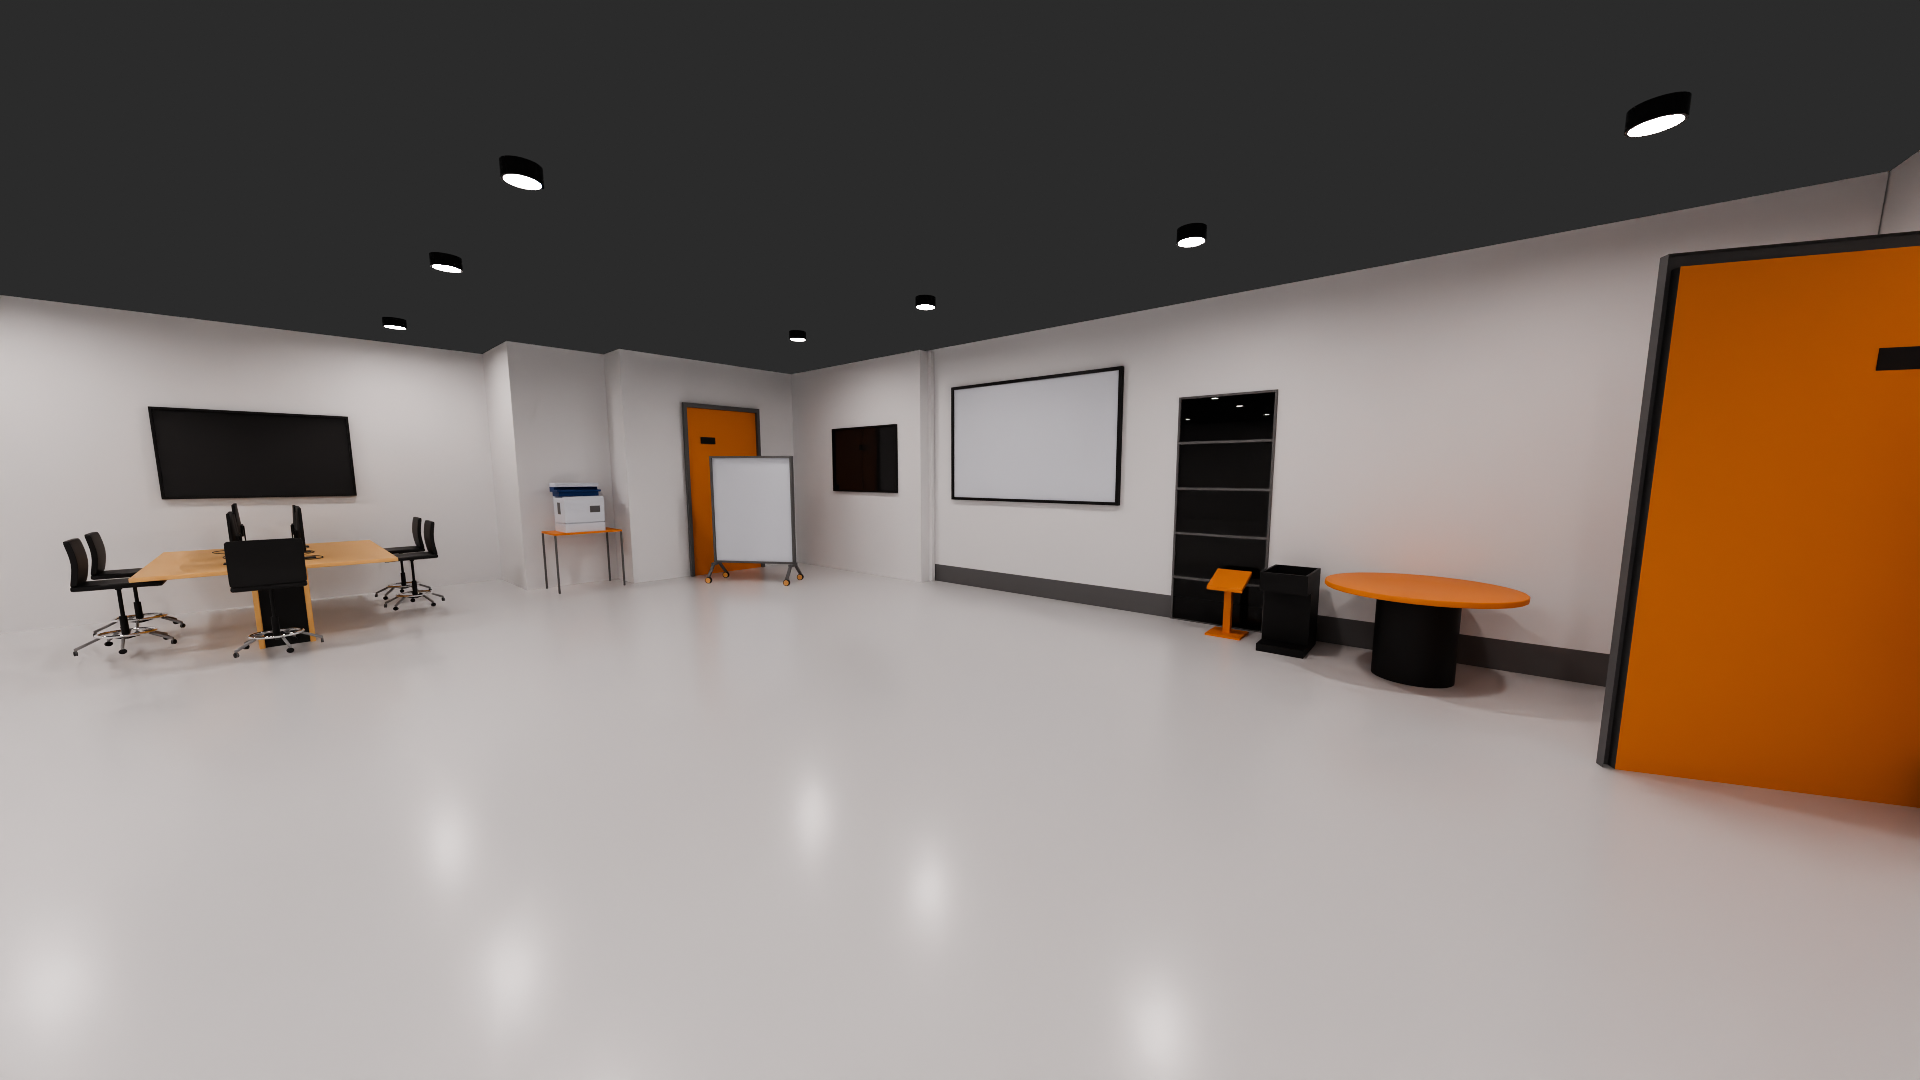
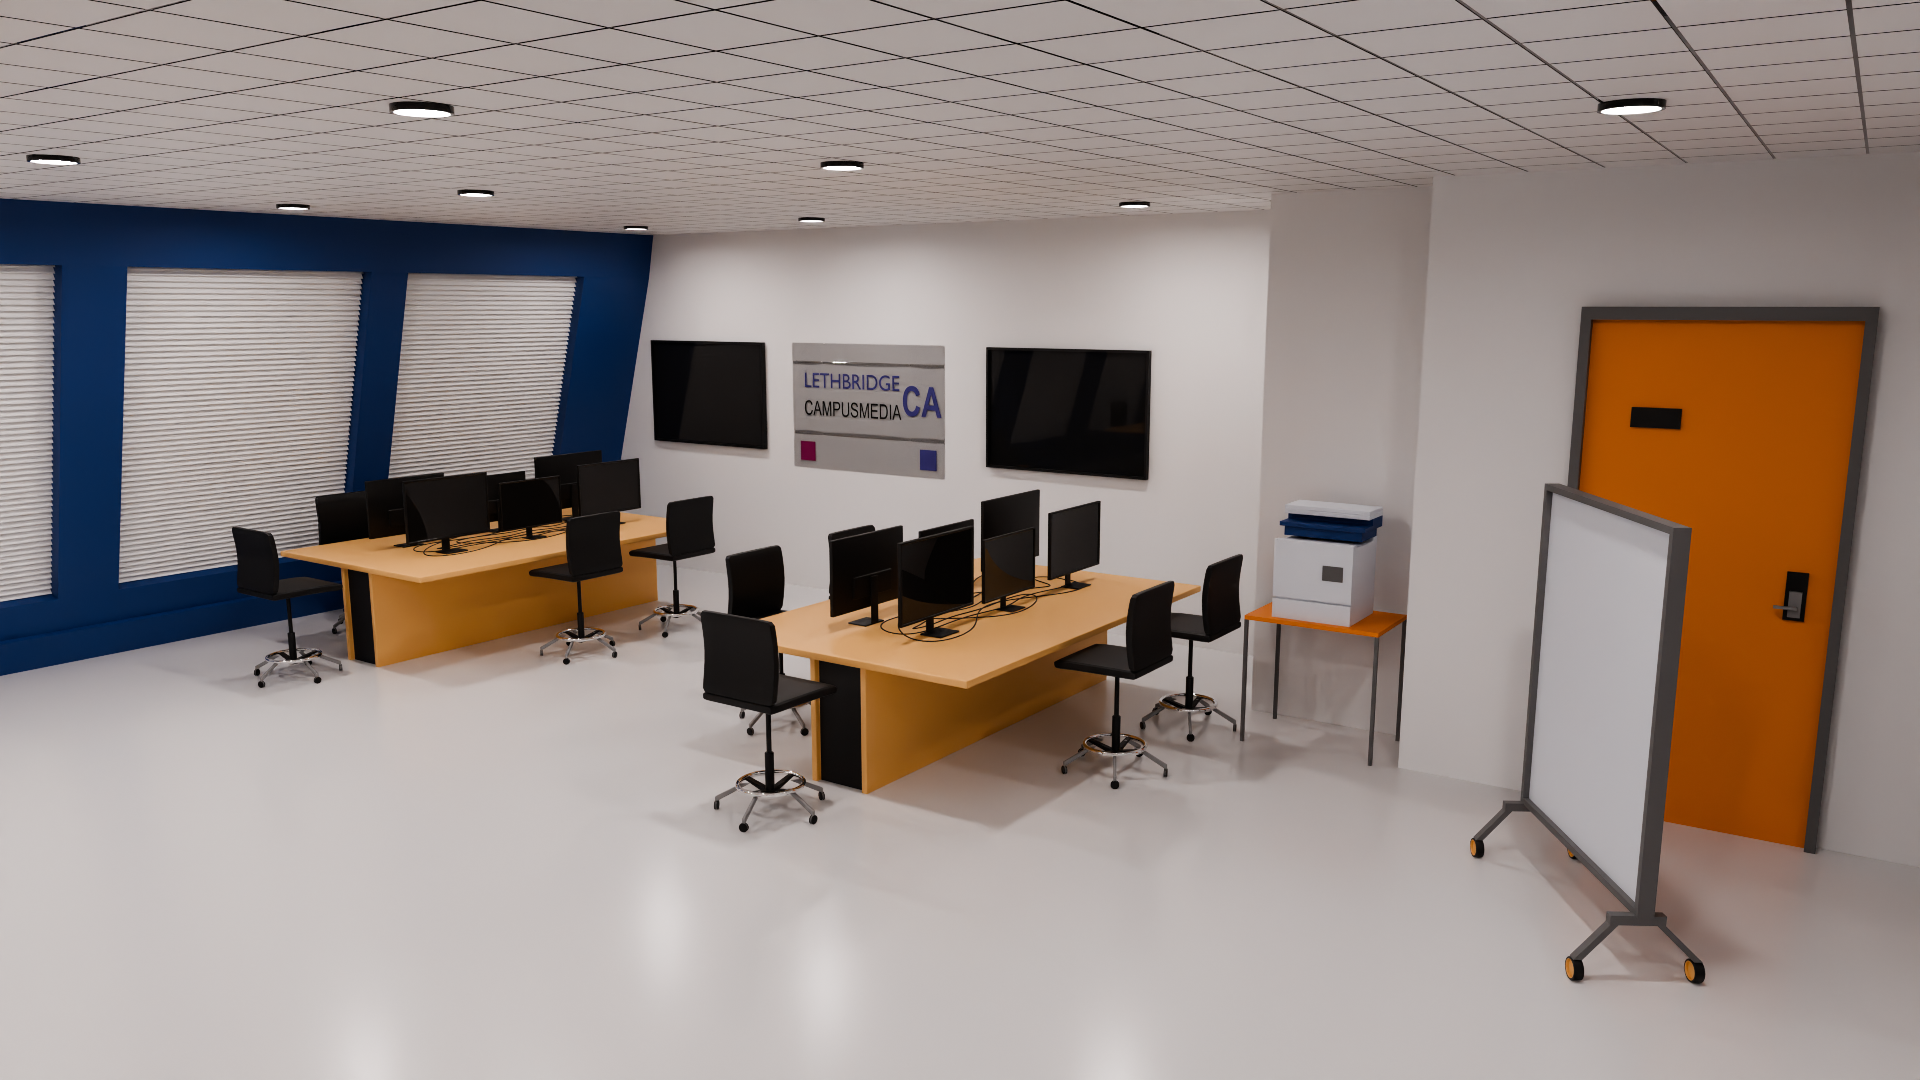
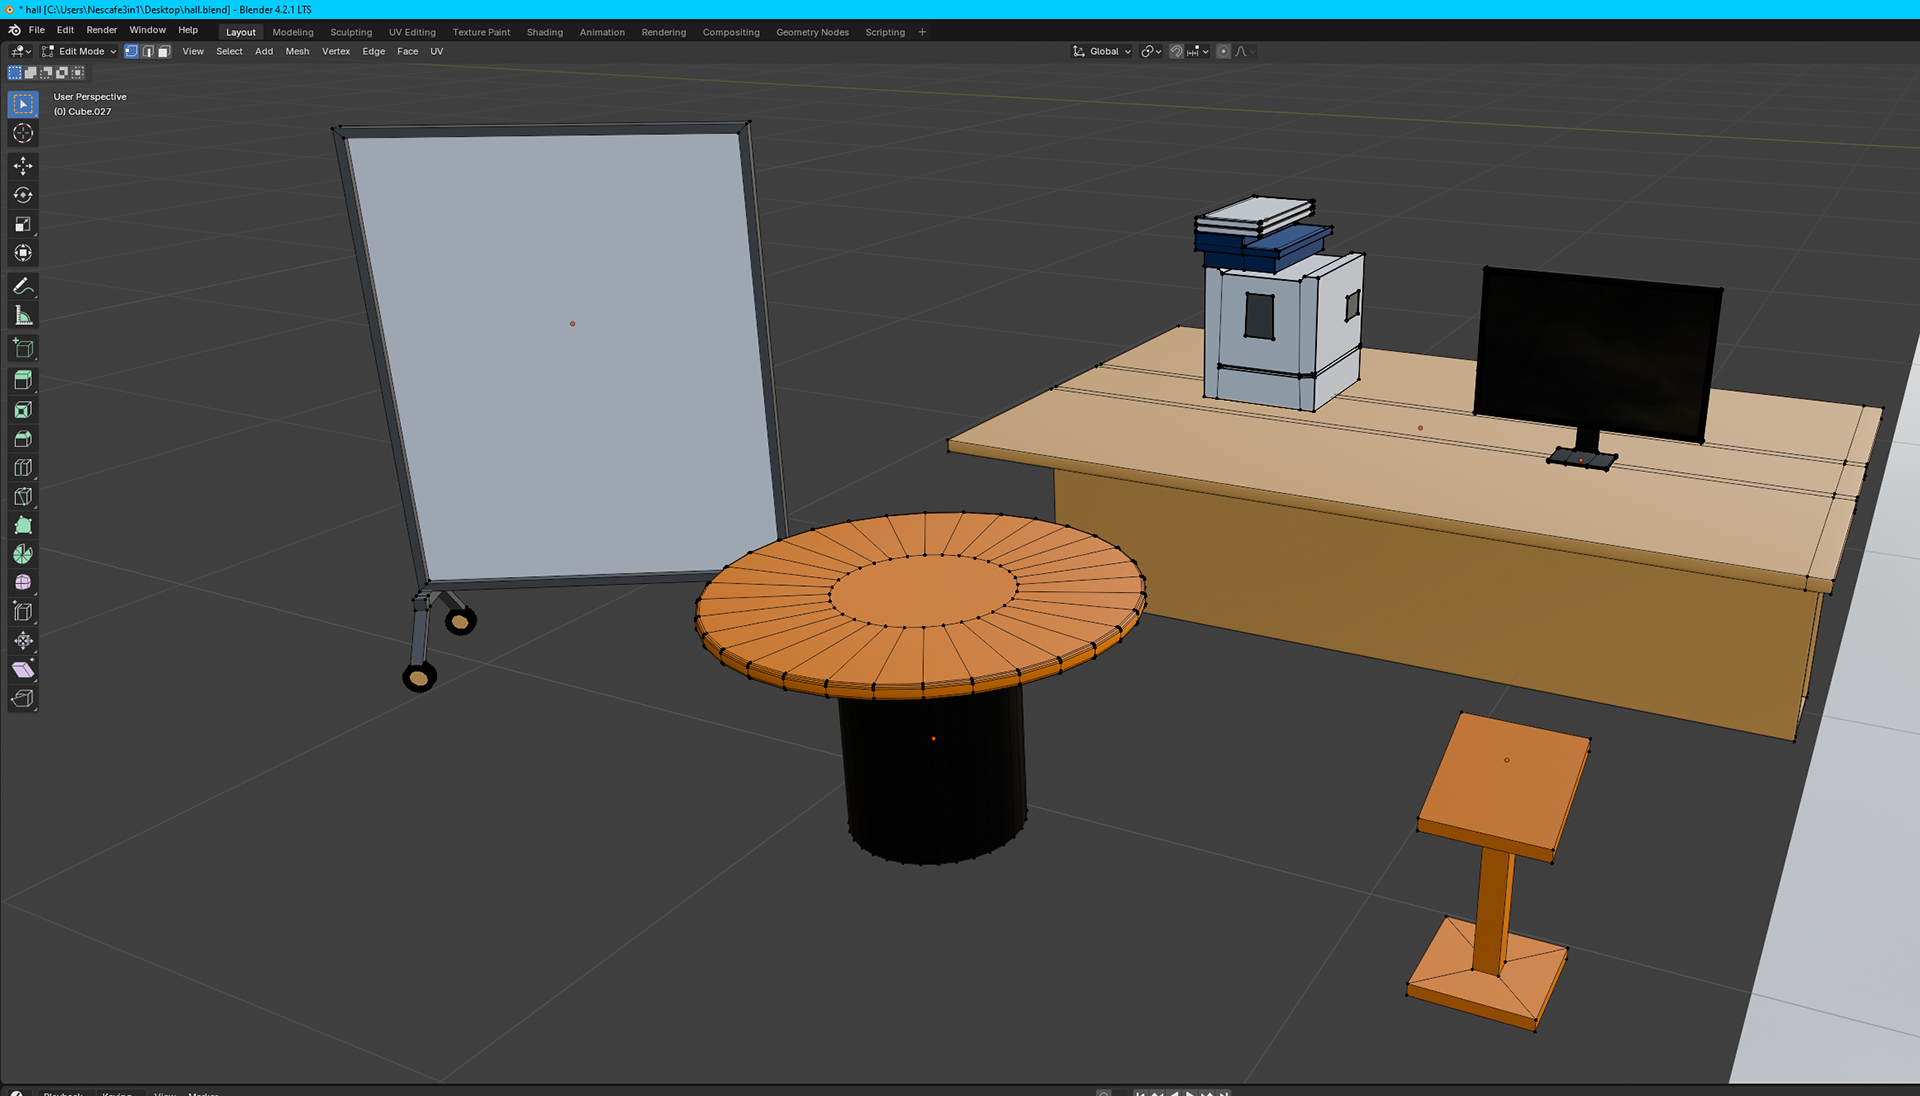
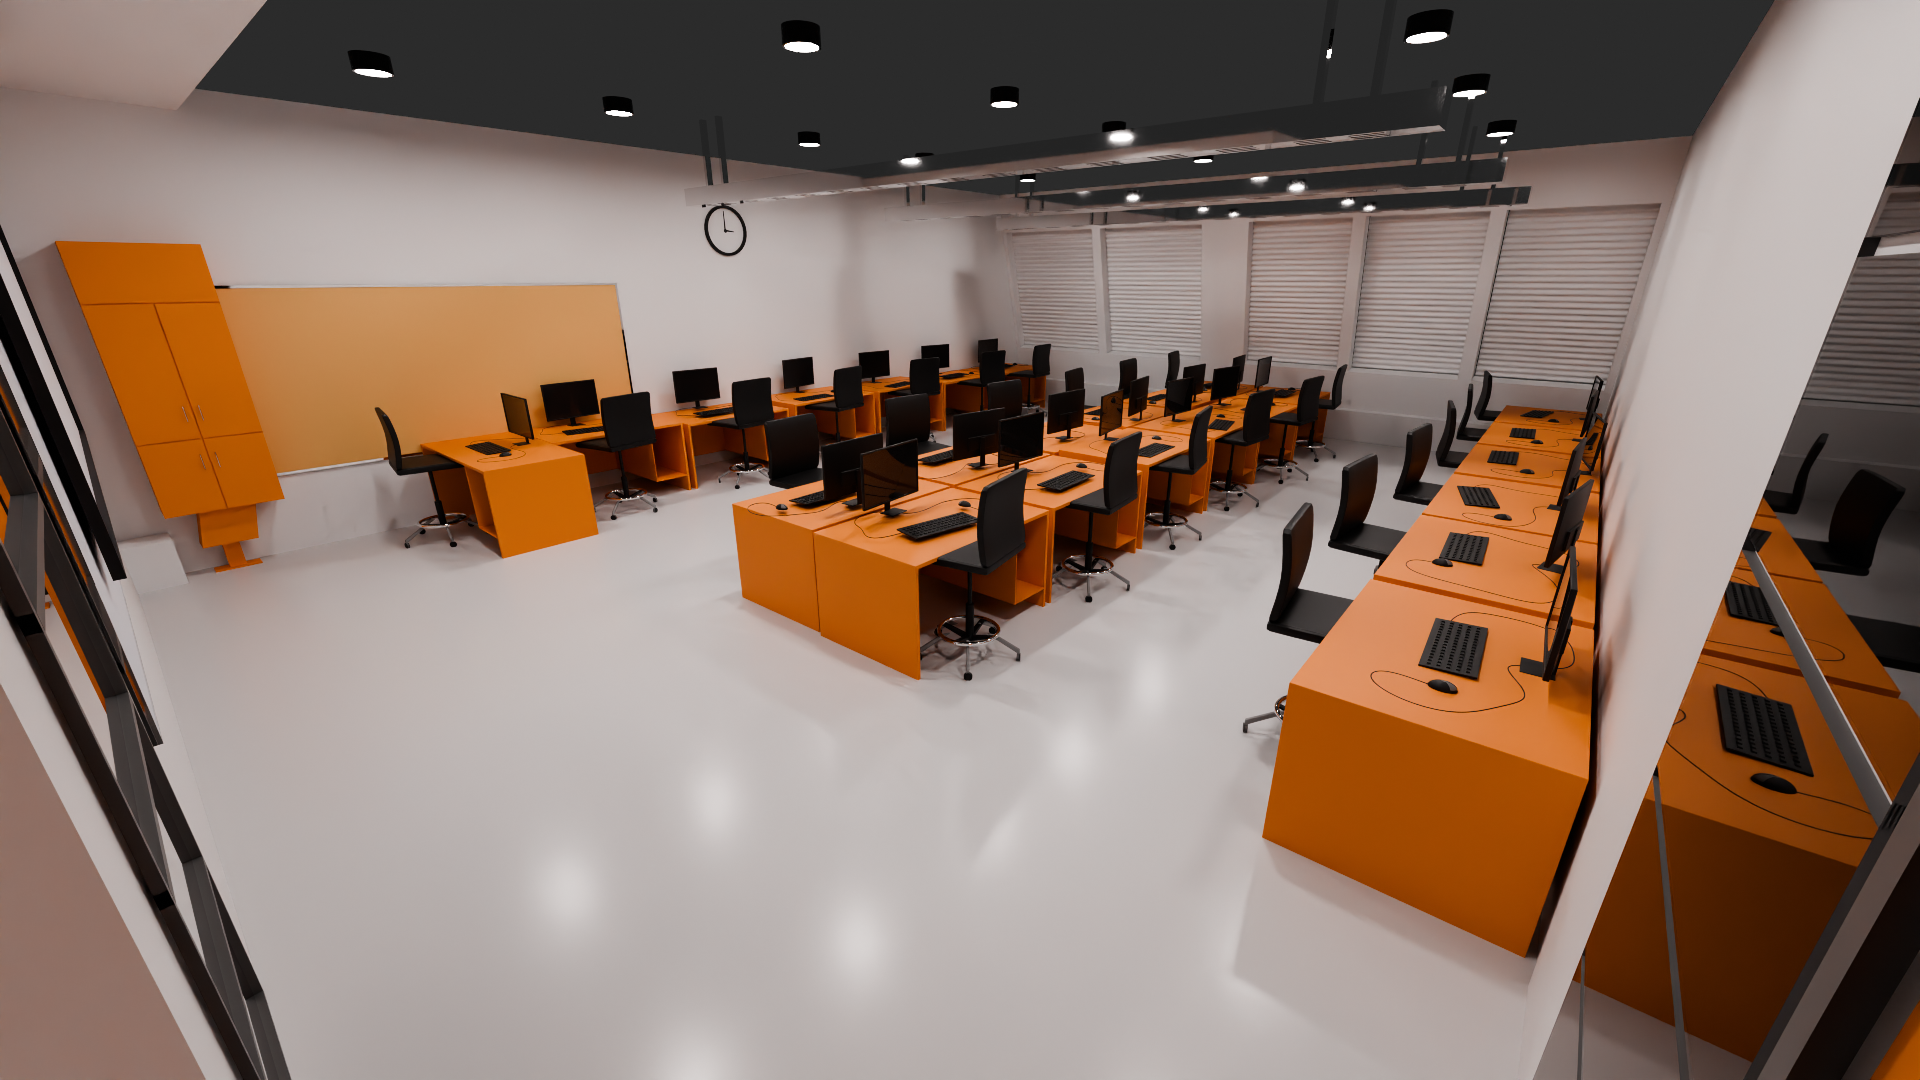
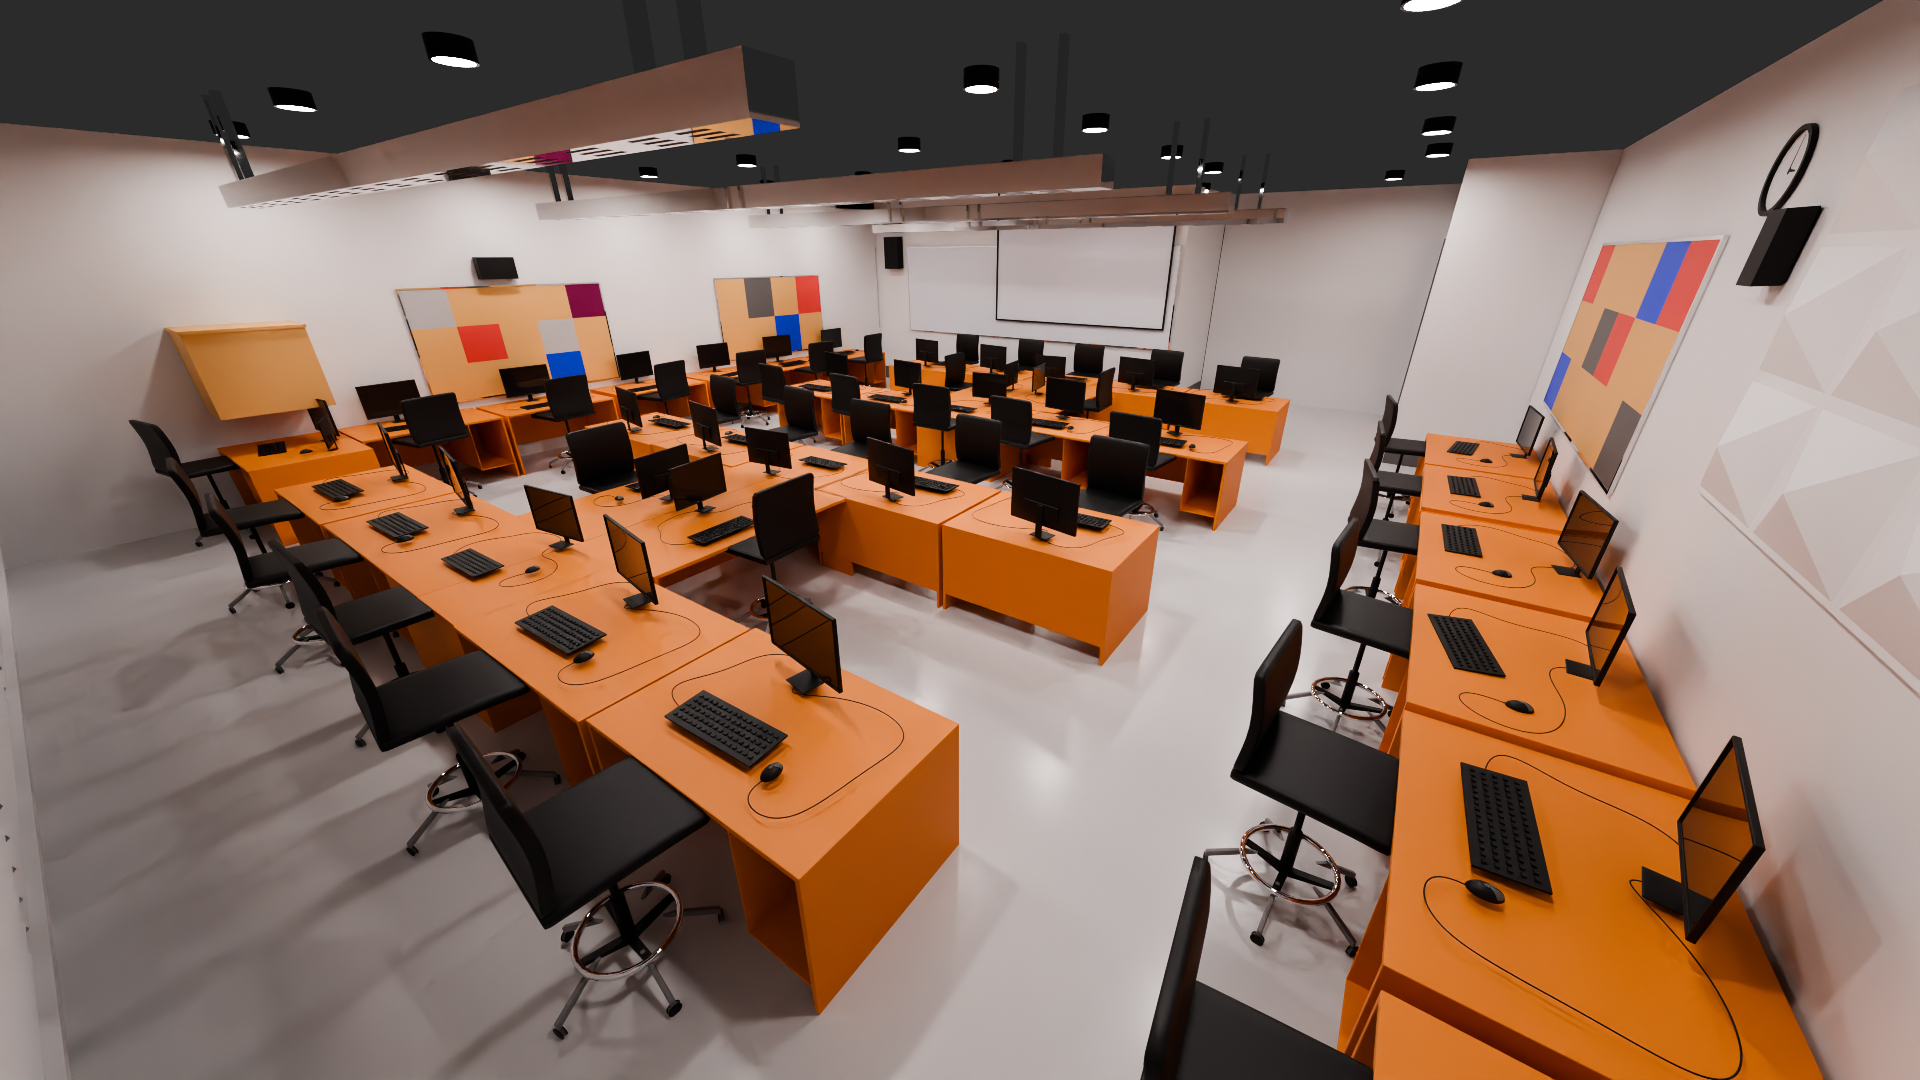
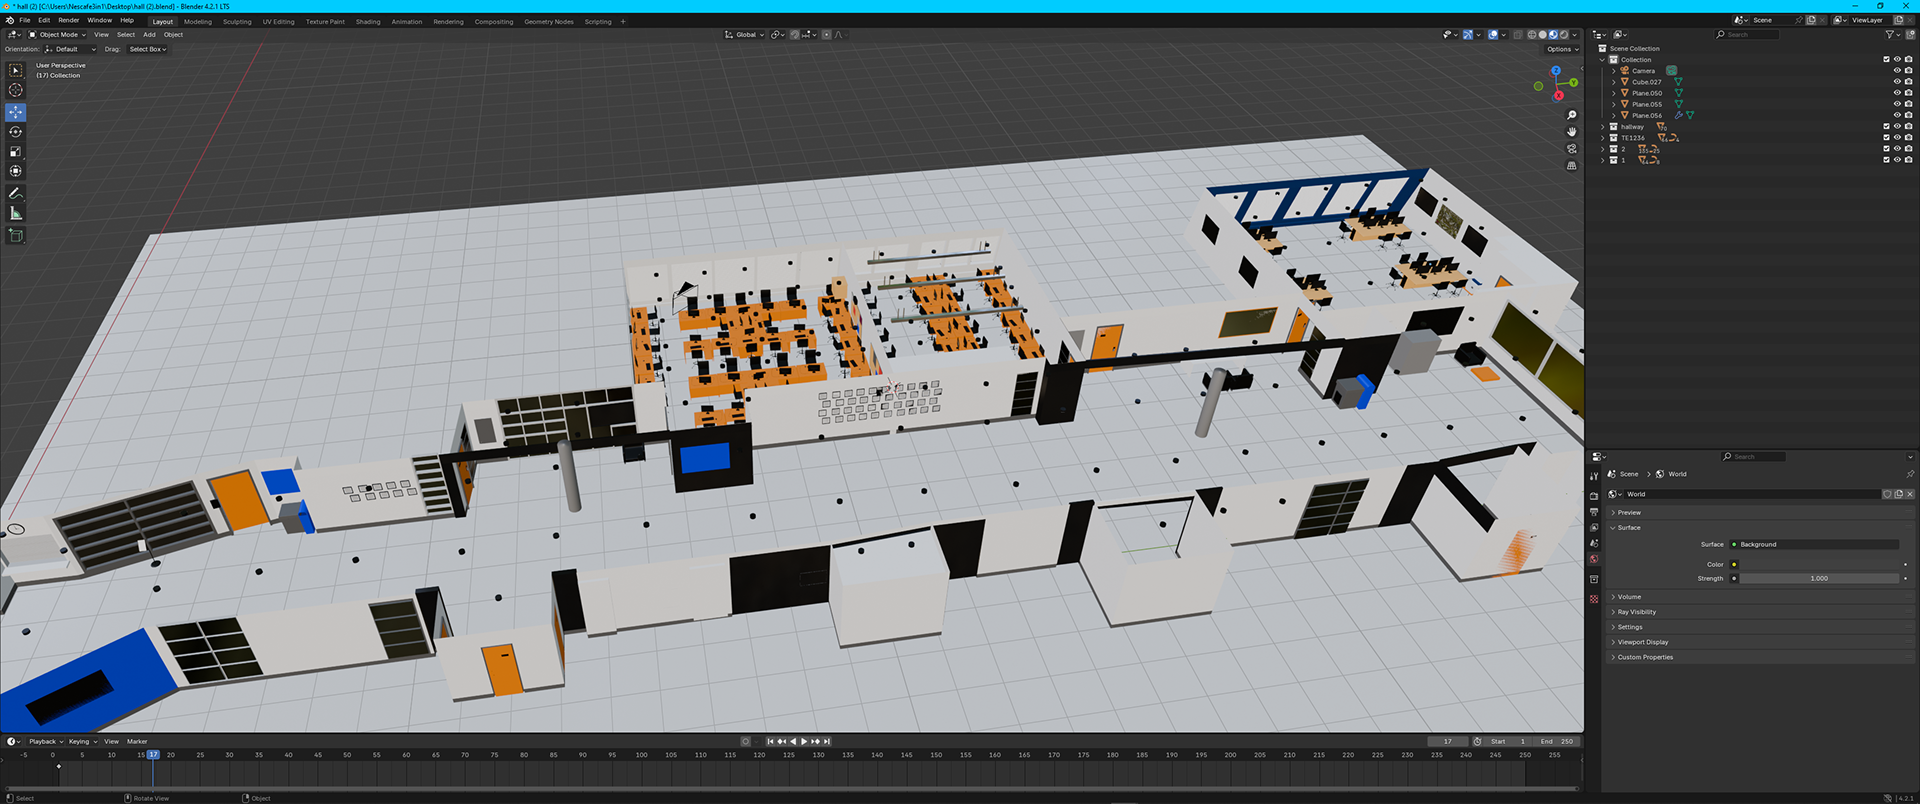
5) Modeling Classroom TE1236 - DCM (Feb 24 & Mar 2)
This week, I finished modeling the classroom TE1236 of DCM.
- Extended the floor, created classroom walls, added the door (opened)
- Designed round table, small podium/lectern, window, TV, rolling whiteboard, printer
- Designed classroom tables, chairs, monitors, cables, clock
- Designed window blinds (checker deselect, bevel)
- Duplicated class materials
- Backed up .blend file (Google drive)
- Kept the colors consistent
- Designed round table, small podium/lectern, window, TV, rolling whiteboard, printer
- Designed classroom tables, chairs, monitors, cables, clock
- Designed window blinds (checker deselect, bevel)
- Duplicated class materials
- Backed up .blend file (Google drive)
- Kept the colors consistent
The WIN of the week: I'm proud of wrapping up modeling the TE1236 classroom of DCM, and surprisingly, modeling a classroom was a bit less time consuming than modeling the hall.
Key Learning: Modeling the cables and window blinds were a little tricky, but Youtube tutorials made the process way easier.
Satisfaction: 8/10
Stress Level: 6/10
Stress Level: 6/10
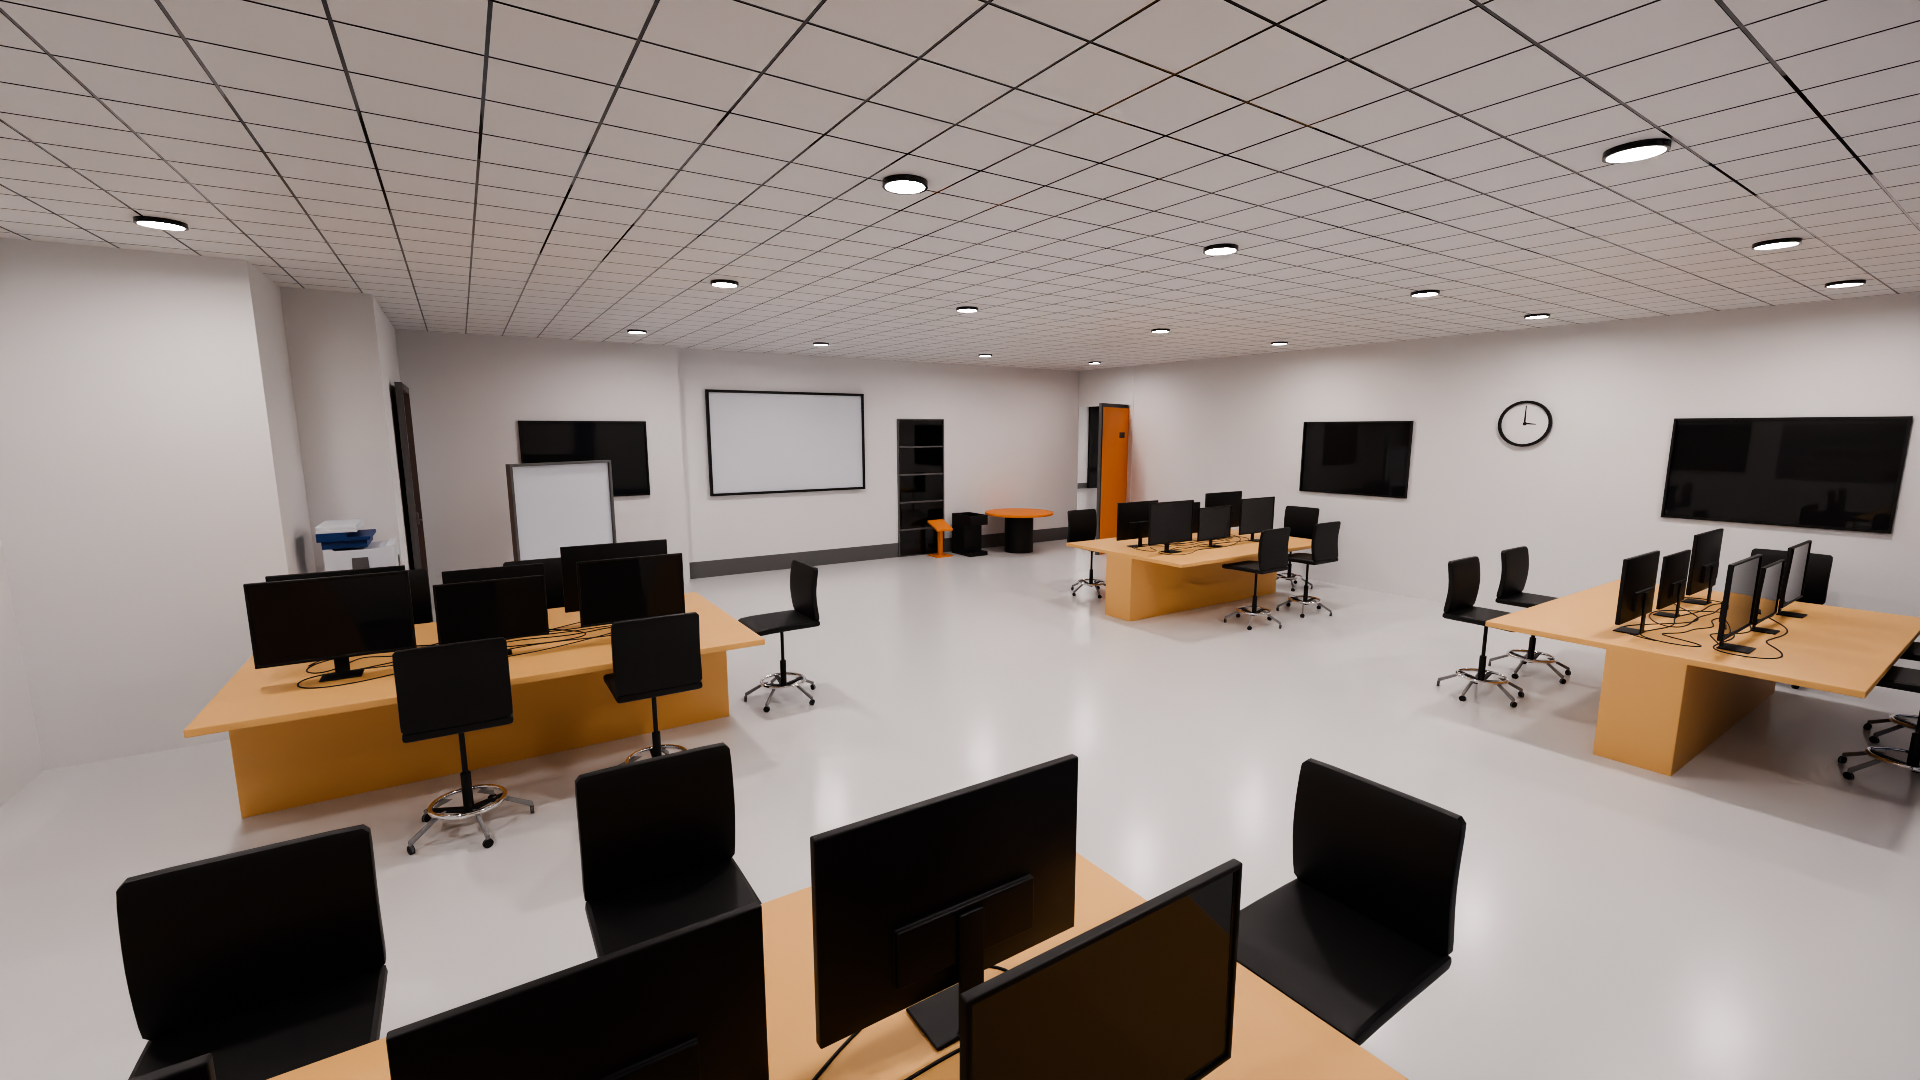
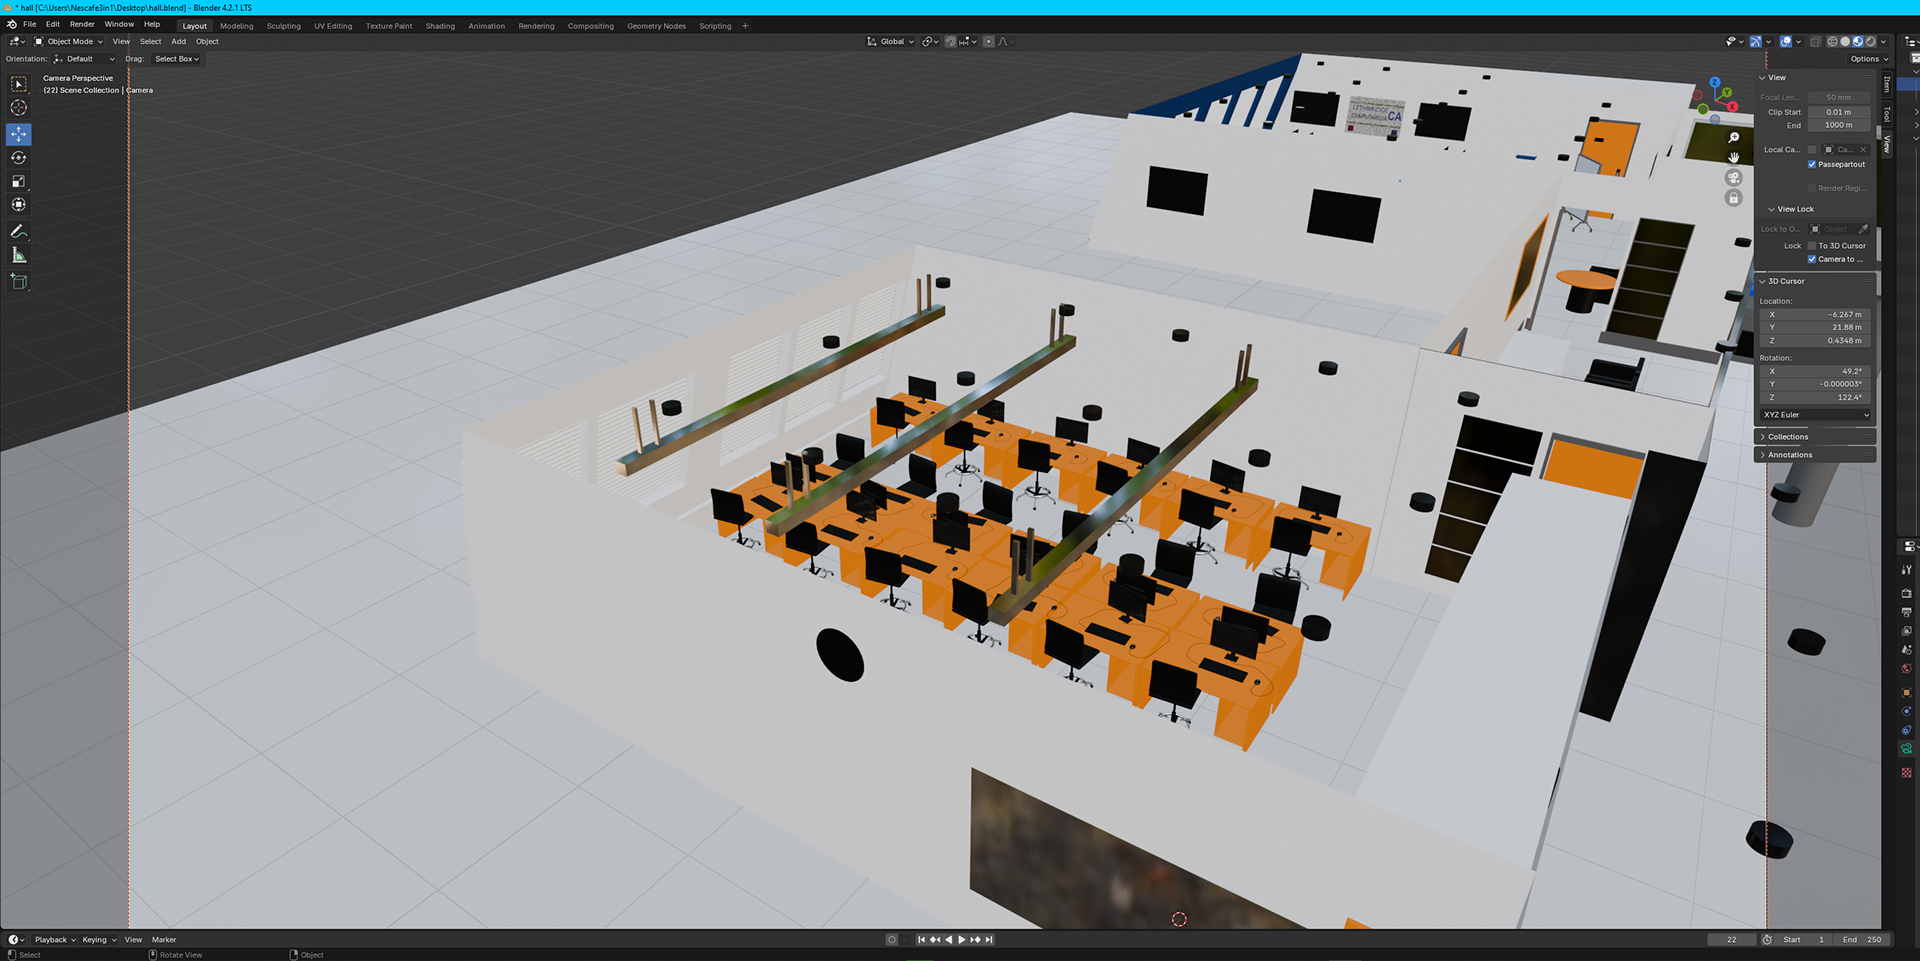
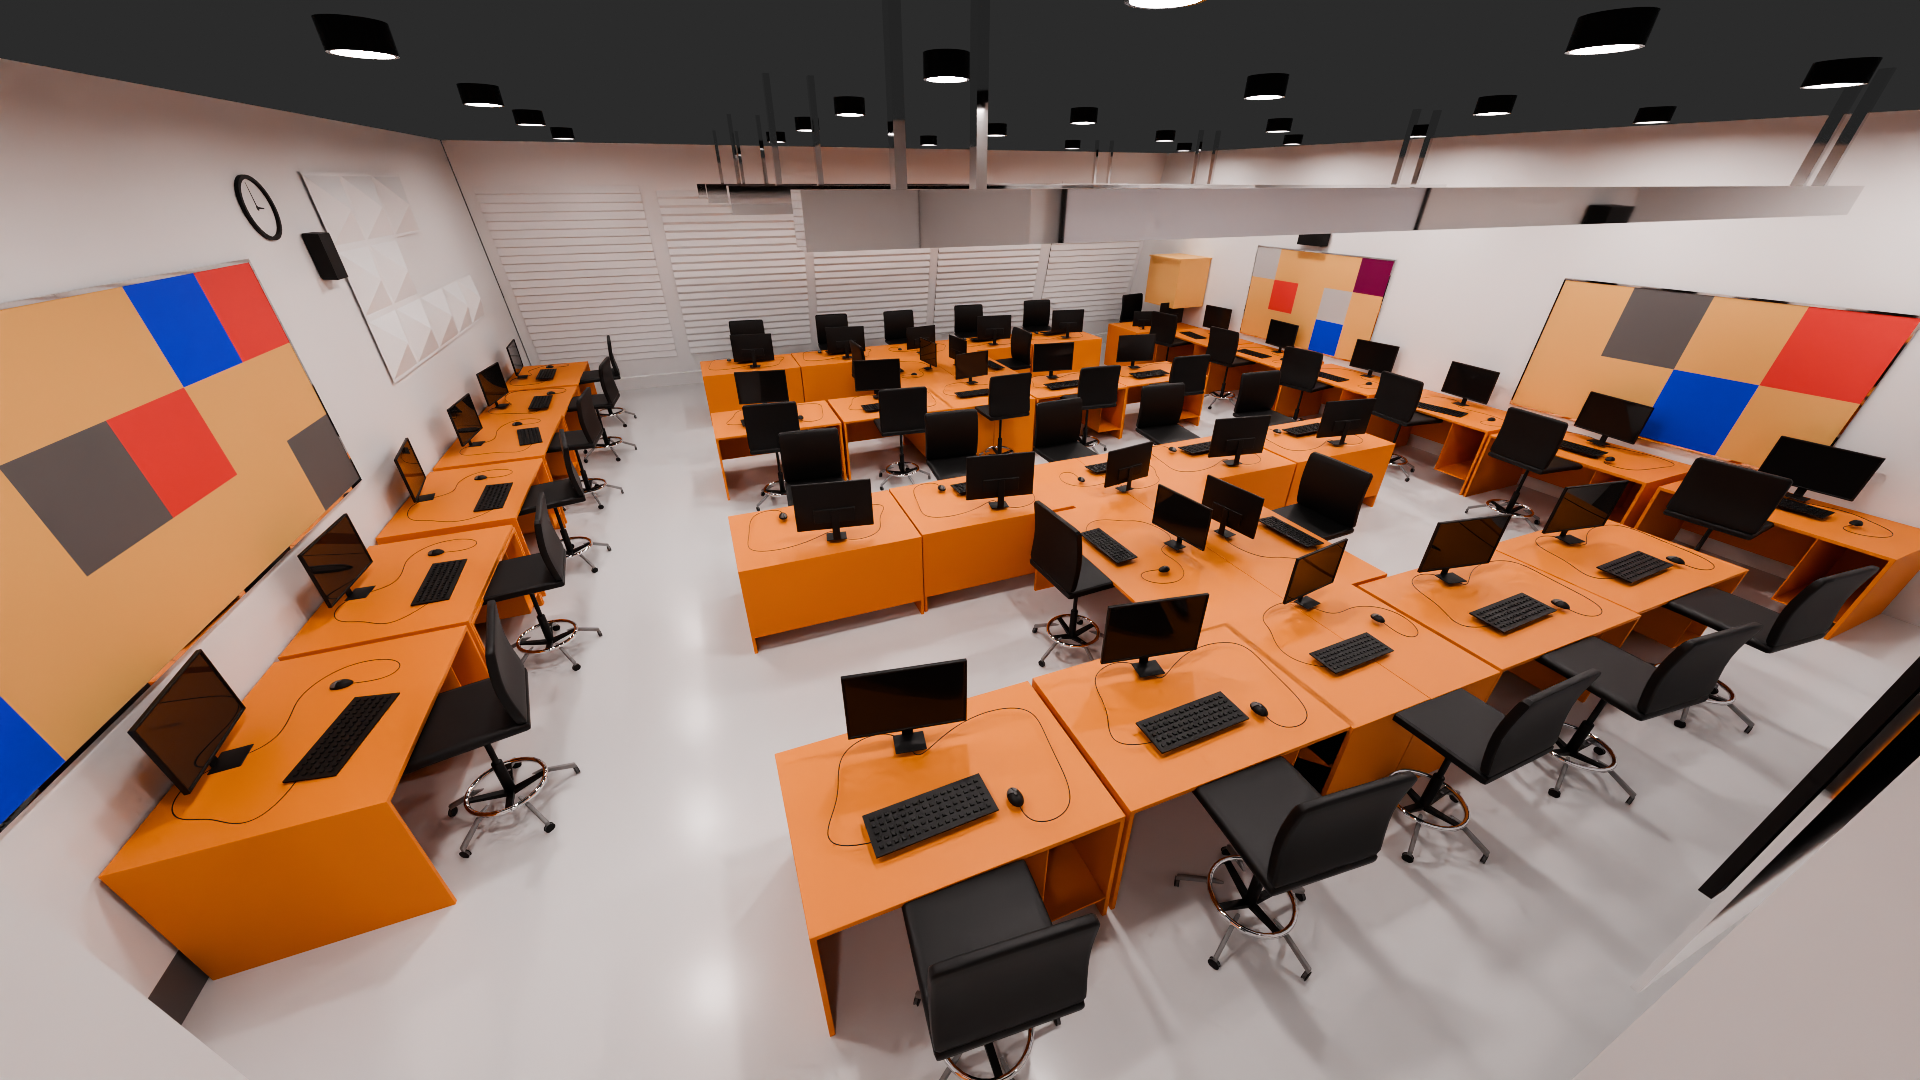
6) Modeling Classroom - DCM (Mar 3 - 9)
This week, I finished modeling the second classroom of DCM.
- Created classroom walls
- Added the door
- Designed classroom tables, chairs, monitors, cables, clock
- Designed window blinds
- Duplicated class materials
- Backed up .blend file (Google drive)
- Kept the colors consistent
- Created classroom walls
- Added the door
- Designed classroom tables, chairs, monitors, cables, clock
- Designed window blinds
- Duplicated class materials
- Backed up .blend file (Google drive)
- Kept the colors consistent
The WIN of the week: Thanks to the 3D models of classroom materials I previously created, setting up the second classroom was rather effortless. I simply duplicated and arranged them.
Key Learning: Adding little details like cables and blinds made the classroom feel way more realistic.
Satisfaction: 9/10
Stress Level: 5/10
Stress Level: 5/10

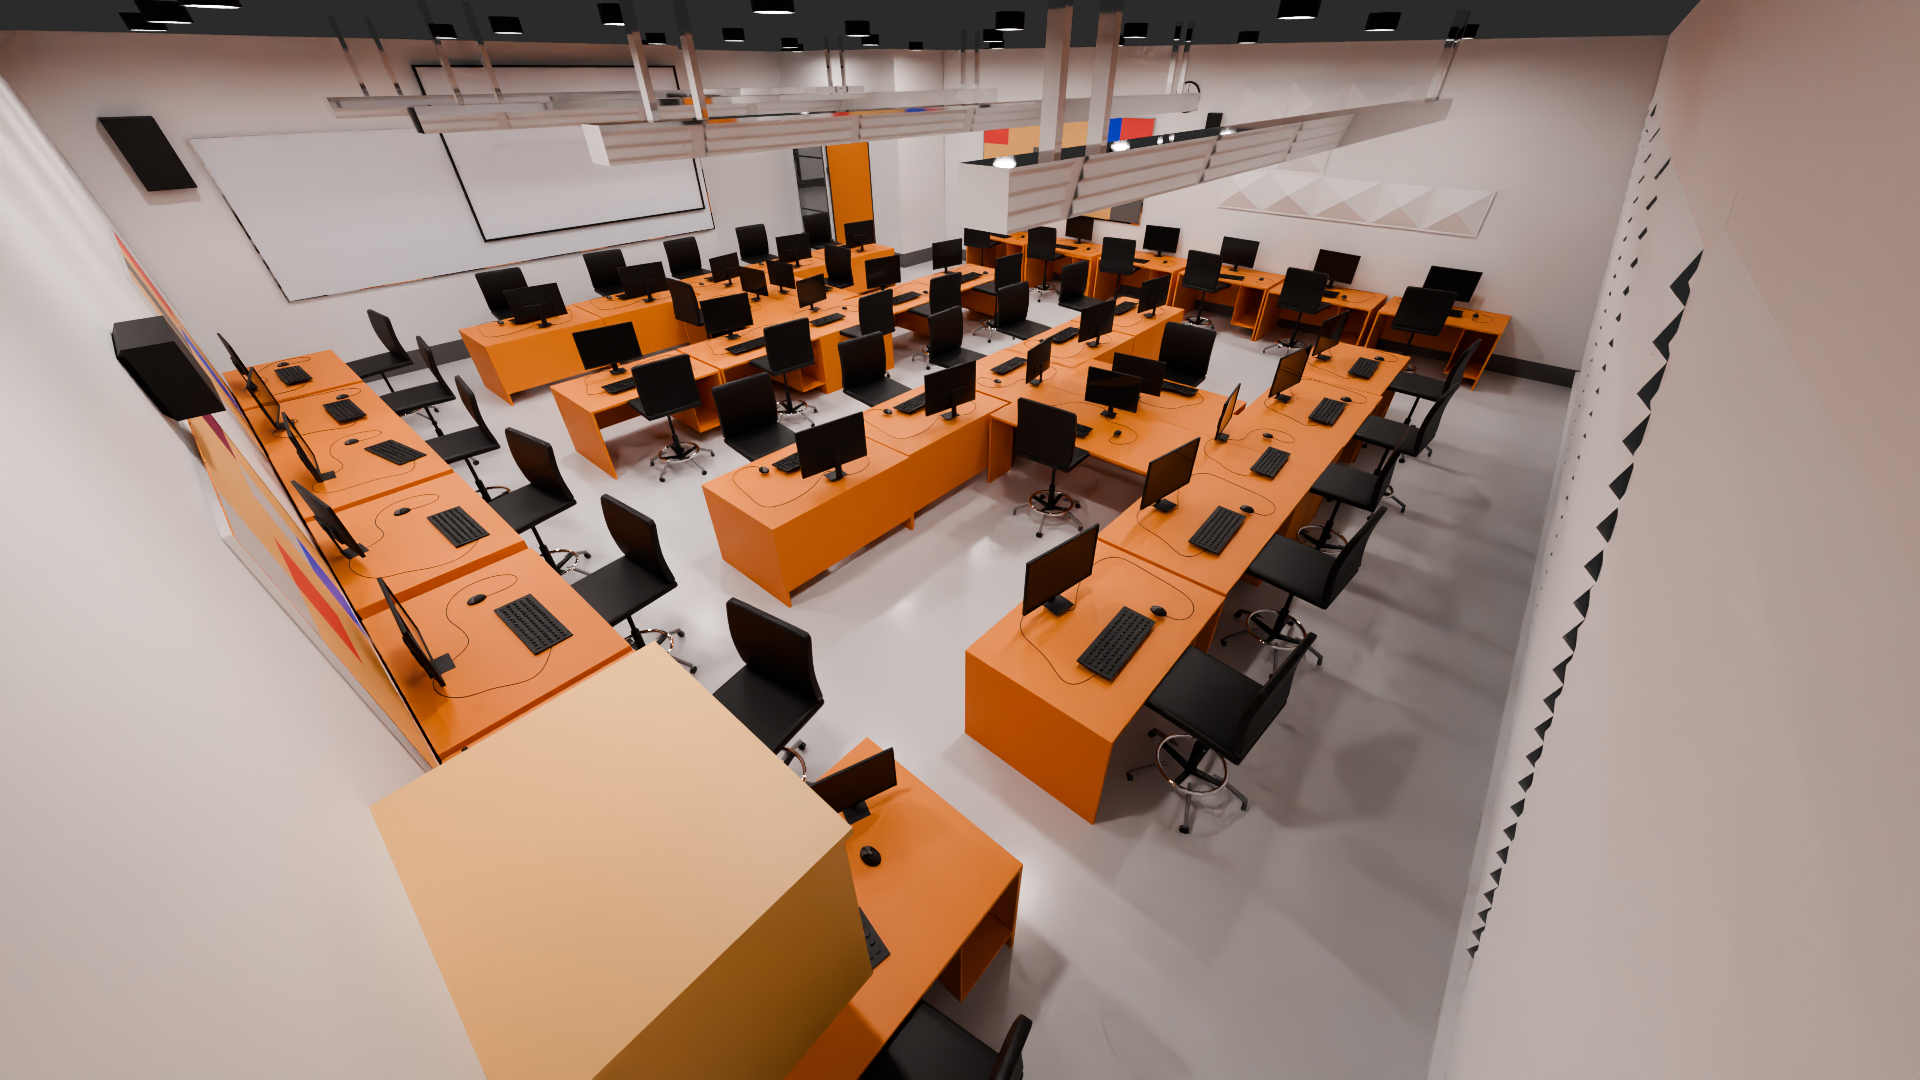
7) Modeling Classroom - MMP TE3219 (Mar 10 & 14)
This week, I finished modeling one of the classrooms of MMP.
- Created classroom walls
- Added the door
- Designed classroom tables, chairs, monitors, cables, clock
- Designed window blinds
- Duplicated class materials
- Backed up .blend file (Google drive)
- Kept the colors consistent
- Created classroom walls
- Added the door
- Designed classroom tables, chairs, monitors, cables, clock
- Designed window blinds
- Duplicated class materials
- Backed up .blend file (Google drive)
- Kept the colors consistent
The WIN of the week: Modeling the first MMP classroom was challenging but simply duplicating and arranging the materials I already created made the process easier.
Key Learning: Although the floor plan helped with accuracy, not having exact measurements of the class made things a bit tricky with spacing and desk placement.
Satisfaction: 8.7/10
Stress Level: 4/10
Stress Level: 4/10
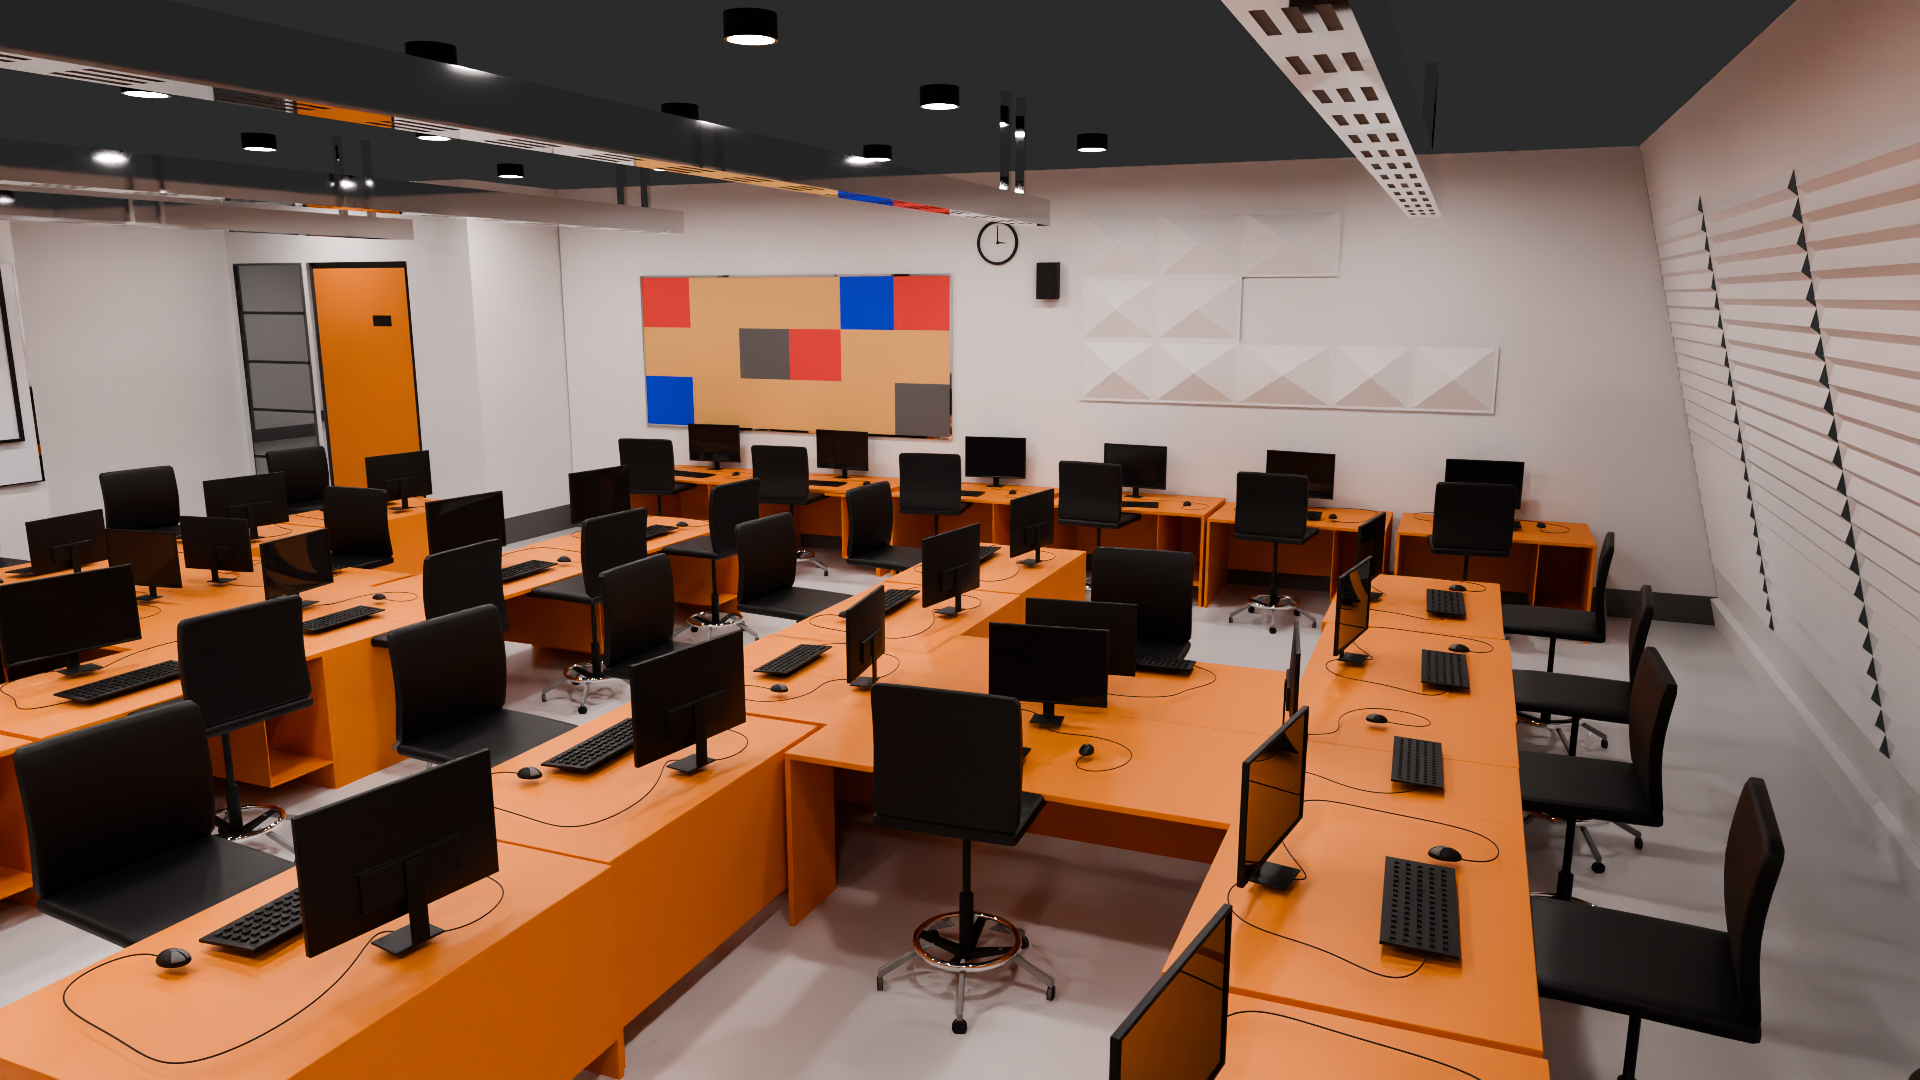
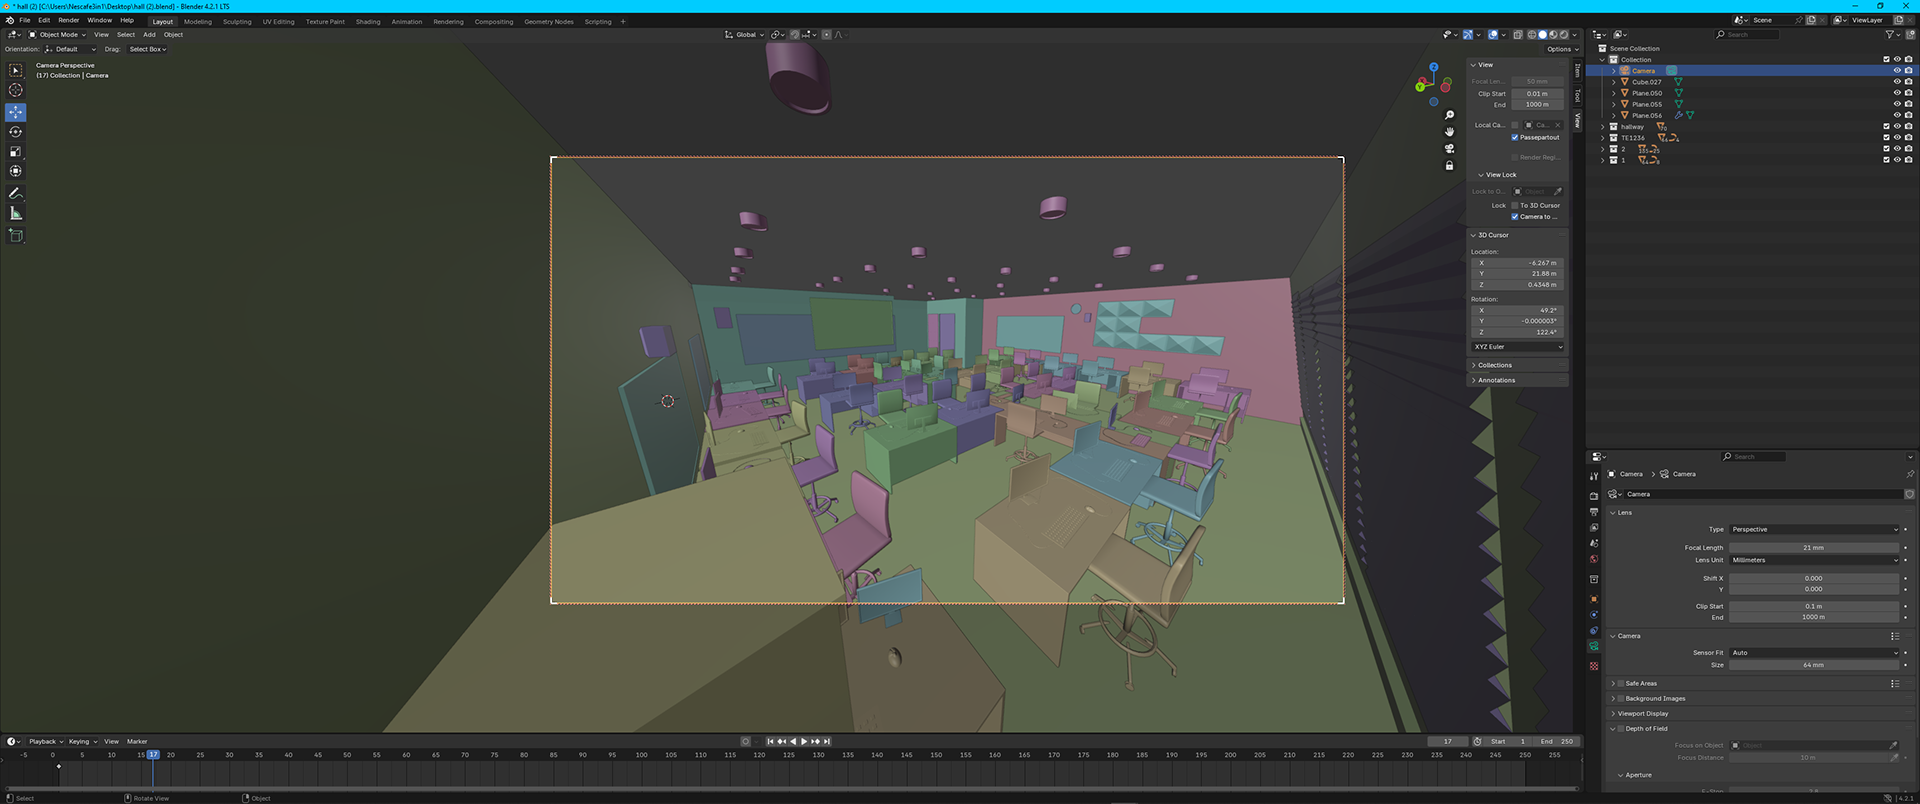
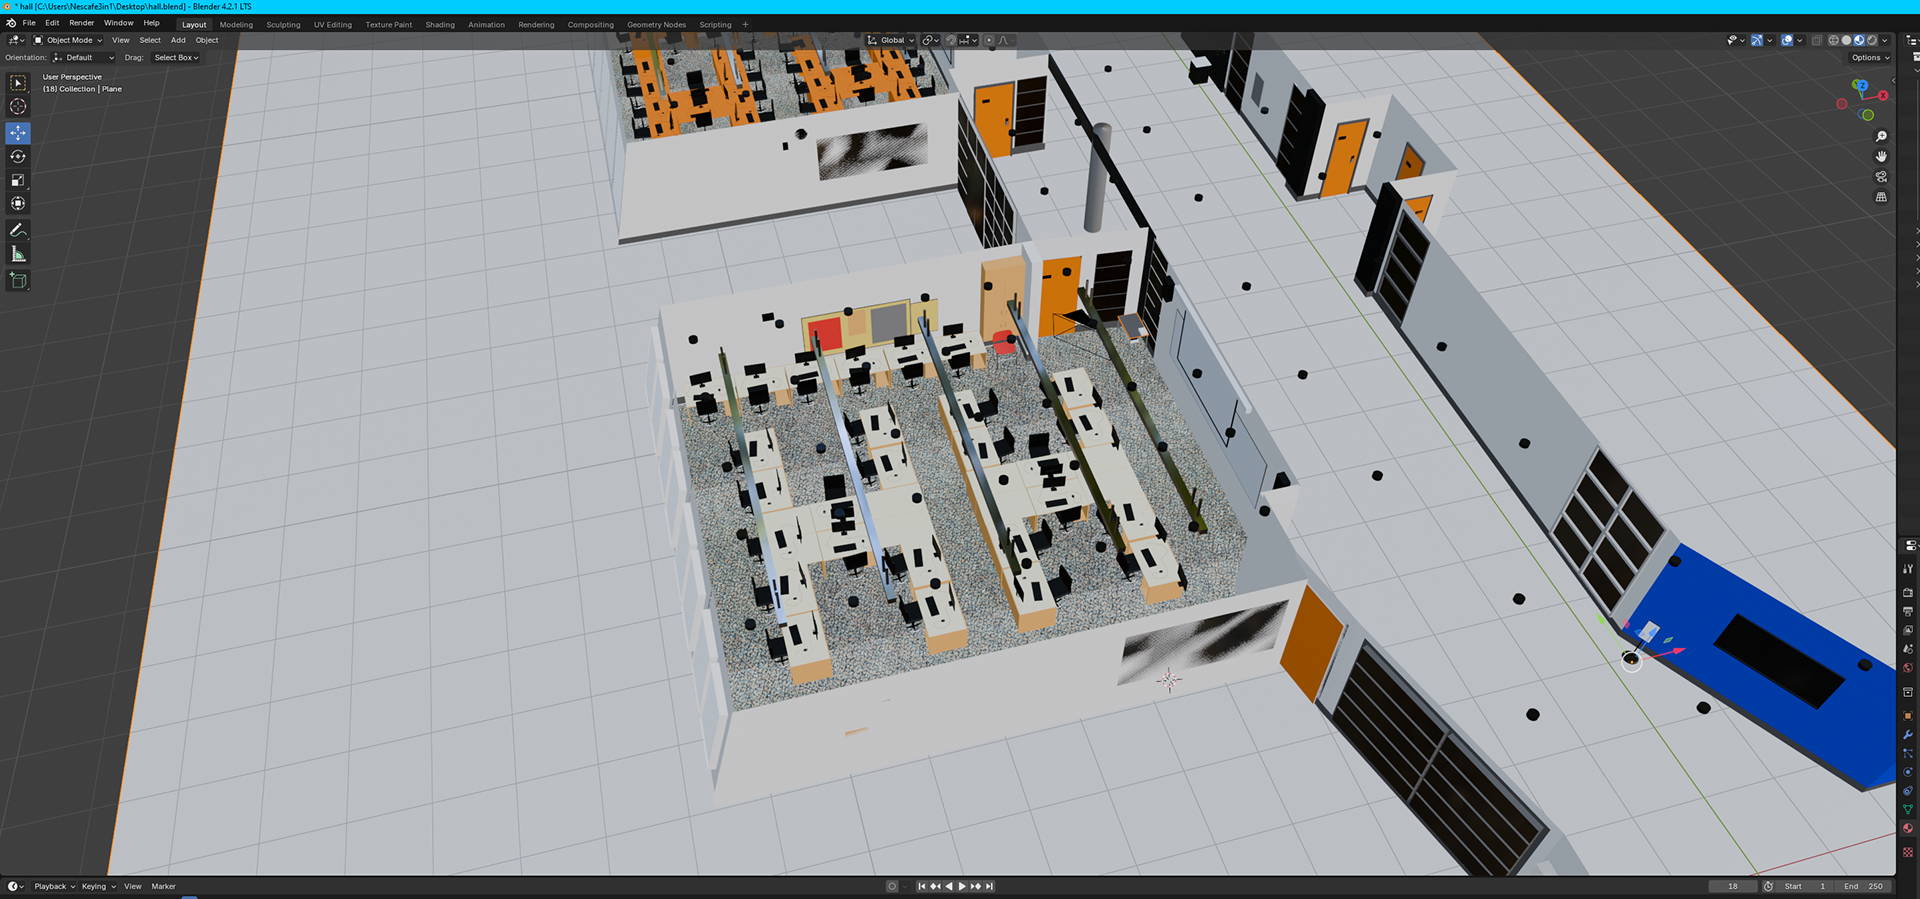
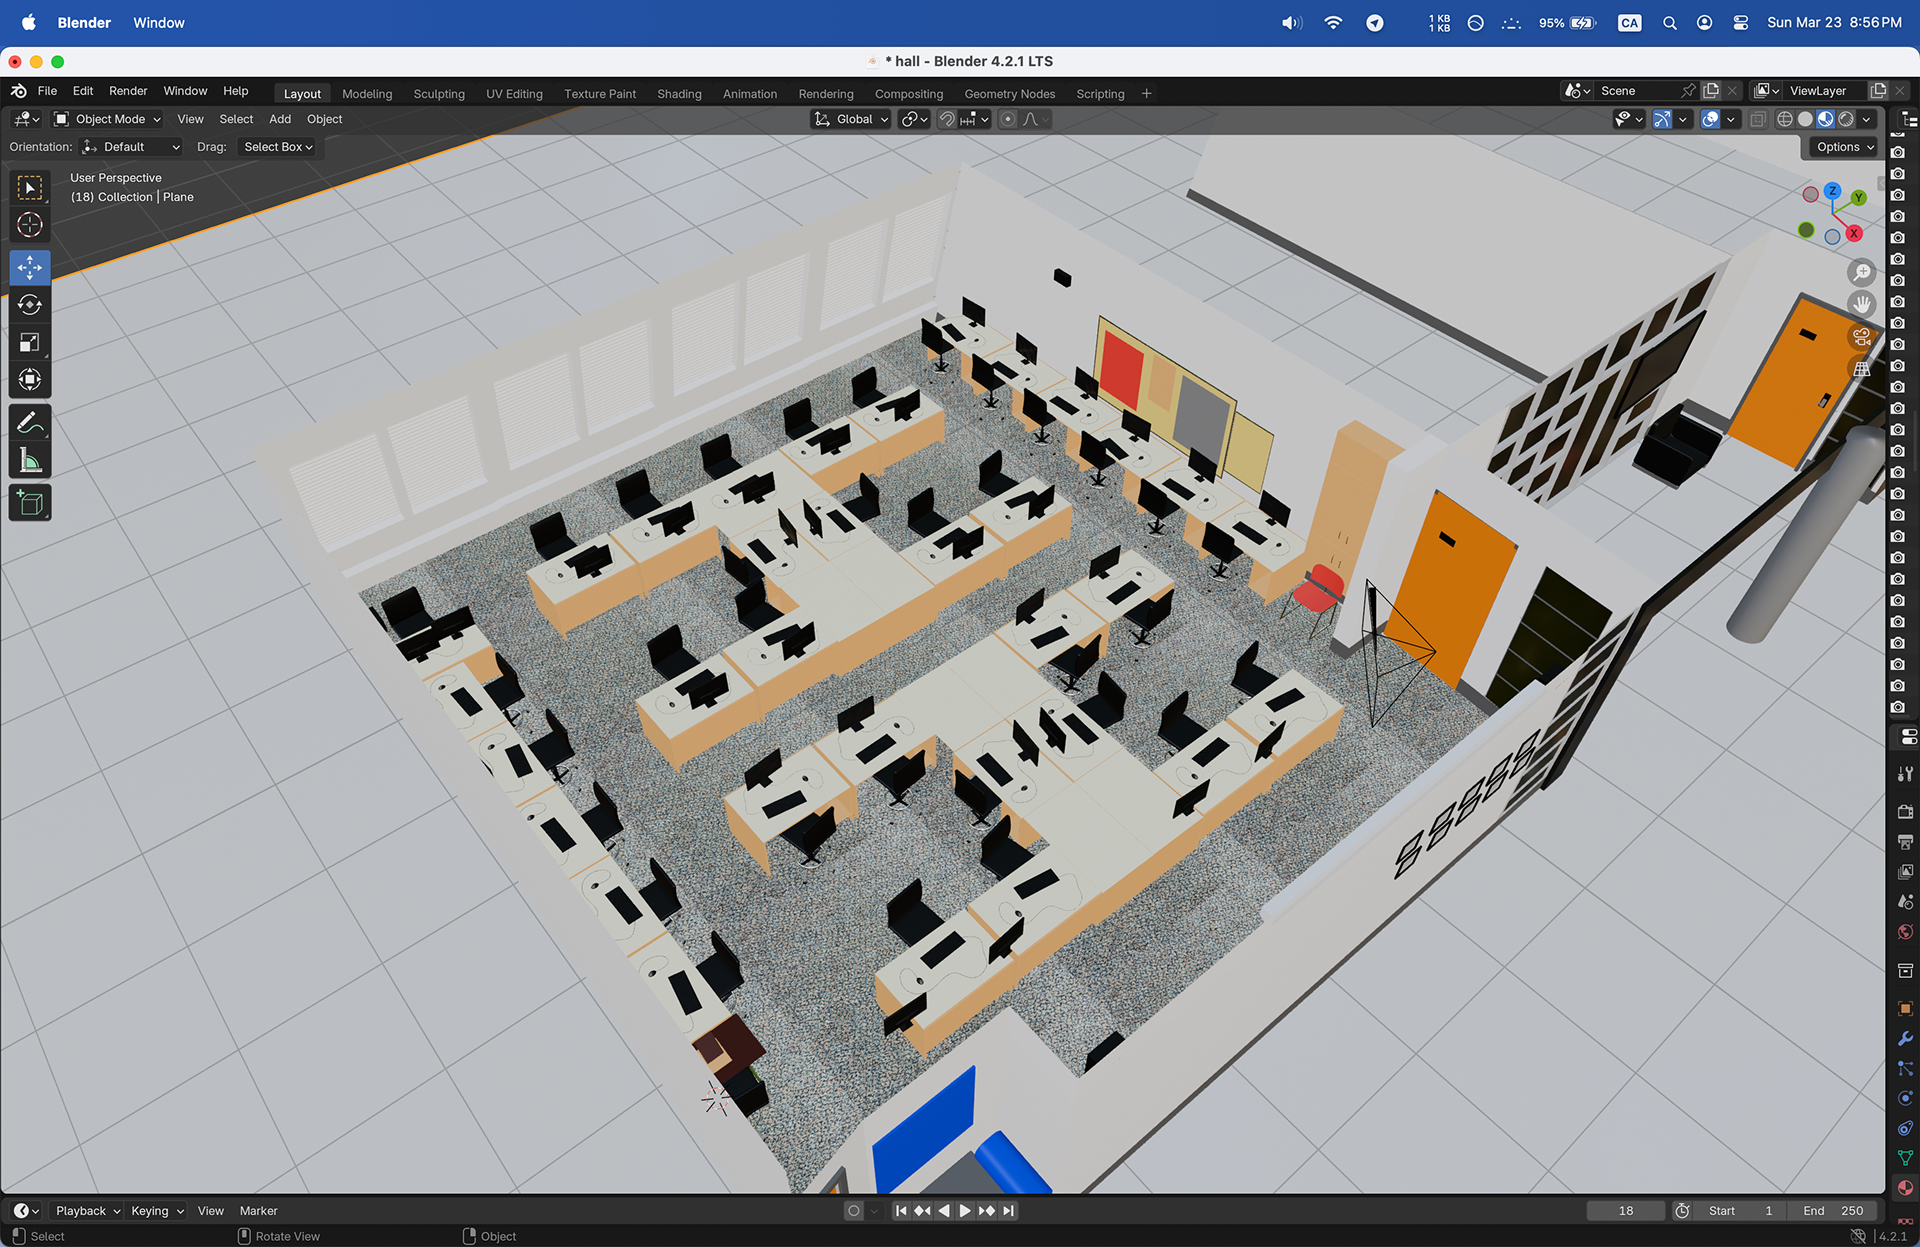
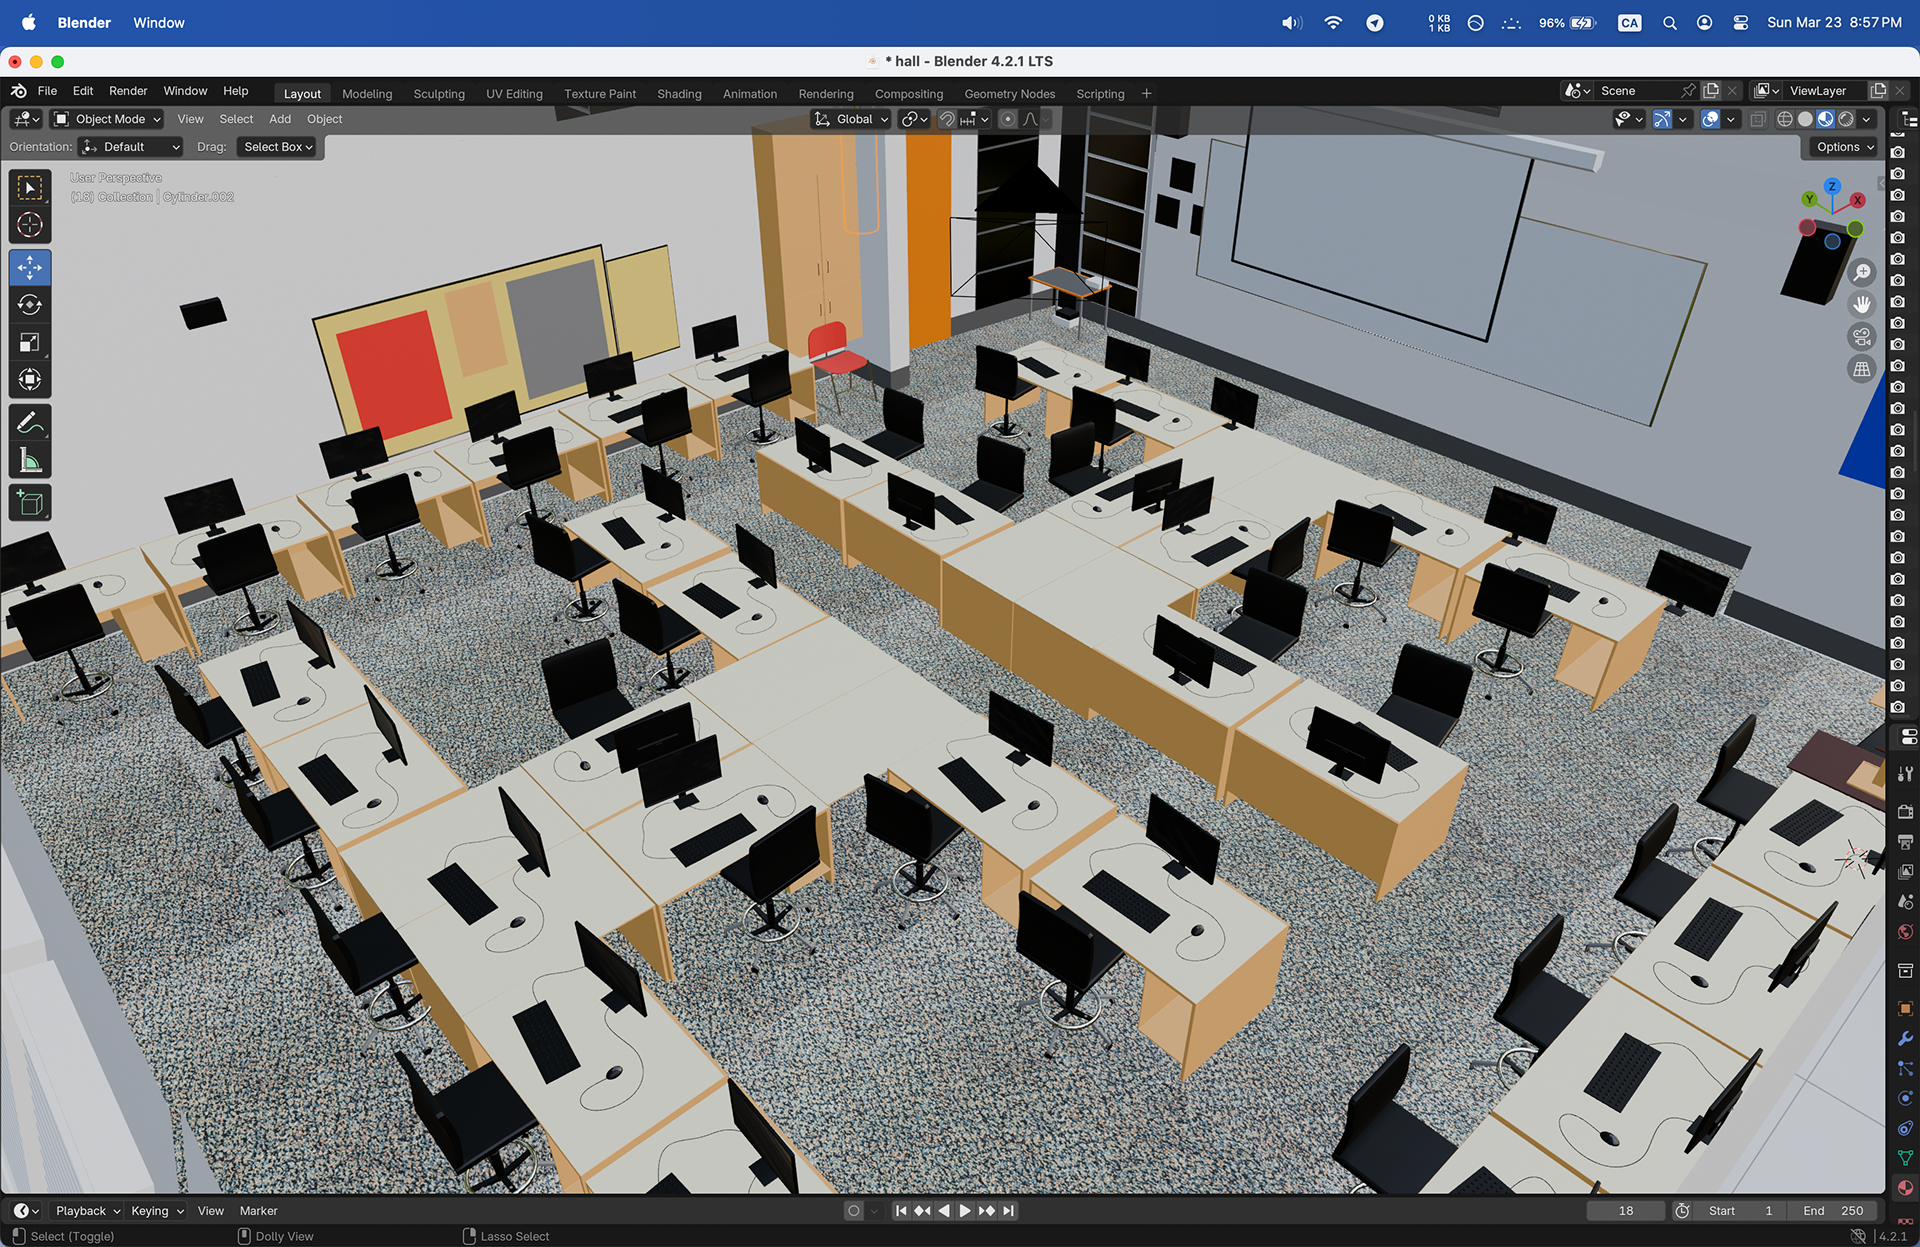
8) Modeling Classroom - MMP (Mar 17& 21)
This week, I finished modeling the second classroom of MMP.
- Created classroom walls
- Carpet added
- Added the door
- Designed classroom tables, chairs, monitors, cables, clock
- Designed window blinds
- Duplicated class materials
- Backed up .blend file (Google drive)
- Kept the colors consistent
- Created classroom walls
- Carpet added
- Added the door
- Designed classroom tables, chairs, monitors, cables, clock
- Designed window blinds
- Duplicated class materials
- Backed up .blend file (Google drive)
- Kept the colors consistent
Video recording; https://youtube.com/shorts/6Dafah1kEys
The WIN of the week: I'm stoked about the fact that I'm nearing the end of this project
Key Learning: Youtube tutorials always make the process way easier.
Satisfaction: 8.7/10
Stress Level: 4/10
Stress Level: 4/10
9) Modeling Restroom (male) (Mar 24 & 28)
This week, I will be working on modeling the restrooms on 3rd floor.
The WIN of the week: I'm stoked about the fact that I'm nearing the end of this project
Key Learning: Youtube tutorials always make the process way easier.
Satisfaction: 8.7/10
Stress Level: 4/10
Stress Level: 4/10
10) Modeling Restroom (male) (Mar 31 & April 4)
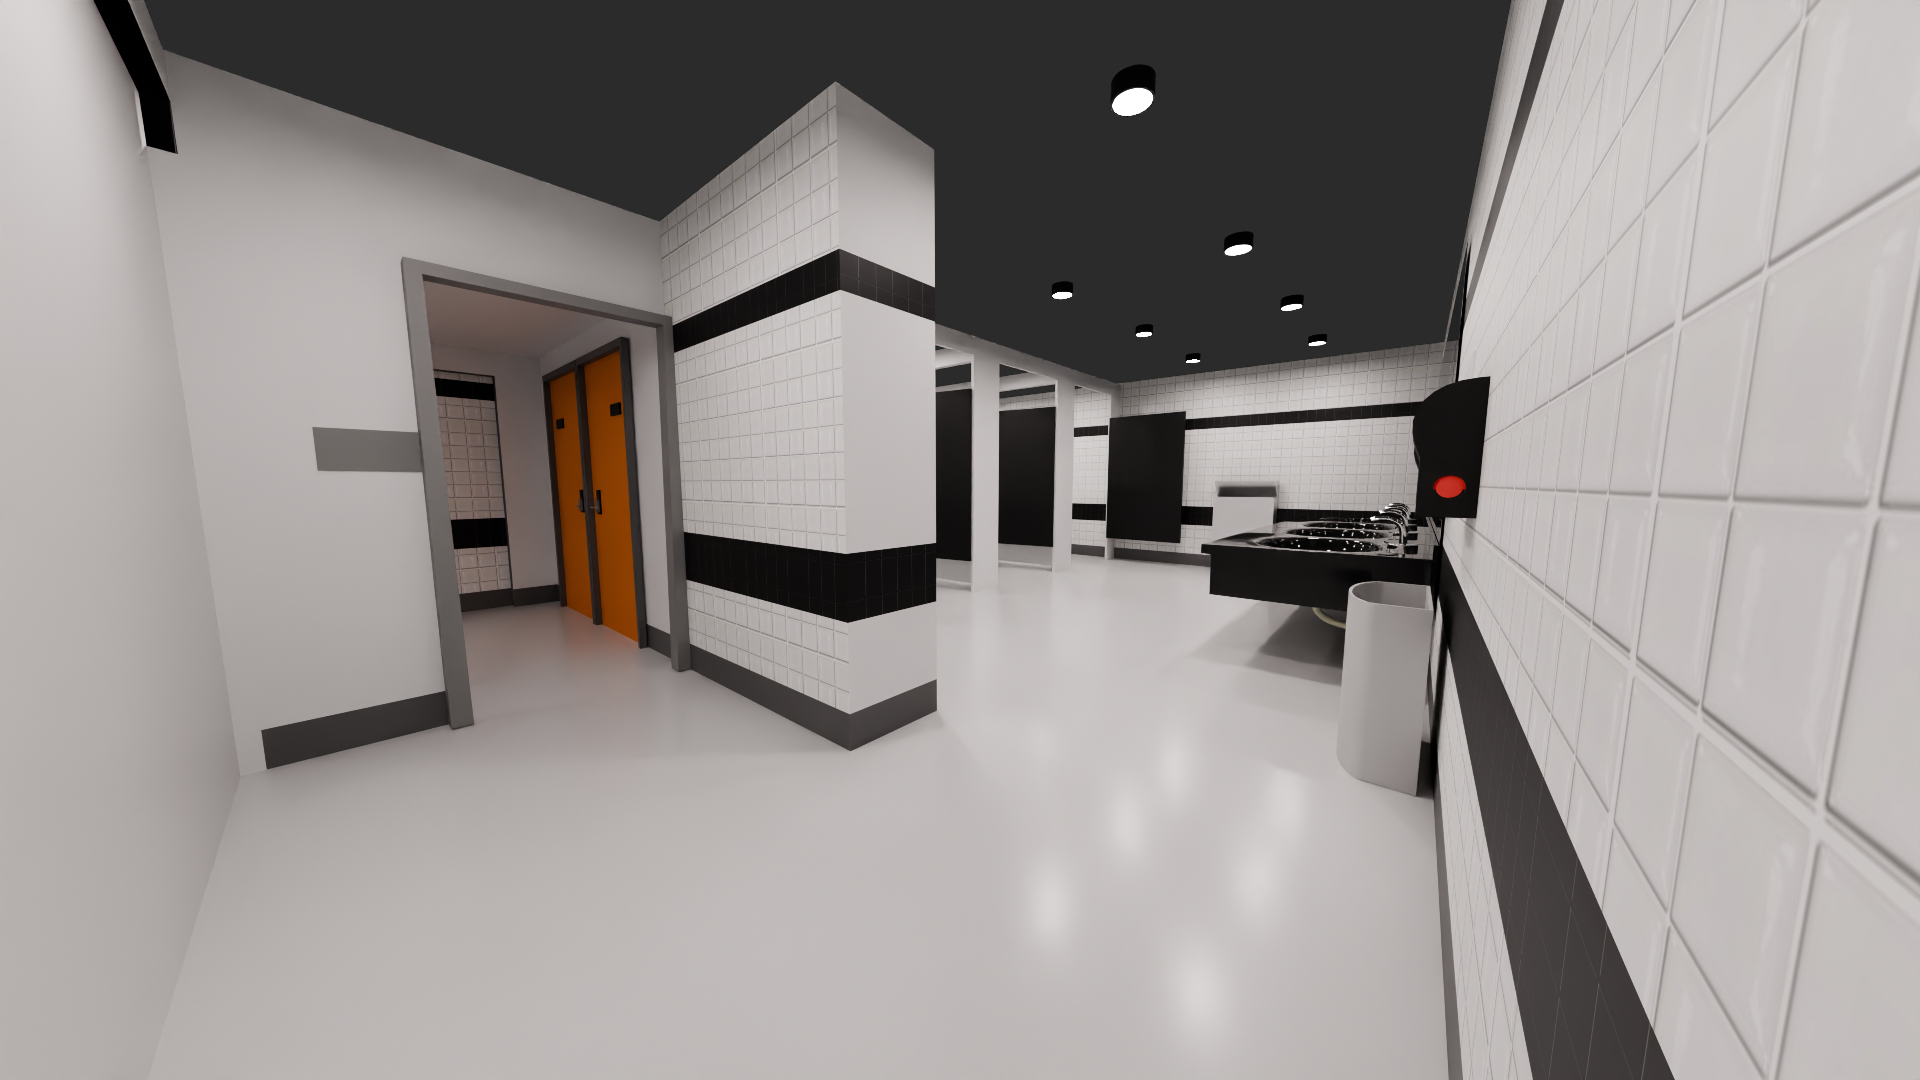
This week, I finished modeling the male bathroom of 3rd floor.
- Designed walls, hand dryers, black sinks, toilets, black panels, and urinals.
- Added lighting
Backed up .blend file (Google drive) Kept the colors consistent
The WIN of the week: I'm stoked about the fact that I'm nearing the end of this project
Key Learning: Youtube tutorials always make the process way easier.
Satisfaction: 8.7/10
Stress Level: 4/10
Stress Level: 4/10